This is simply going to be a pictorial post.


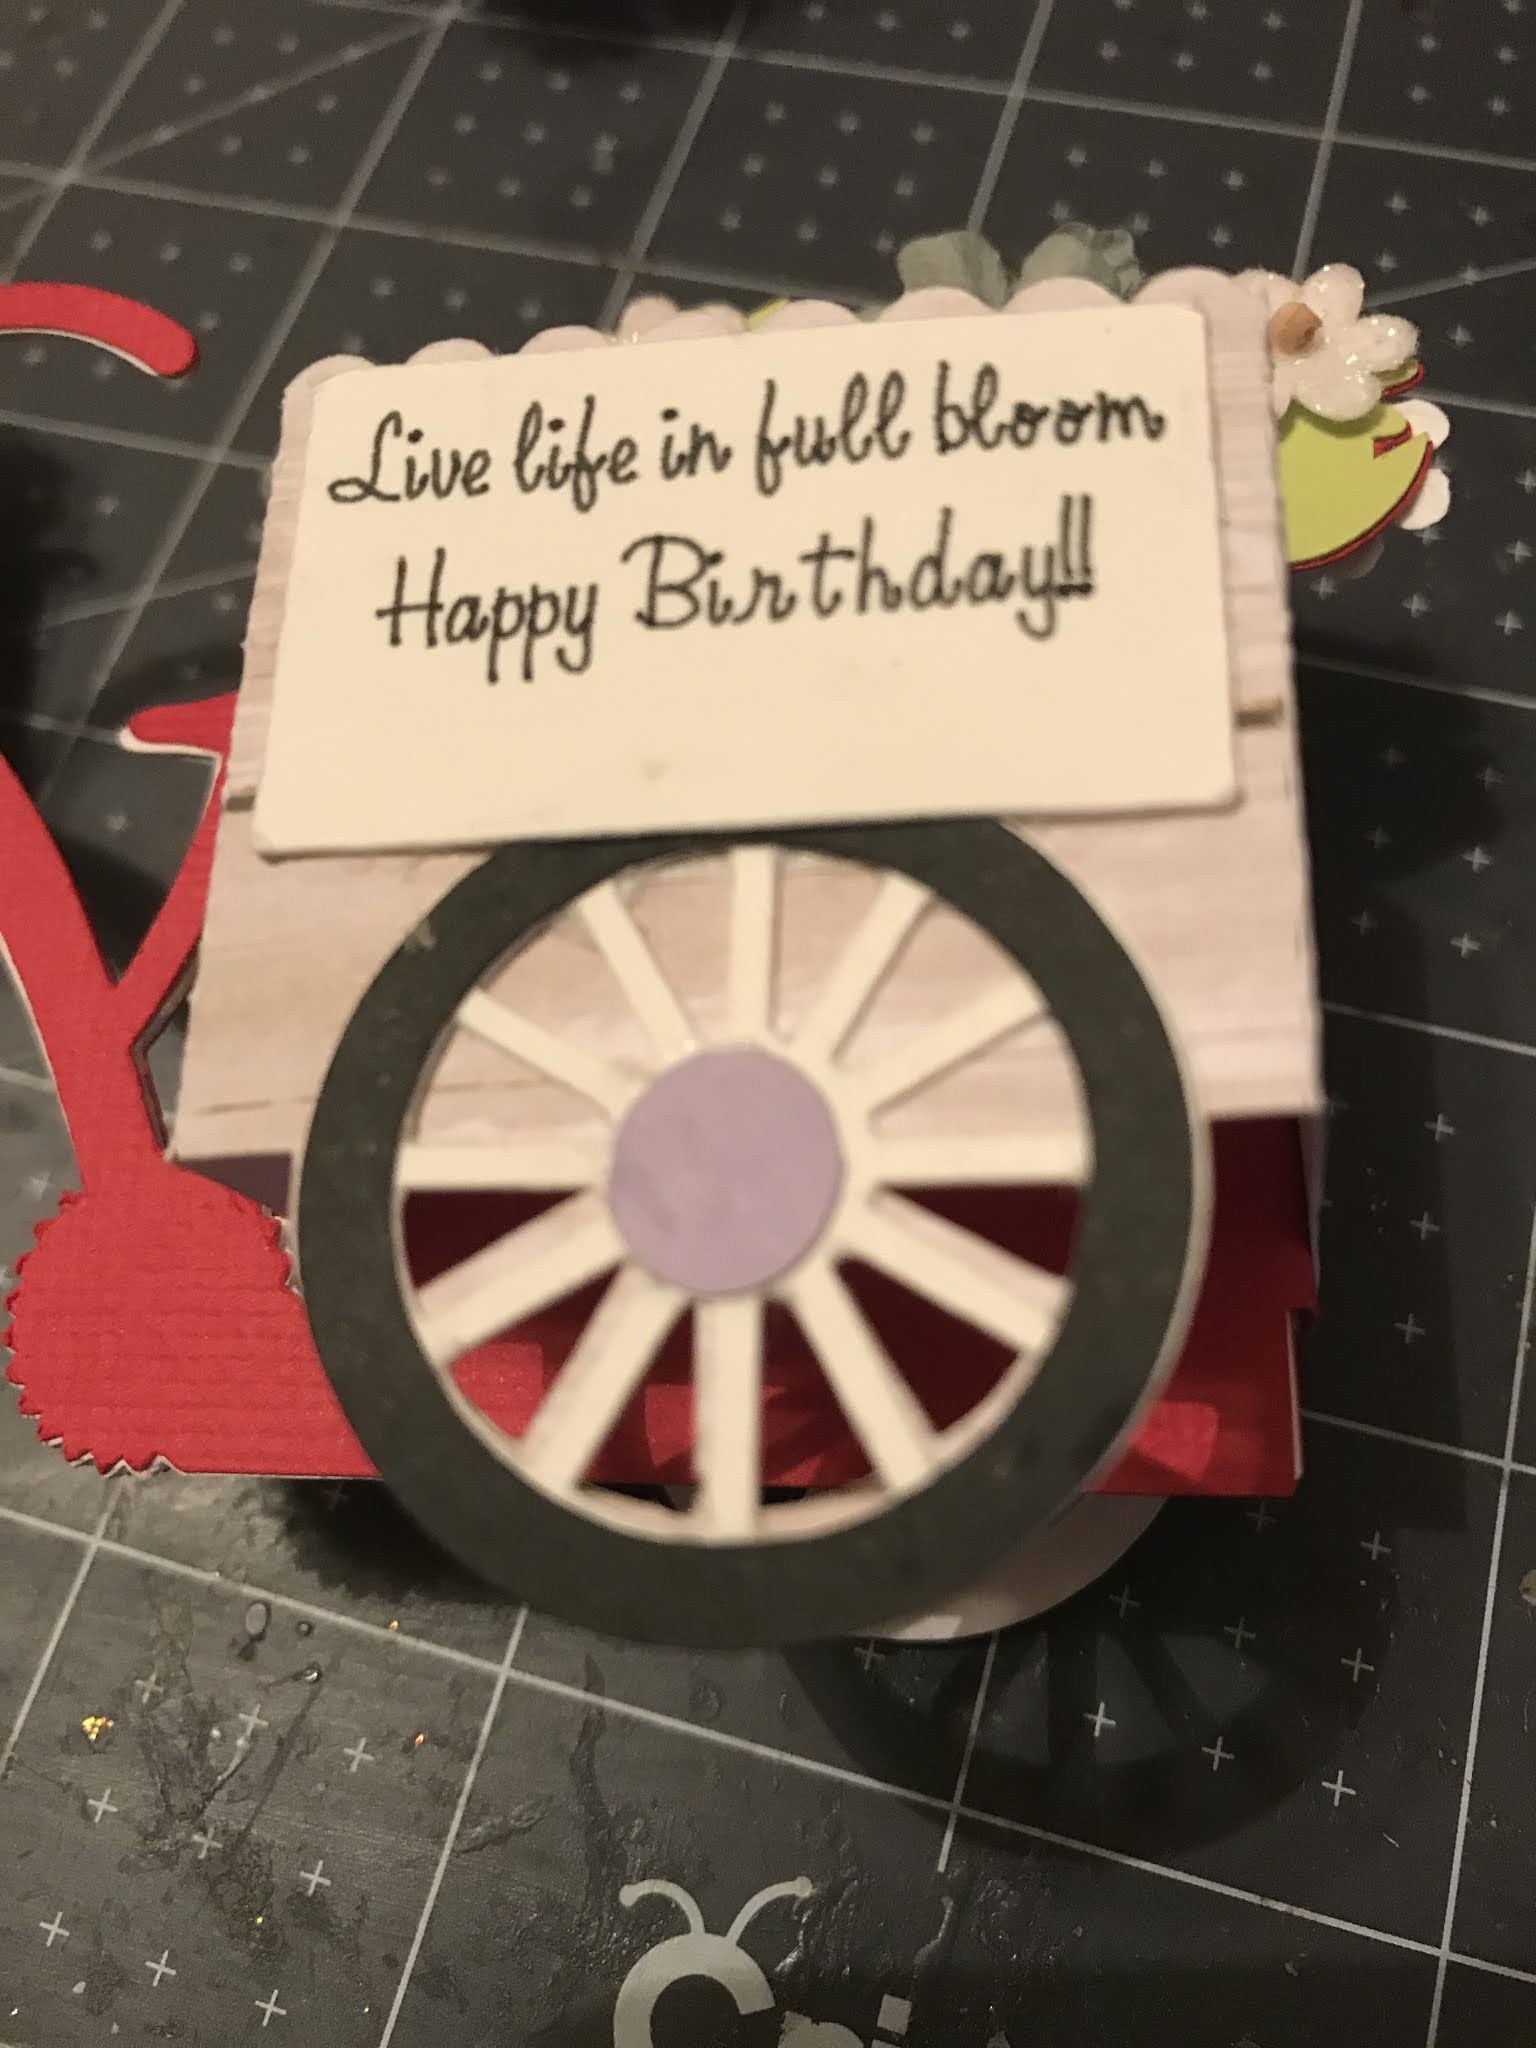
And this is the inside.

This is simply going to be a pictorial post.
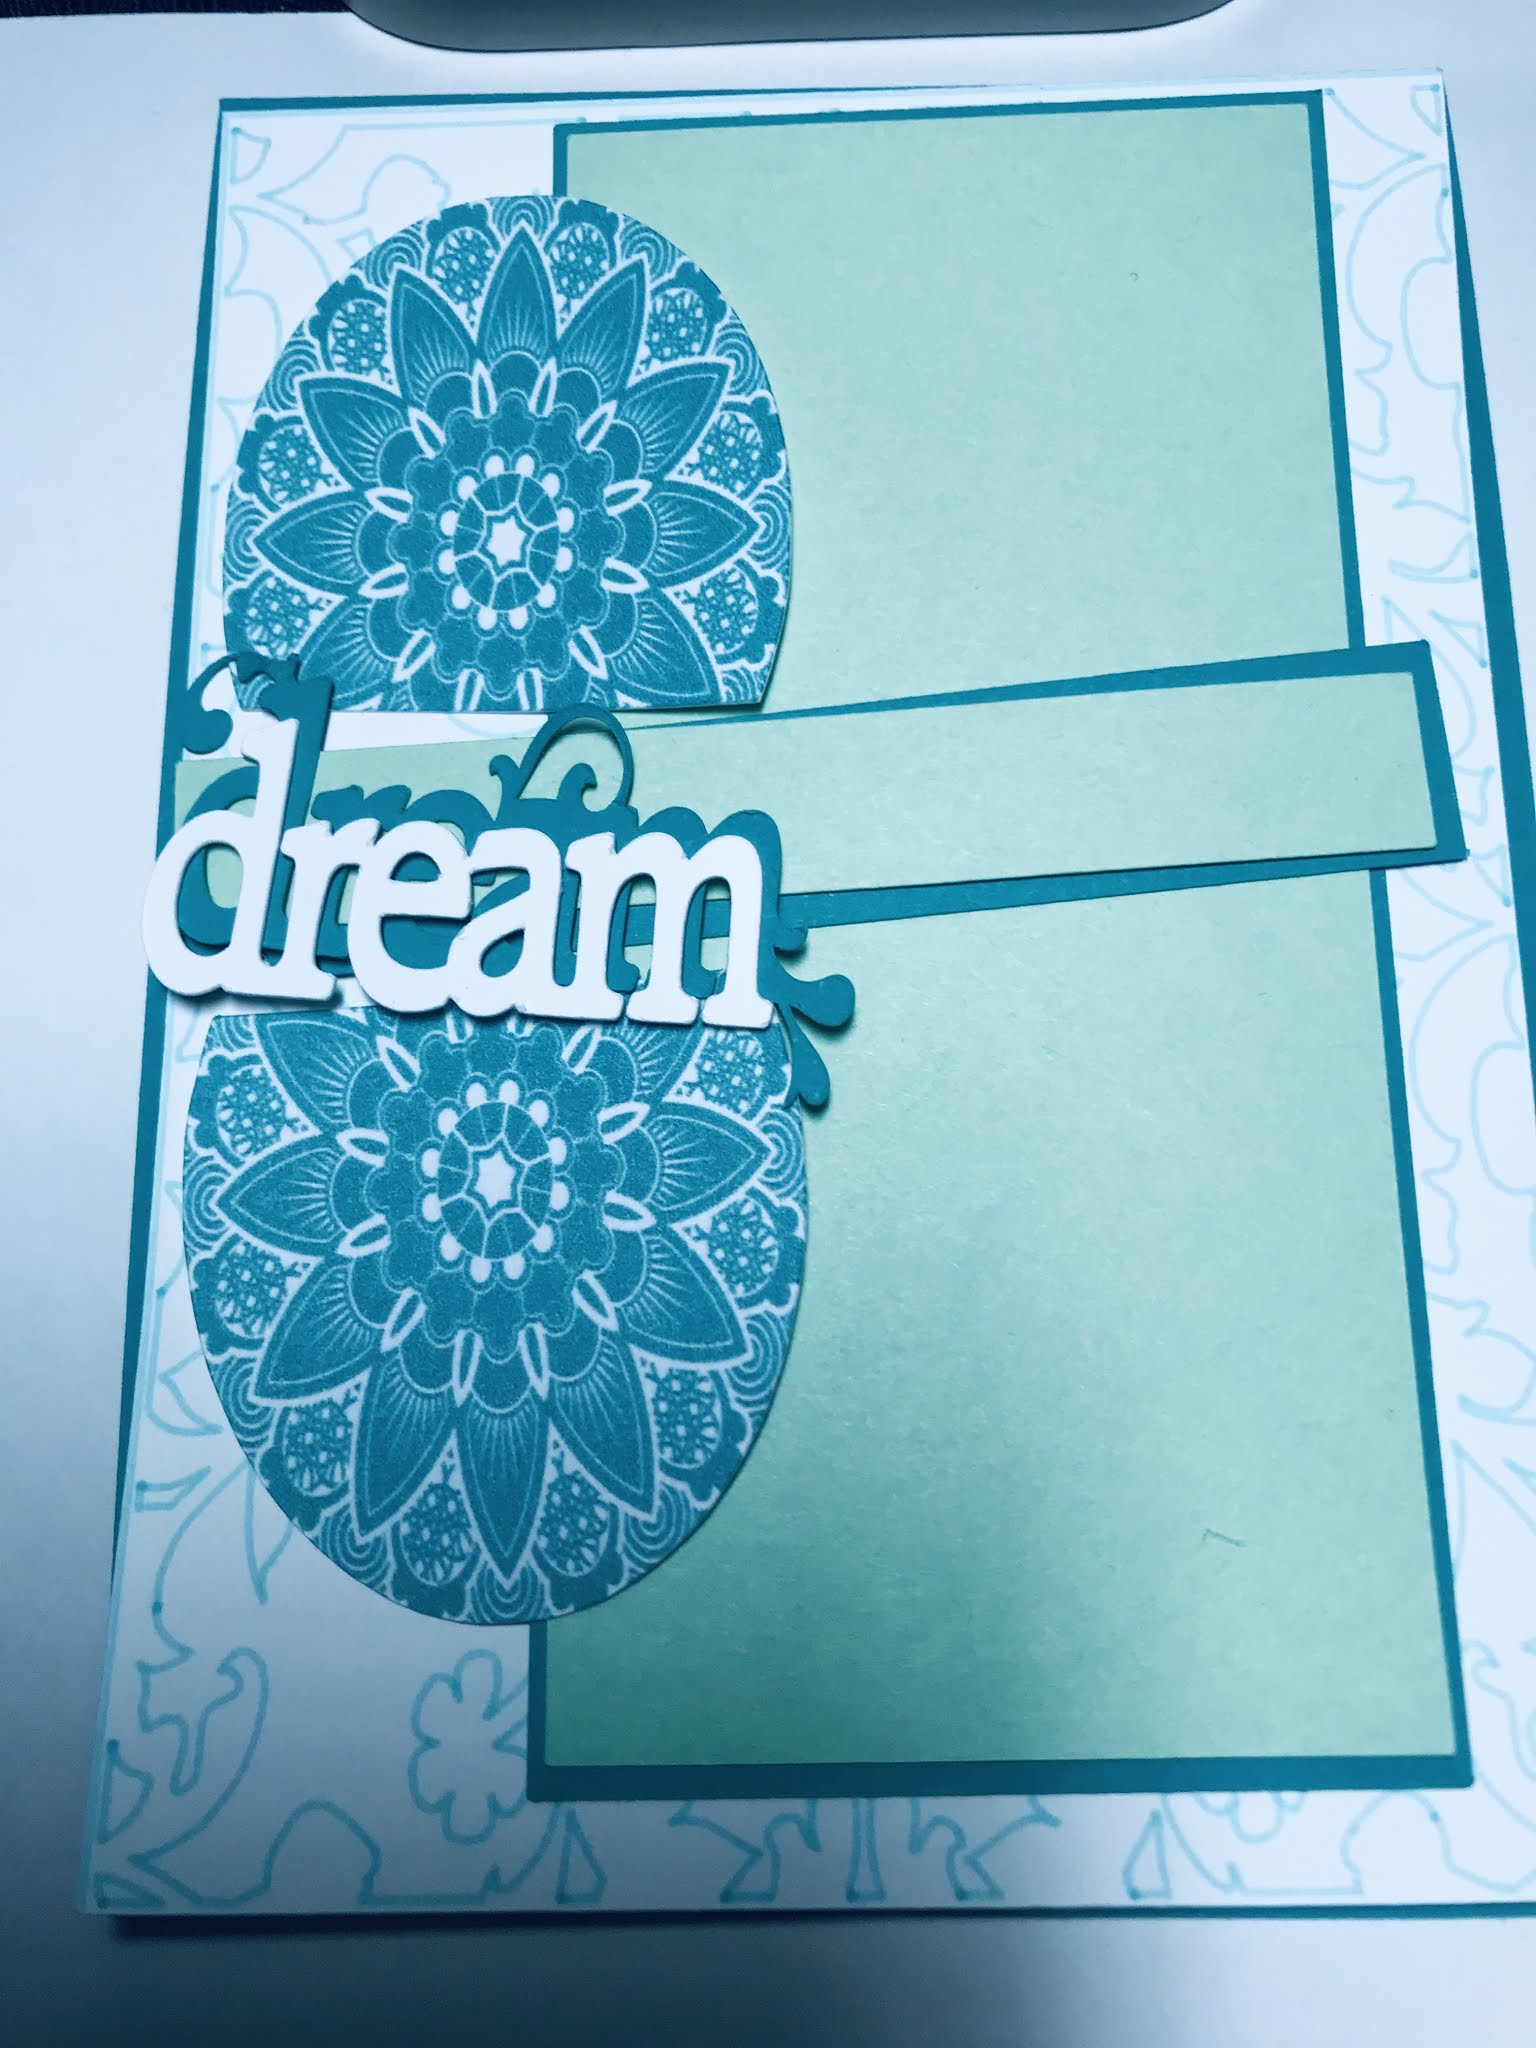
I love the simplicity of this card. I hope you like it too.

The flowers are colored with a light lavender alcohol marker. If you don’t have one, bring the completed card to the next class and you can use mine. Here’s the inside of the card.


 |

This is the card completely open. Attach the panels as shown here.

The honeycomb is only attached to the front panel of the card.


This is the card base. Match up the bumps of the edge of the card with the panels on the front and inside the card.

Enjoy!!

Here’s a close up of the dinosaur.

And the inside:

That’s all for now. See you next week!

The following photos will give you some guidance.


Also included is ribbon for the top of the card. I put one one end of the ribbon through the holes, tied that end into knot, then took the other end of the ribbon, fed it through the other holes, tied that into a knot and trimmed the excess ribbon.
Here’s the back of this card.
 |
Hi everyone - I do have some tips to make this batch of cards easier to assemble. First off, there are a lot of small pieces on most of the cards which I put together in a small bag.

Also there are loose larger flowers in the large bag. I didn’t want to crush them in the envelope. These flowers are for the bicycle card.
And finally, the words for the friend card are sandwiched between the stamped image and the mat for the stamped image. There is a tiny “i” there so be careful not to lose it.
UPDATE: I removed the flowers from the small bag and added to the larger bag of flowers.
Shall we begin??
This card is fairly easy (the worst is yet to come!)

There are 12 squares in the cut-out. Just put different squares behind each of the openings. Adhere the image to the mat and adhere that set to the right side of the card.
This card is intentionally left blank on the inside so you can write a personal note.
Okay, put on your seat belt! This one is going to be a doozy!