add the grass on each insert, add the flowers and lady bugs, and finally the back of the cow, with his tail. Add the sentiment and call or text me if you don’t have a clue what I’m talking (typing?) about. Oh, and don’t forget the small pieces in the 2 sticky dot packs!
Thursday, December 10, 2020
A get well card in a box
Thinking of you (all of you!)
This is a simple card. Attach the stamped white piece to the pink piece. Then attach that combo to the card base. Take the patterned piece and fold back the “wings” on the score lines to open up the face of the card and see the sentiment. Attach it to the card face.
Assemble the 3 layers of the flower and attach it to the card front in the position shown.
Attach the inside sentiment. And again, you are finished with this card.Another sporting card
This was a fun card to make. As you can see, the layers from the bottom up are white, black, and red. Then there is a narrow strip of black and white polka dots, and on top of that is a green plaid.
Place the white circle with the stamped image of the greens and flag on the card to conceal the area cut out. Color the greens and flag. Color the golfer and cut him out. Put him on the greens. Cut out the golfers cap and attach it to the golfer.
Mat the sentiment on the green cardstock and attach to the inside of the card.
Tennis anyone?
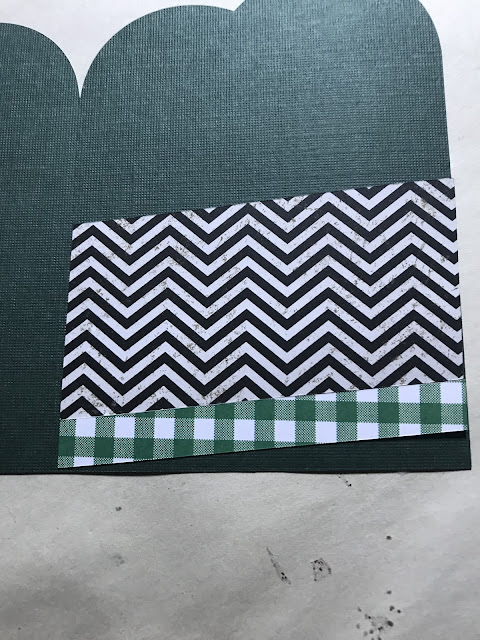
Start by putting the black and white chevron piece about 1 inch from the bottom. It should angle up on the right hand side.
Next, place the green and white checked piece butted up against the chevron piece.
Glue the handle and the decorative piece at the top of the racquet. Then turn the racquet over and attach the strings on the back. Repeat with second racquet.
Crisscross the two racquets on the front of the card, assemble the tennis ball and attach the sentiment.
On the inside of the card, attach the sentiment (sorry about the pun!), trim off the third racquet so that the head of the racquet circles the sentiment. And you’re finished!
Friday, December 4, 2020
A pile of presents
This stack of presents folds flat for mailing but when it’s opened, it’s a fun display piece.
Next, fold “A” in the middle with a Valley fold and “B” with a mountain fold as shown below.
Now, just to understand how the card is assembled, place A behind B and gently slide the left side into the slit, followed by the right side into the slit. This is very hard to explain but if you’ve ever done a cascading card, you’ll understand.
Now reassemble your card and from the bottom, it will look like this.
Attach the silver string to the tag and tie it through the bow on the tallest package. And then you’re finished.
Hope you like puzzles!
This is much simpler than it looks. Take your time and it will turn out great!
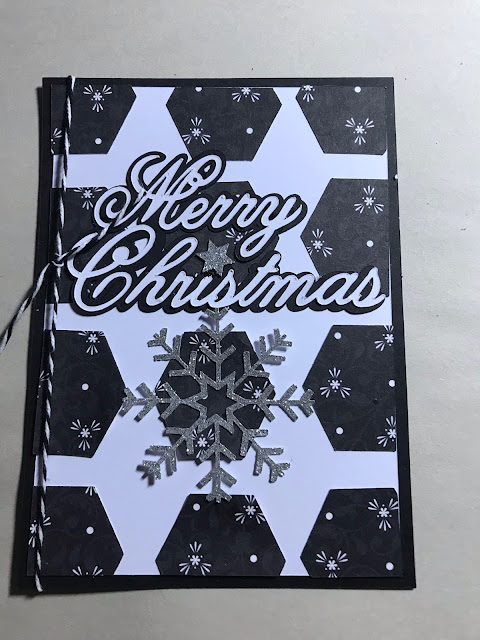
Take the white piece of cardstock and lay the 9 black pieces as shown below:
Mine are not glued down yet so they are slightly crooked.
Then assemble the Merry Christmas and put it across the second row of pieces. Attach the star as the dot over the “I” and glue on the snowflake.wrap the baker’s twine around the left edge of the card front and attach the card front to your card base.
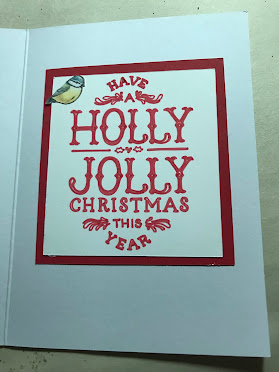
Assemble the inside sentiment on the mat and place it on the inside of the card. And you’re finished!
For the birds
This is a very simple card. There are 3 layers to the ornament and 2 layers to the bird. There is a third bird on the inside sentiment.
Subscribe to:
Posts (Atom)


