Friday, January 15, 2021

Another male card


This card turned out better than I expected so I hope everyone likes it.  It’s simple to put together.

First, put the white stamped piece on the blue mat.


Next, take the two life preservers and adhere them together.  I did this to add some bulk to the pieces.


Now take the 4 blue pieces out of the plastic bag and adhere them to the life preserver.  Think of a clock and adhere the blue pieces to the 12, 3, 6, and 9 positions.


Next, take the baker’s twine and wrap it around the life preserver twice on each side of the small blue pieces.  You can put the baker’s on the life preserver in one of two ways:  1) you can cut short pieces, wrap them around the life preserver and secure them in the back, or 2) you can use one continuous length of baker’s twine and secure it on the back.  Then use pop up tape on the back in between the wrapped twine.


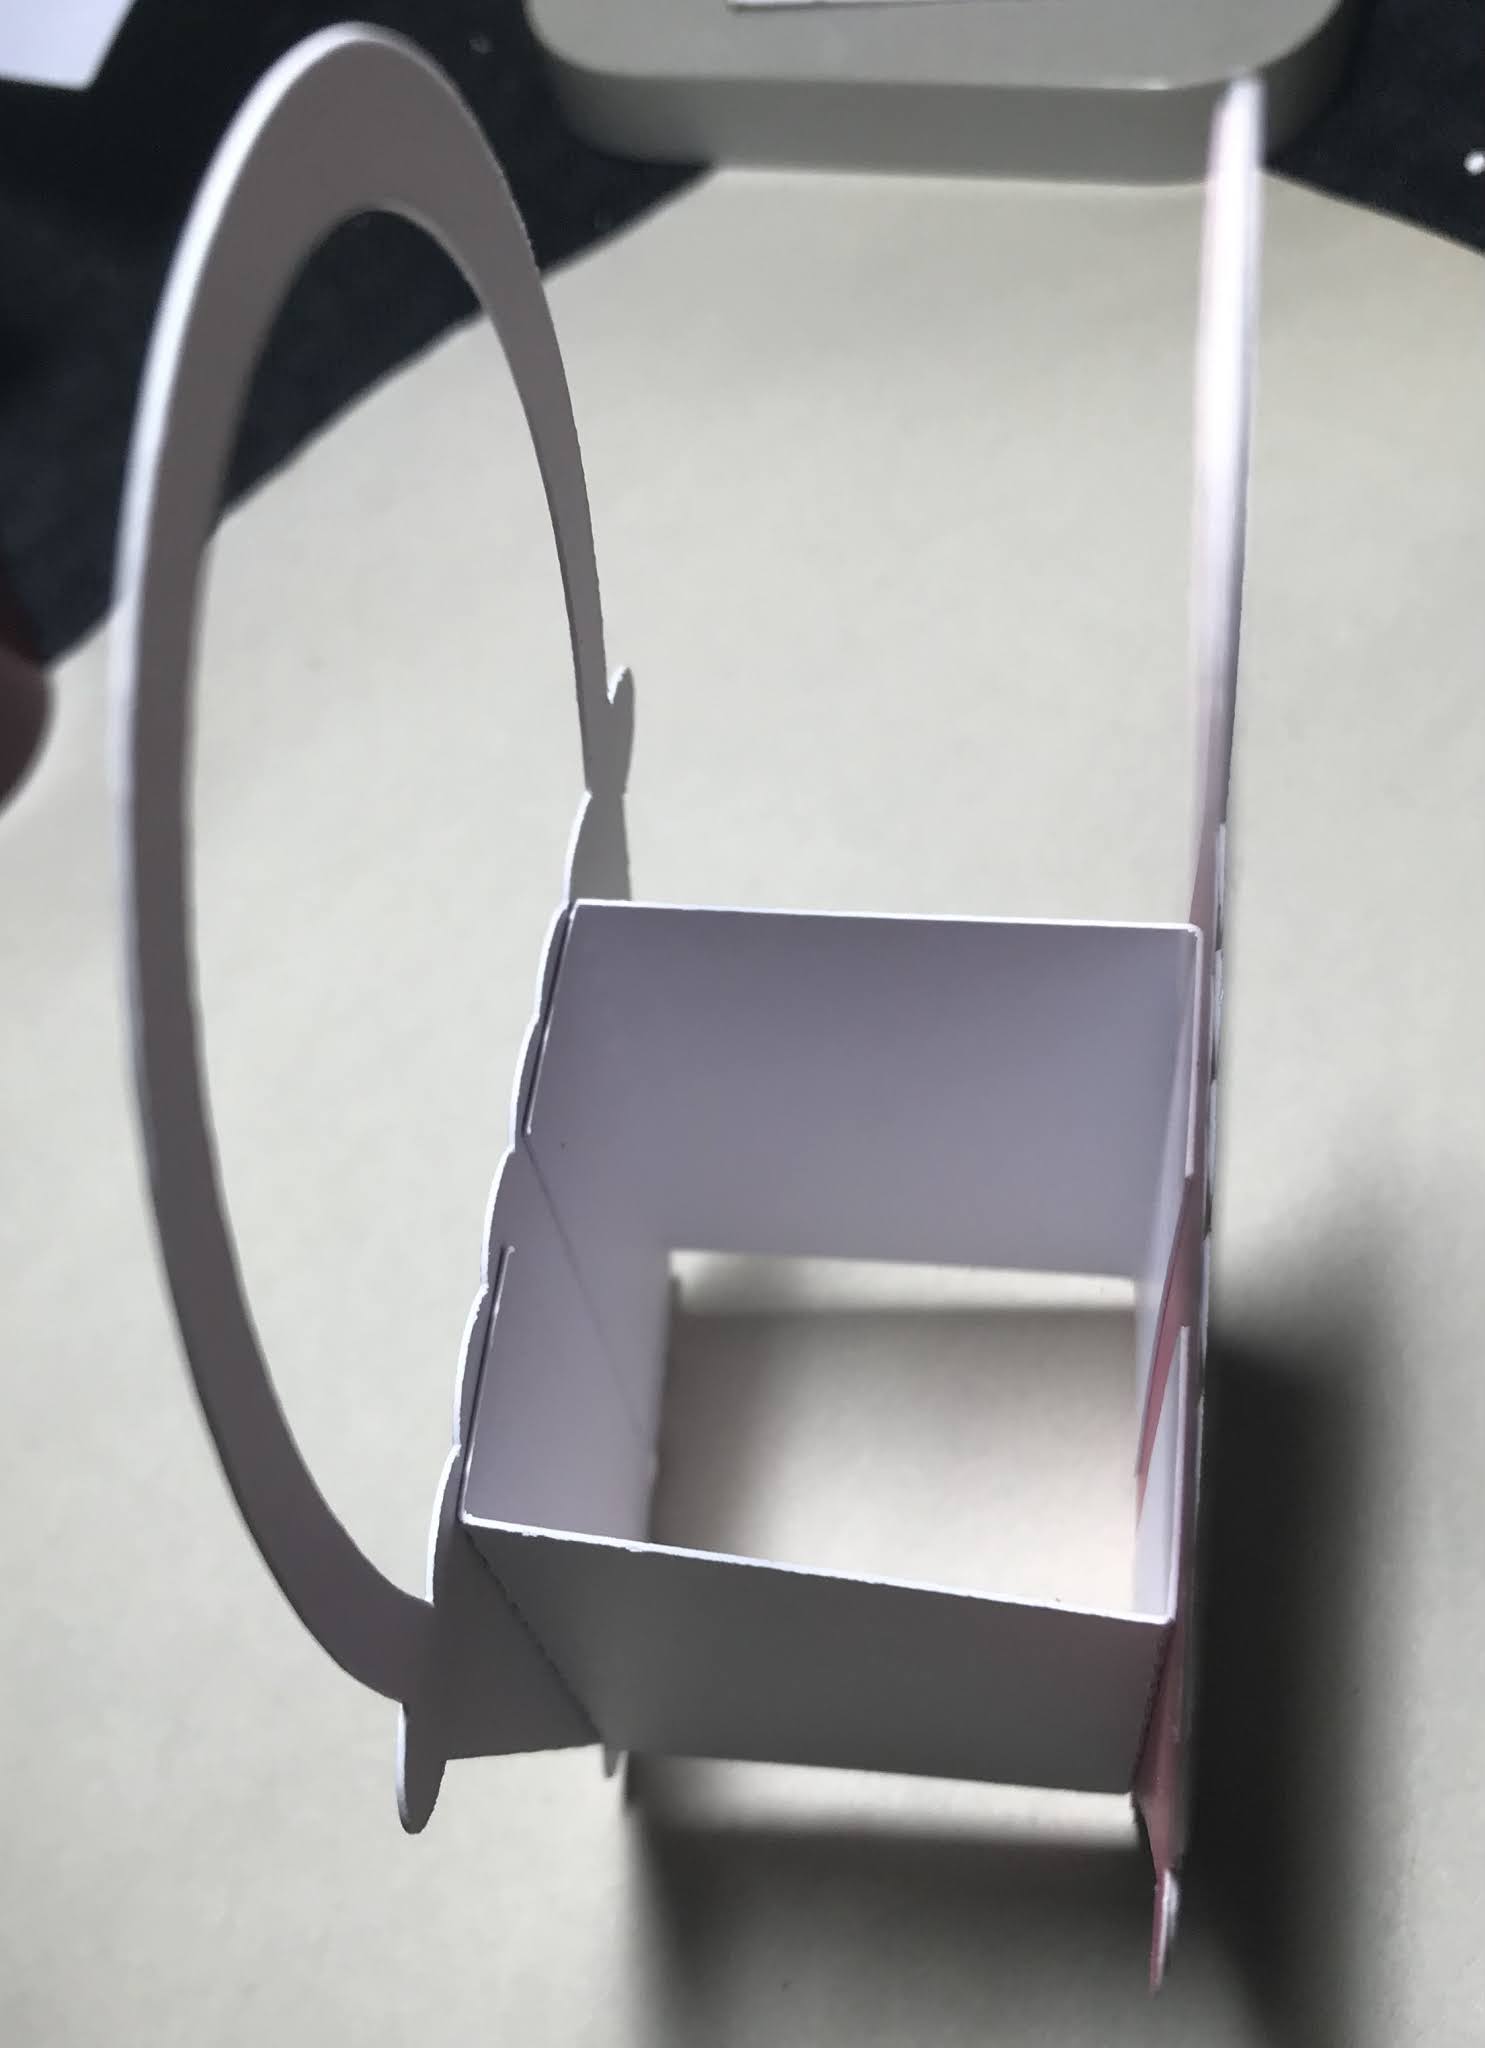
This is a (not very good) picture of the side view of the life preserver.  Adhere the sailboat image to the back of the life preserver and then adhere the grouping to the front of the card.  Be careful of the placement because you’ve still got to adhere the front sentiment.


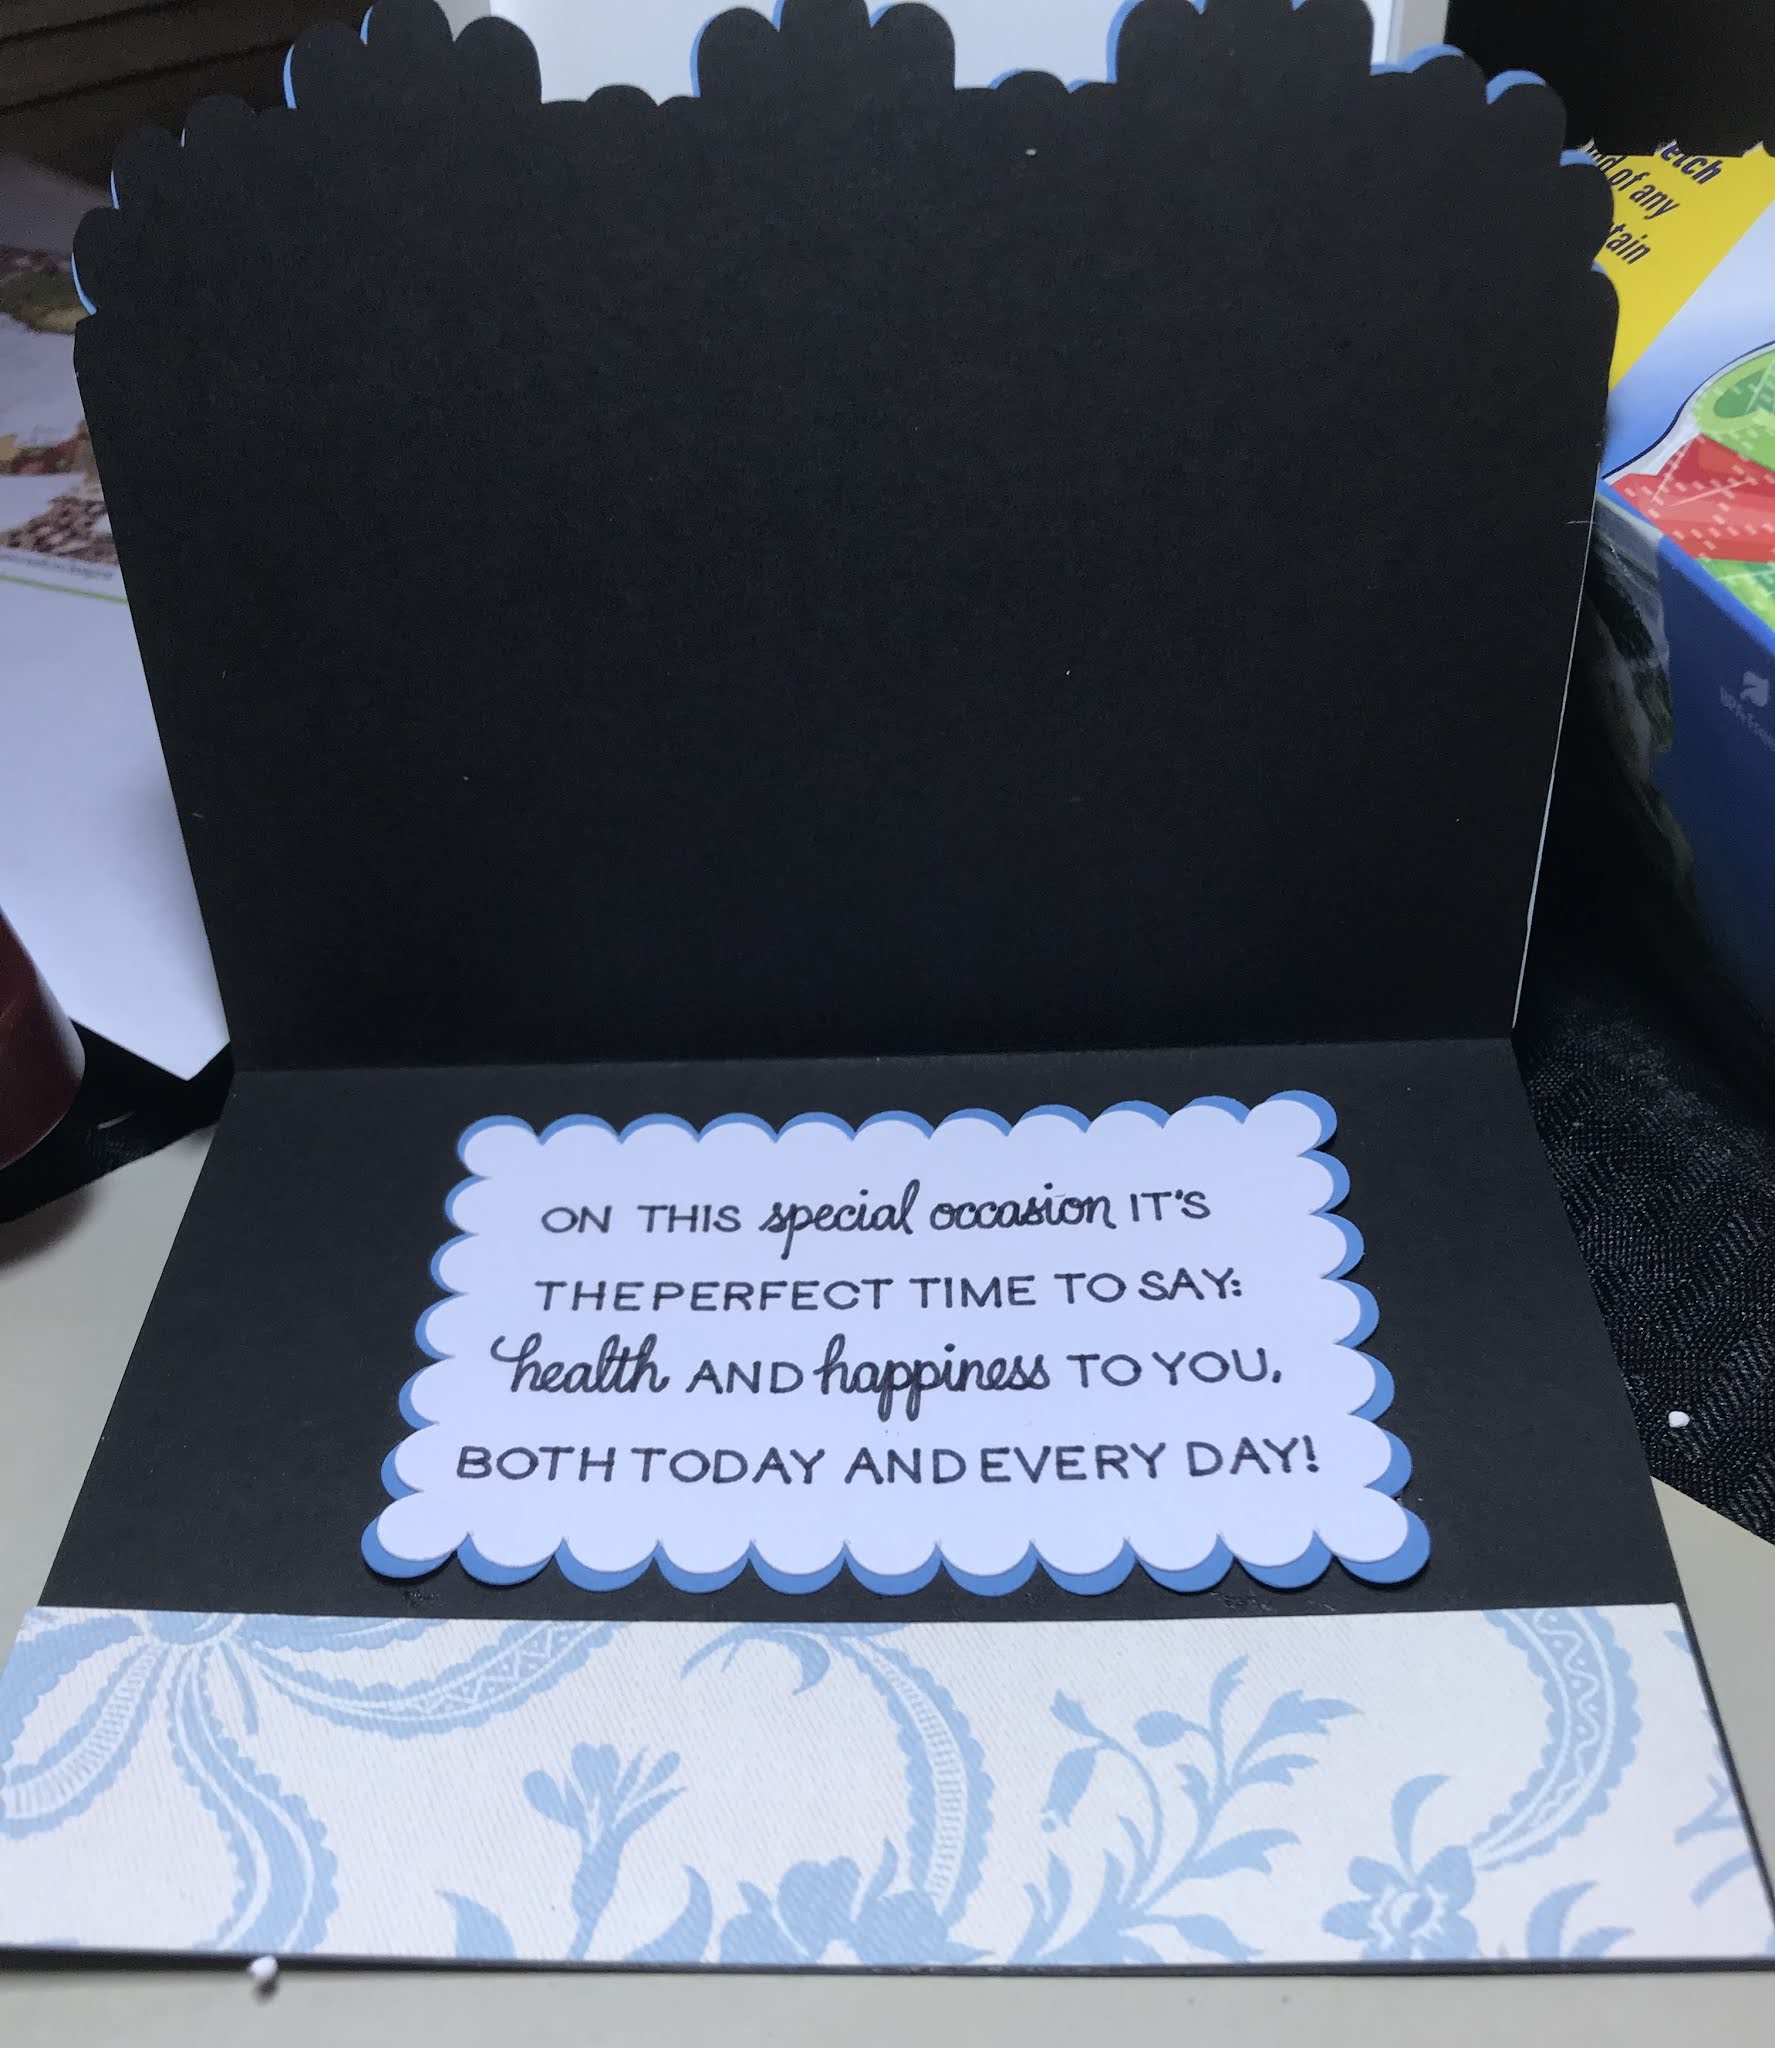
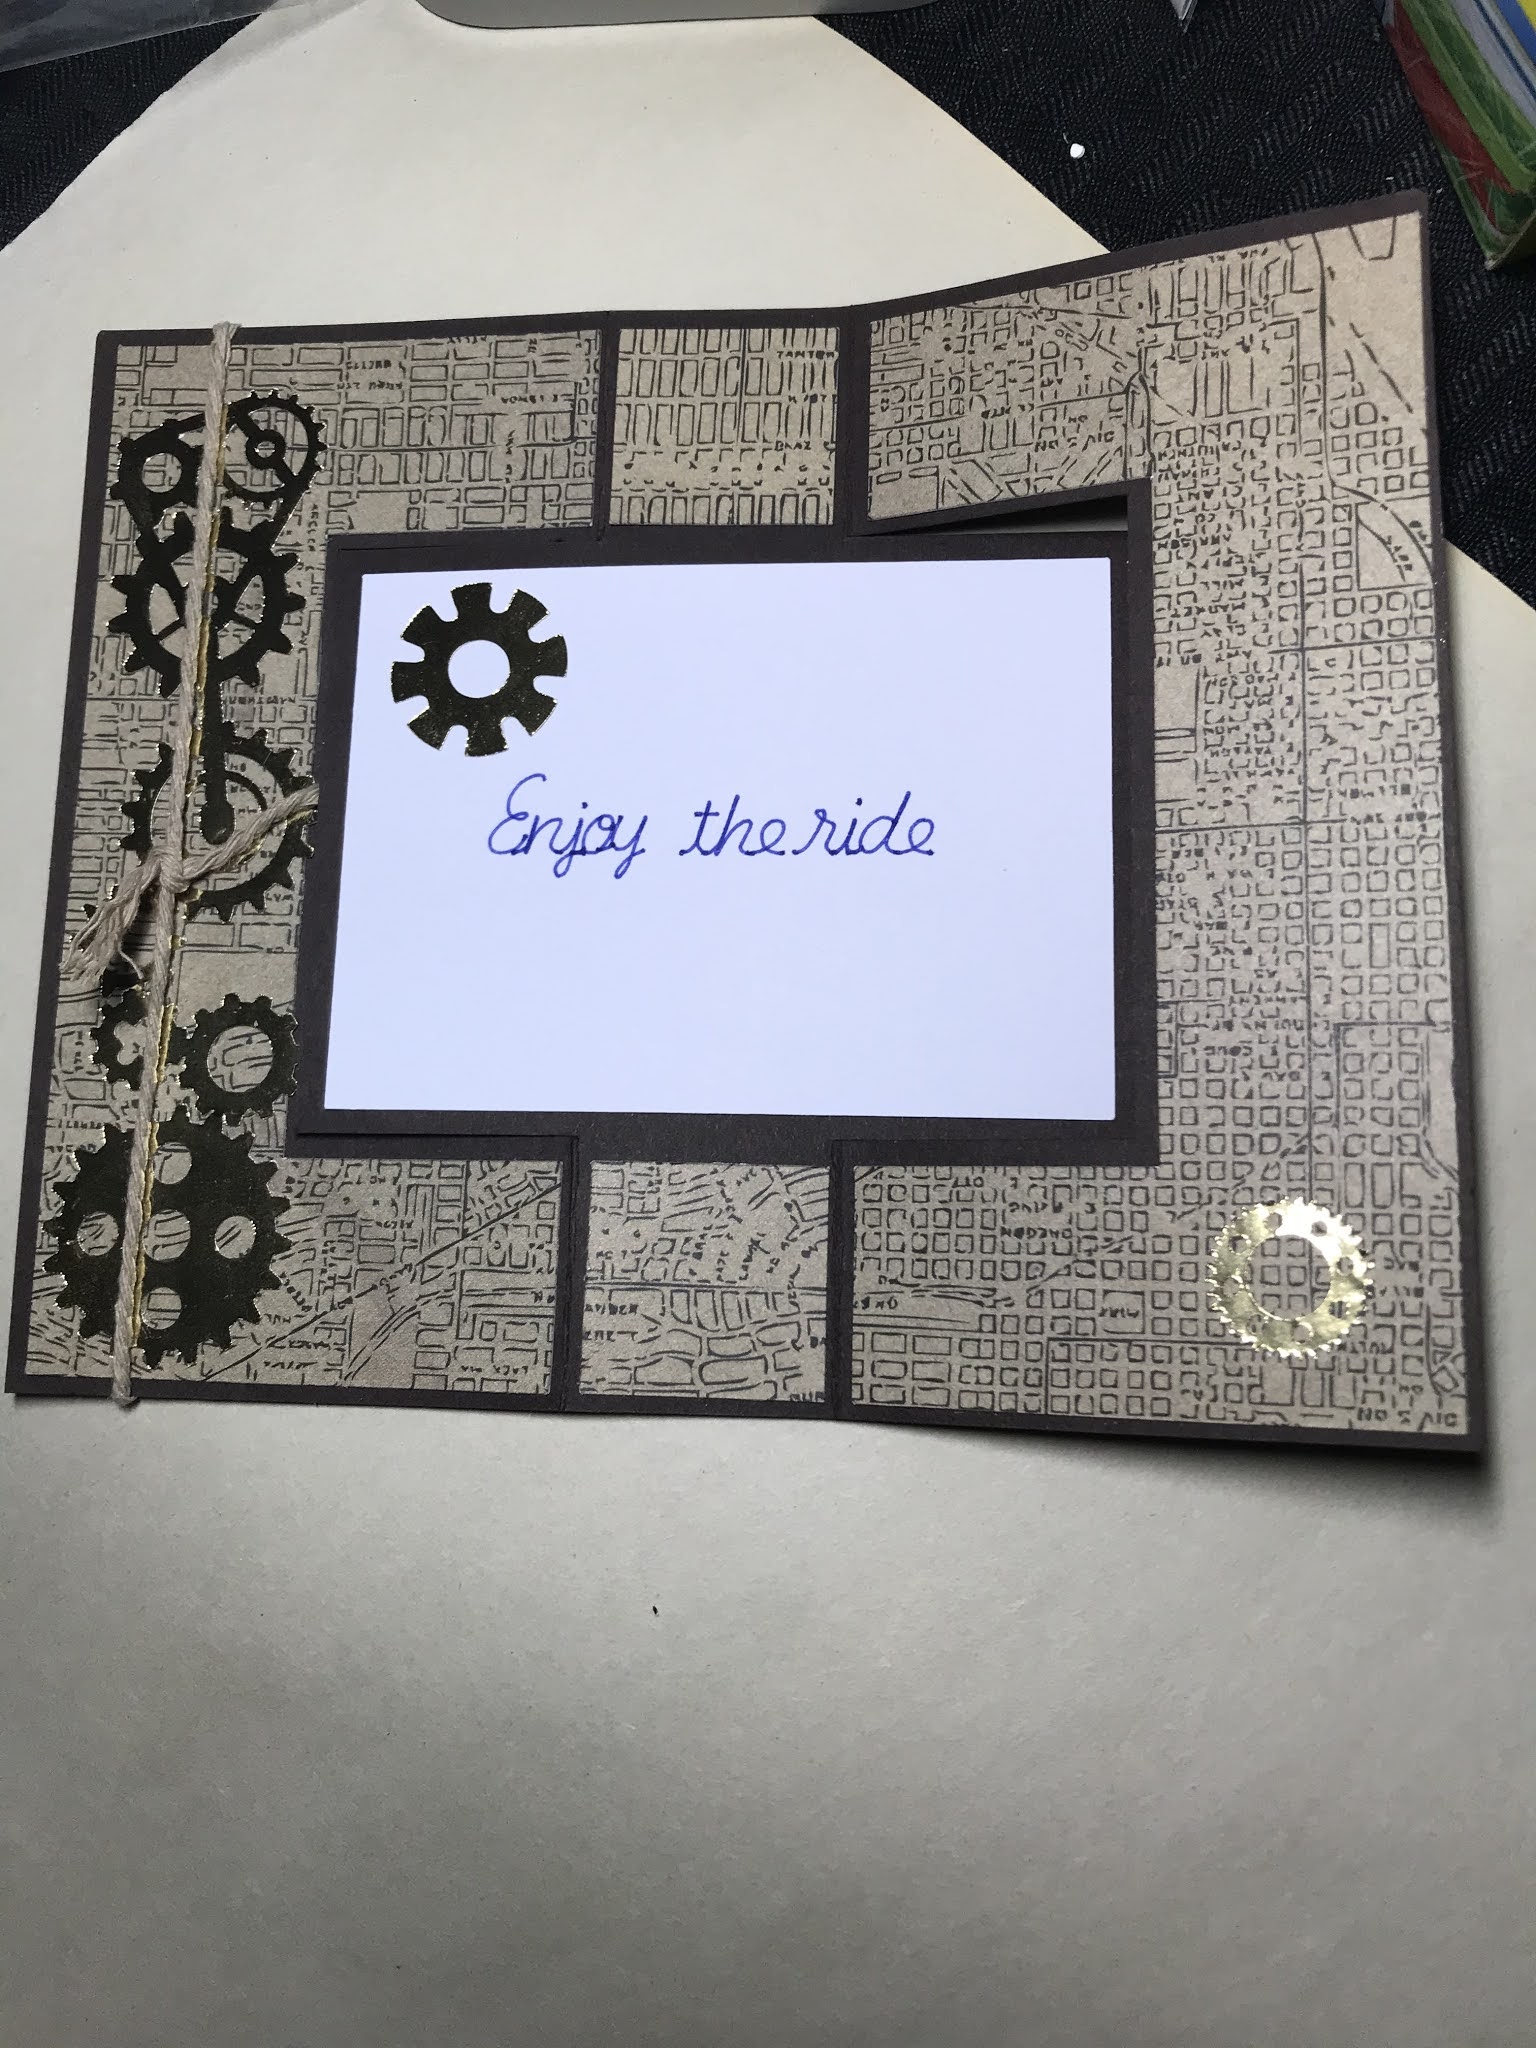
Next, adhere the sentiment on the inside of the card.


Going back to the small plastic bag, there are at least 3 gems to adhere to the front of the card.  I wanted them to look like drops of water.  You can always leave them off if you’d like.

And on to the next card!


Time for a little weaving


 This is a fun card to put a smile on someone’s face.  And don’t we all need to smile now and then, especially during this lousy pandemic!  You don’t necessarily have to lay the strips like I did if you want to do something else.  There are 4 strips of each color.  Be sure to put them down with stitching showing.

There are 2 layers and 2 branches of leaves.  I popped up both layers of flowers.


And finally the inside sentiment which makes me laugh every time I see it.  You don’t have to use it if you find it offensive but with my sense of humor, I think it is hysterical!  I know, I’m sick!


And a very pretty card in a box


This is quite a simple card to make but I think it packs a punch.  The base card looks like this:


 This is the back of the card:


These are the inserts with their matching floral arrangements:


It doesn’t much matter which order you put them in the box but the widest one should be in the back of the box.  Then there is a separate piece that goes in the front of the box above the sentiment.

Add the sentiment on the front and the back and you are finished.


Friday, January 8, 2021

Happy Valentine Day!

Isn't this card a knock out!  It's actually a file that I purchased and then slightly modified.  While making some of the modifications, I thought I would make it much easier for you to put together.  One of the most important things to remember is that you only put glue on the sides where I wrote the numbers.  In fact, I made myself a post-it-note saying put glue on the side with numbers to constantly remind me. These are the pieces that make up this card:


This card is much easier than it looks.  Basically, the green pieces are the base of the card:


As you can see, each of the heart sections has a number on it.  This number matches up with the numbers on each of the red hearts.  Glue each of the red hearts to the front and back and make sure you put the glue ON THE NUMBERS of the red pieces.  


Once you attach all the hearts to the bases, fold the bases on each score line and assemble the large pieces in the method as in this card from the Christmas collection:


Make sure the green piece with the tallest heart in the back.  


Again, after you’ve decorated the green pieces, attach the side pieces which already have the hearts attached.  


Glue the side pieces to the front and back pieces.  Now fold the card like an accordion and use your bone folder on each of the folds.  Make certain the card spreads open and closed easily.


Now take the fence pieces and fold them on the score lines.  


The short fences are for the front and back, in the center of the card.  The long pieces get wrapped around the card.  Only use glue on the ends of each fence piece, not all around the card.  Again, fold the card and use your bone folder to make sure the score lines crisp.

Now attach the words to the front of the card referring to the first picture.


I included the small narrow green strip in case you feel that your front stem needs to be reinforced.


Good luck with this one.  Don’t hesitate to call me if you have questions.

A pretty birthday card


 Isn’t this pretty?  These are the pieces that make up this card:

card base


Fold card base and put this piece on the top of the front of the card.


Attach this piece to the bottom of the inside of the card


Now attach the flowers and the leaves.


Attach the inside sentiment and be proud of what you just created!


.

A fun male card


This is called a swing card which is very easy to make.  Attach the patterned pieces first, then work on the front piece with the car and the back piece with the sentiment.  When finished, this is what the front and back of the card look like.


I don’t know why duplicate photos are posted!

I hope these directions will suffice.

Balloon card in a box

 We can’t get through “class” without a card in a box, can we?


This one is a little bit difference in that there are 2 inserts and 4 sections on the inside of the box.


The balloon sections are glued to the image/insert in front of them as you can see in the above picture.


Now attach your leaves and flowers, the gems, and the back sentiment.

All done!