|


Now follow along with this sequence of photos:


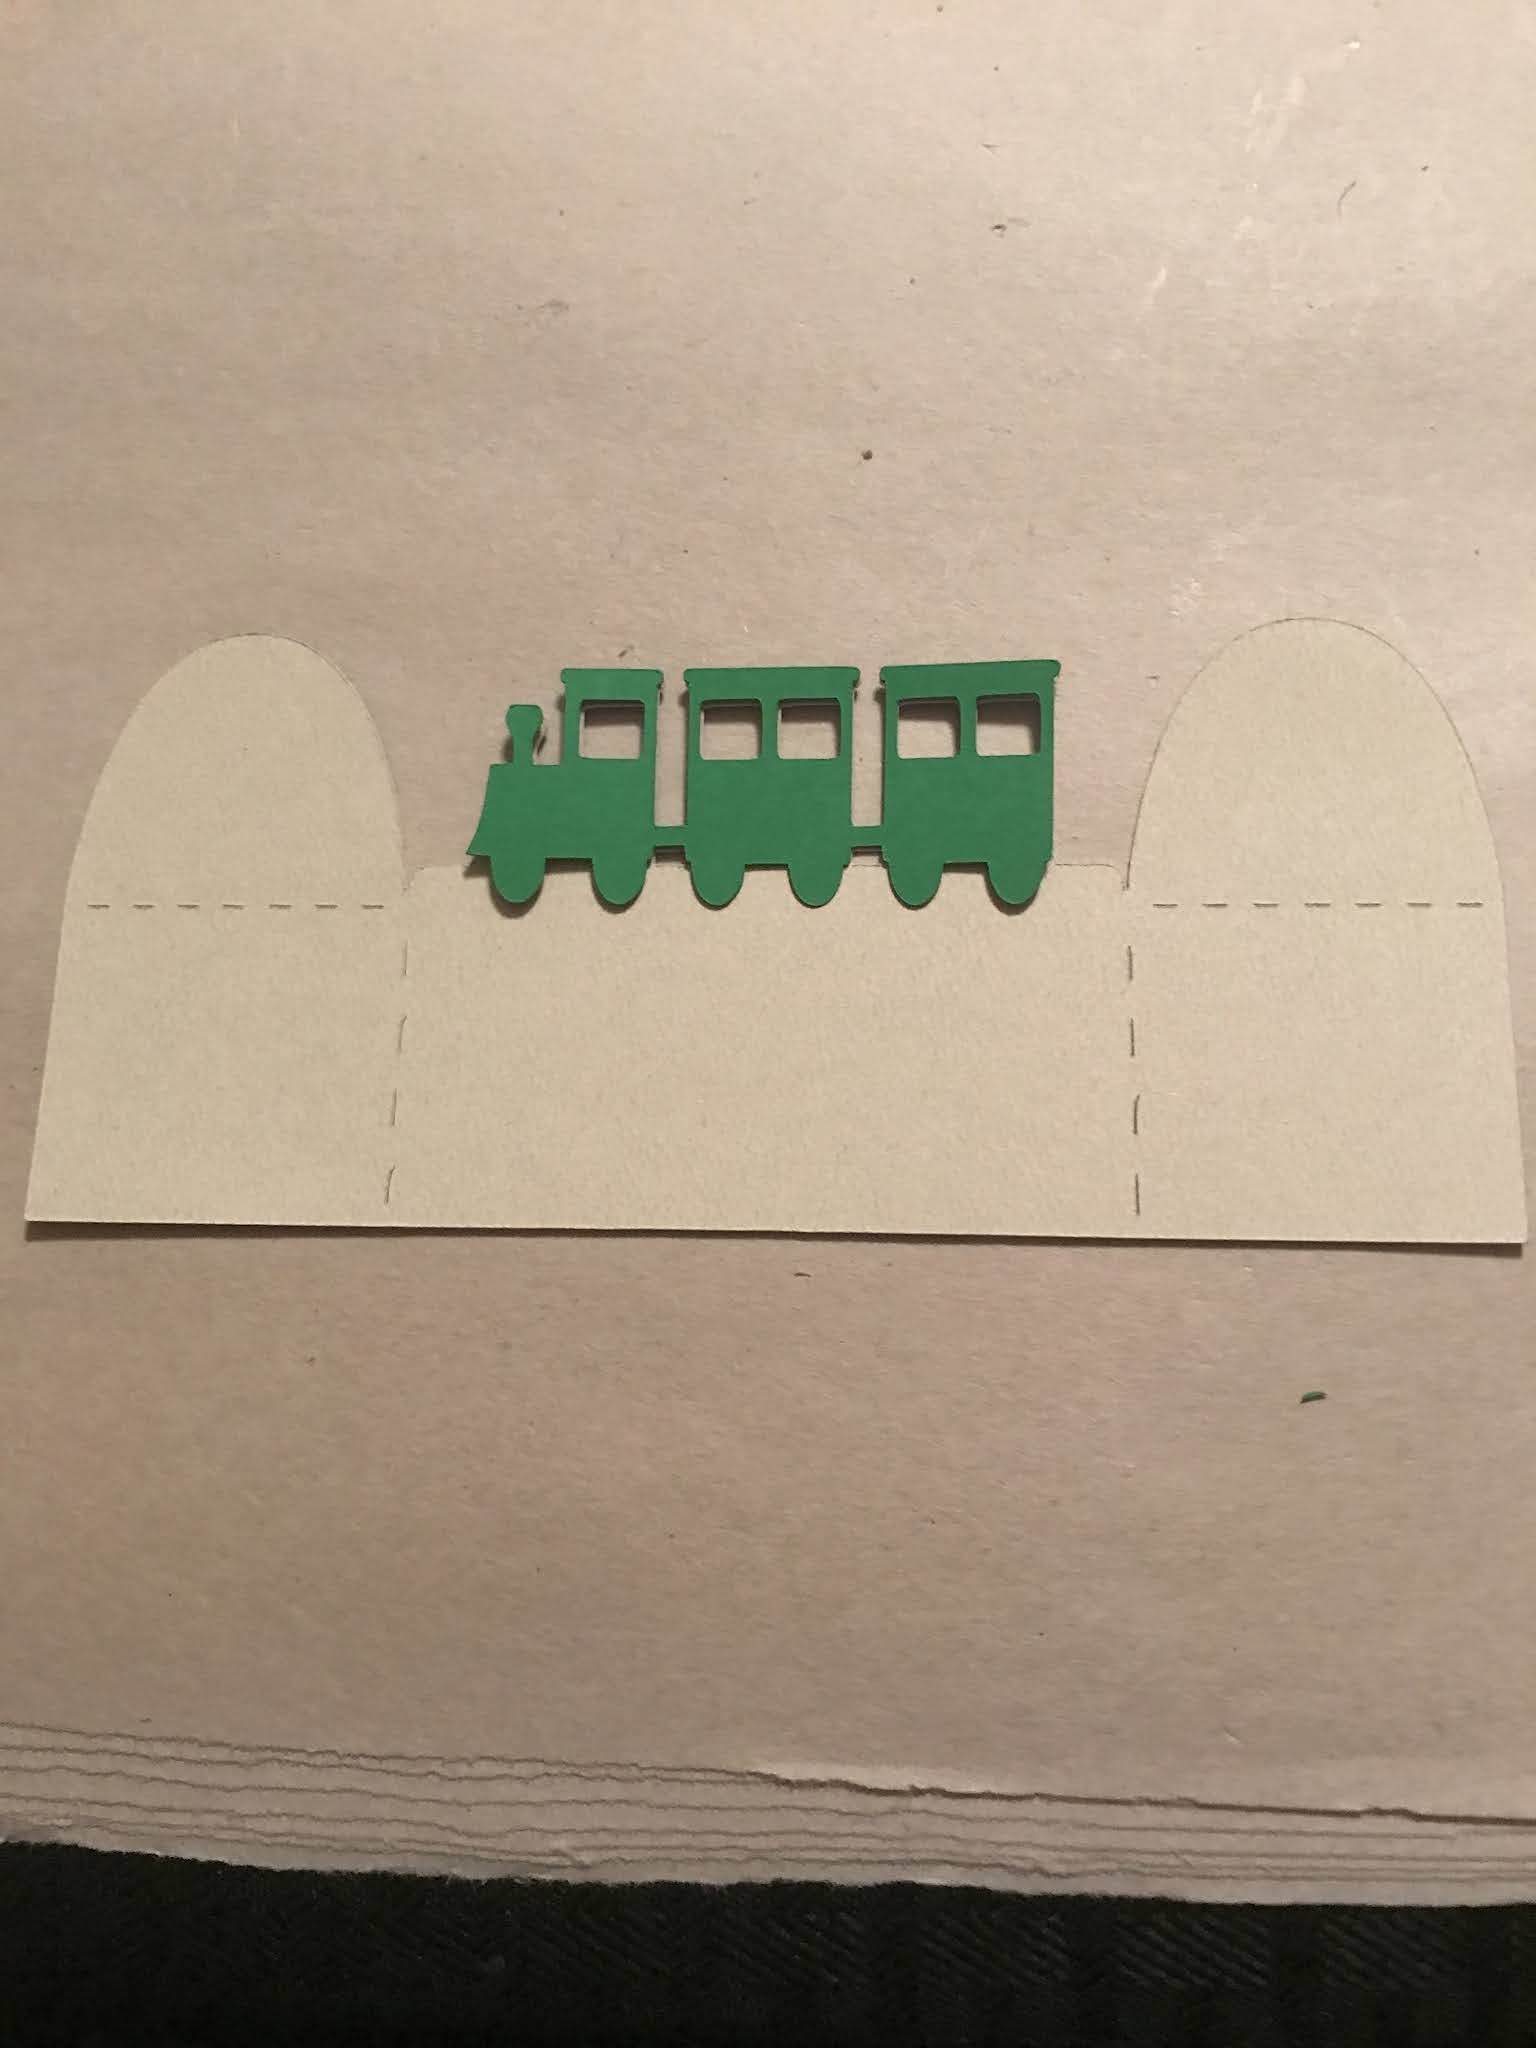
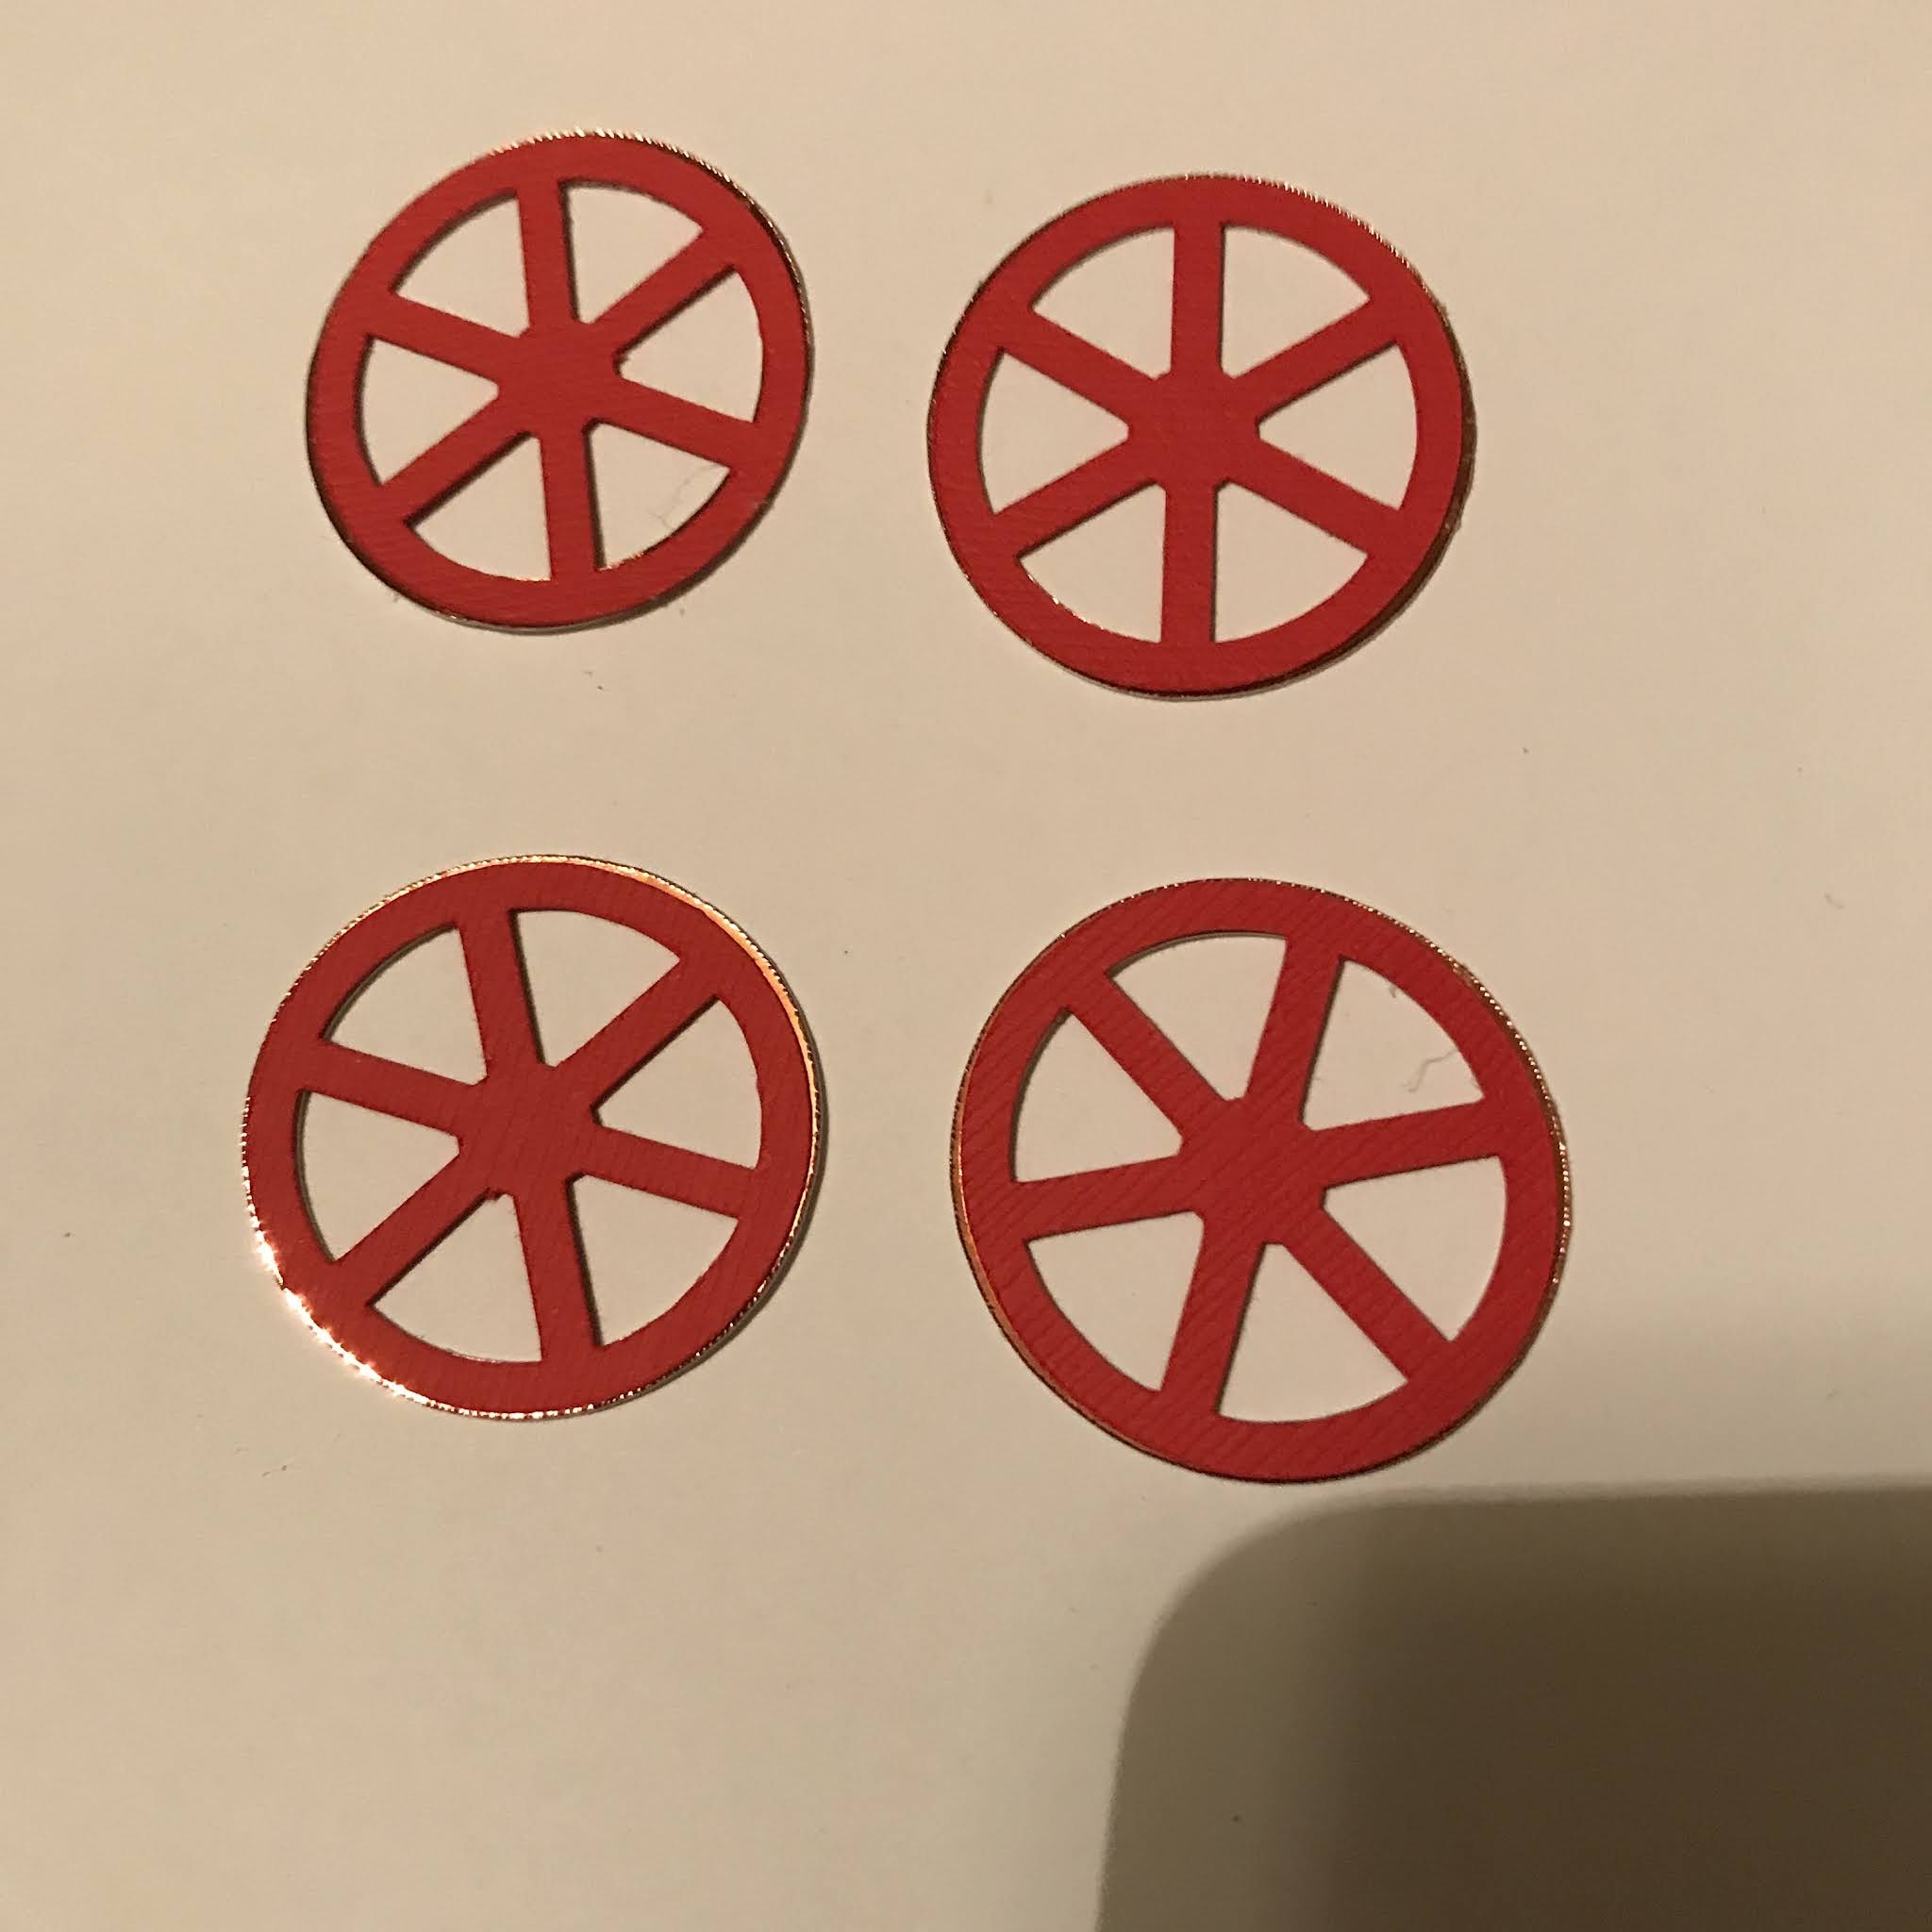
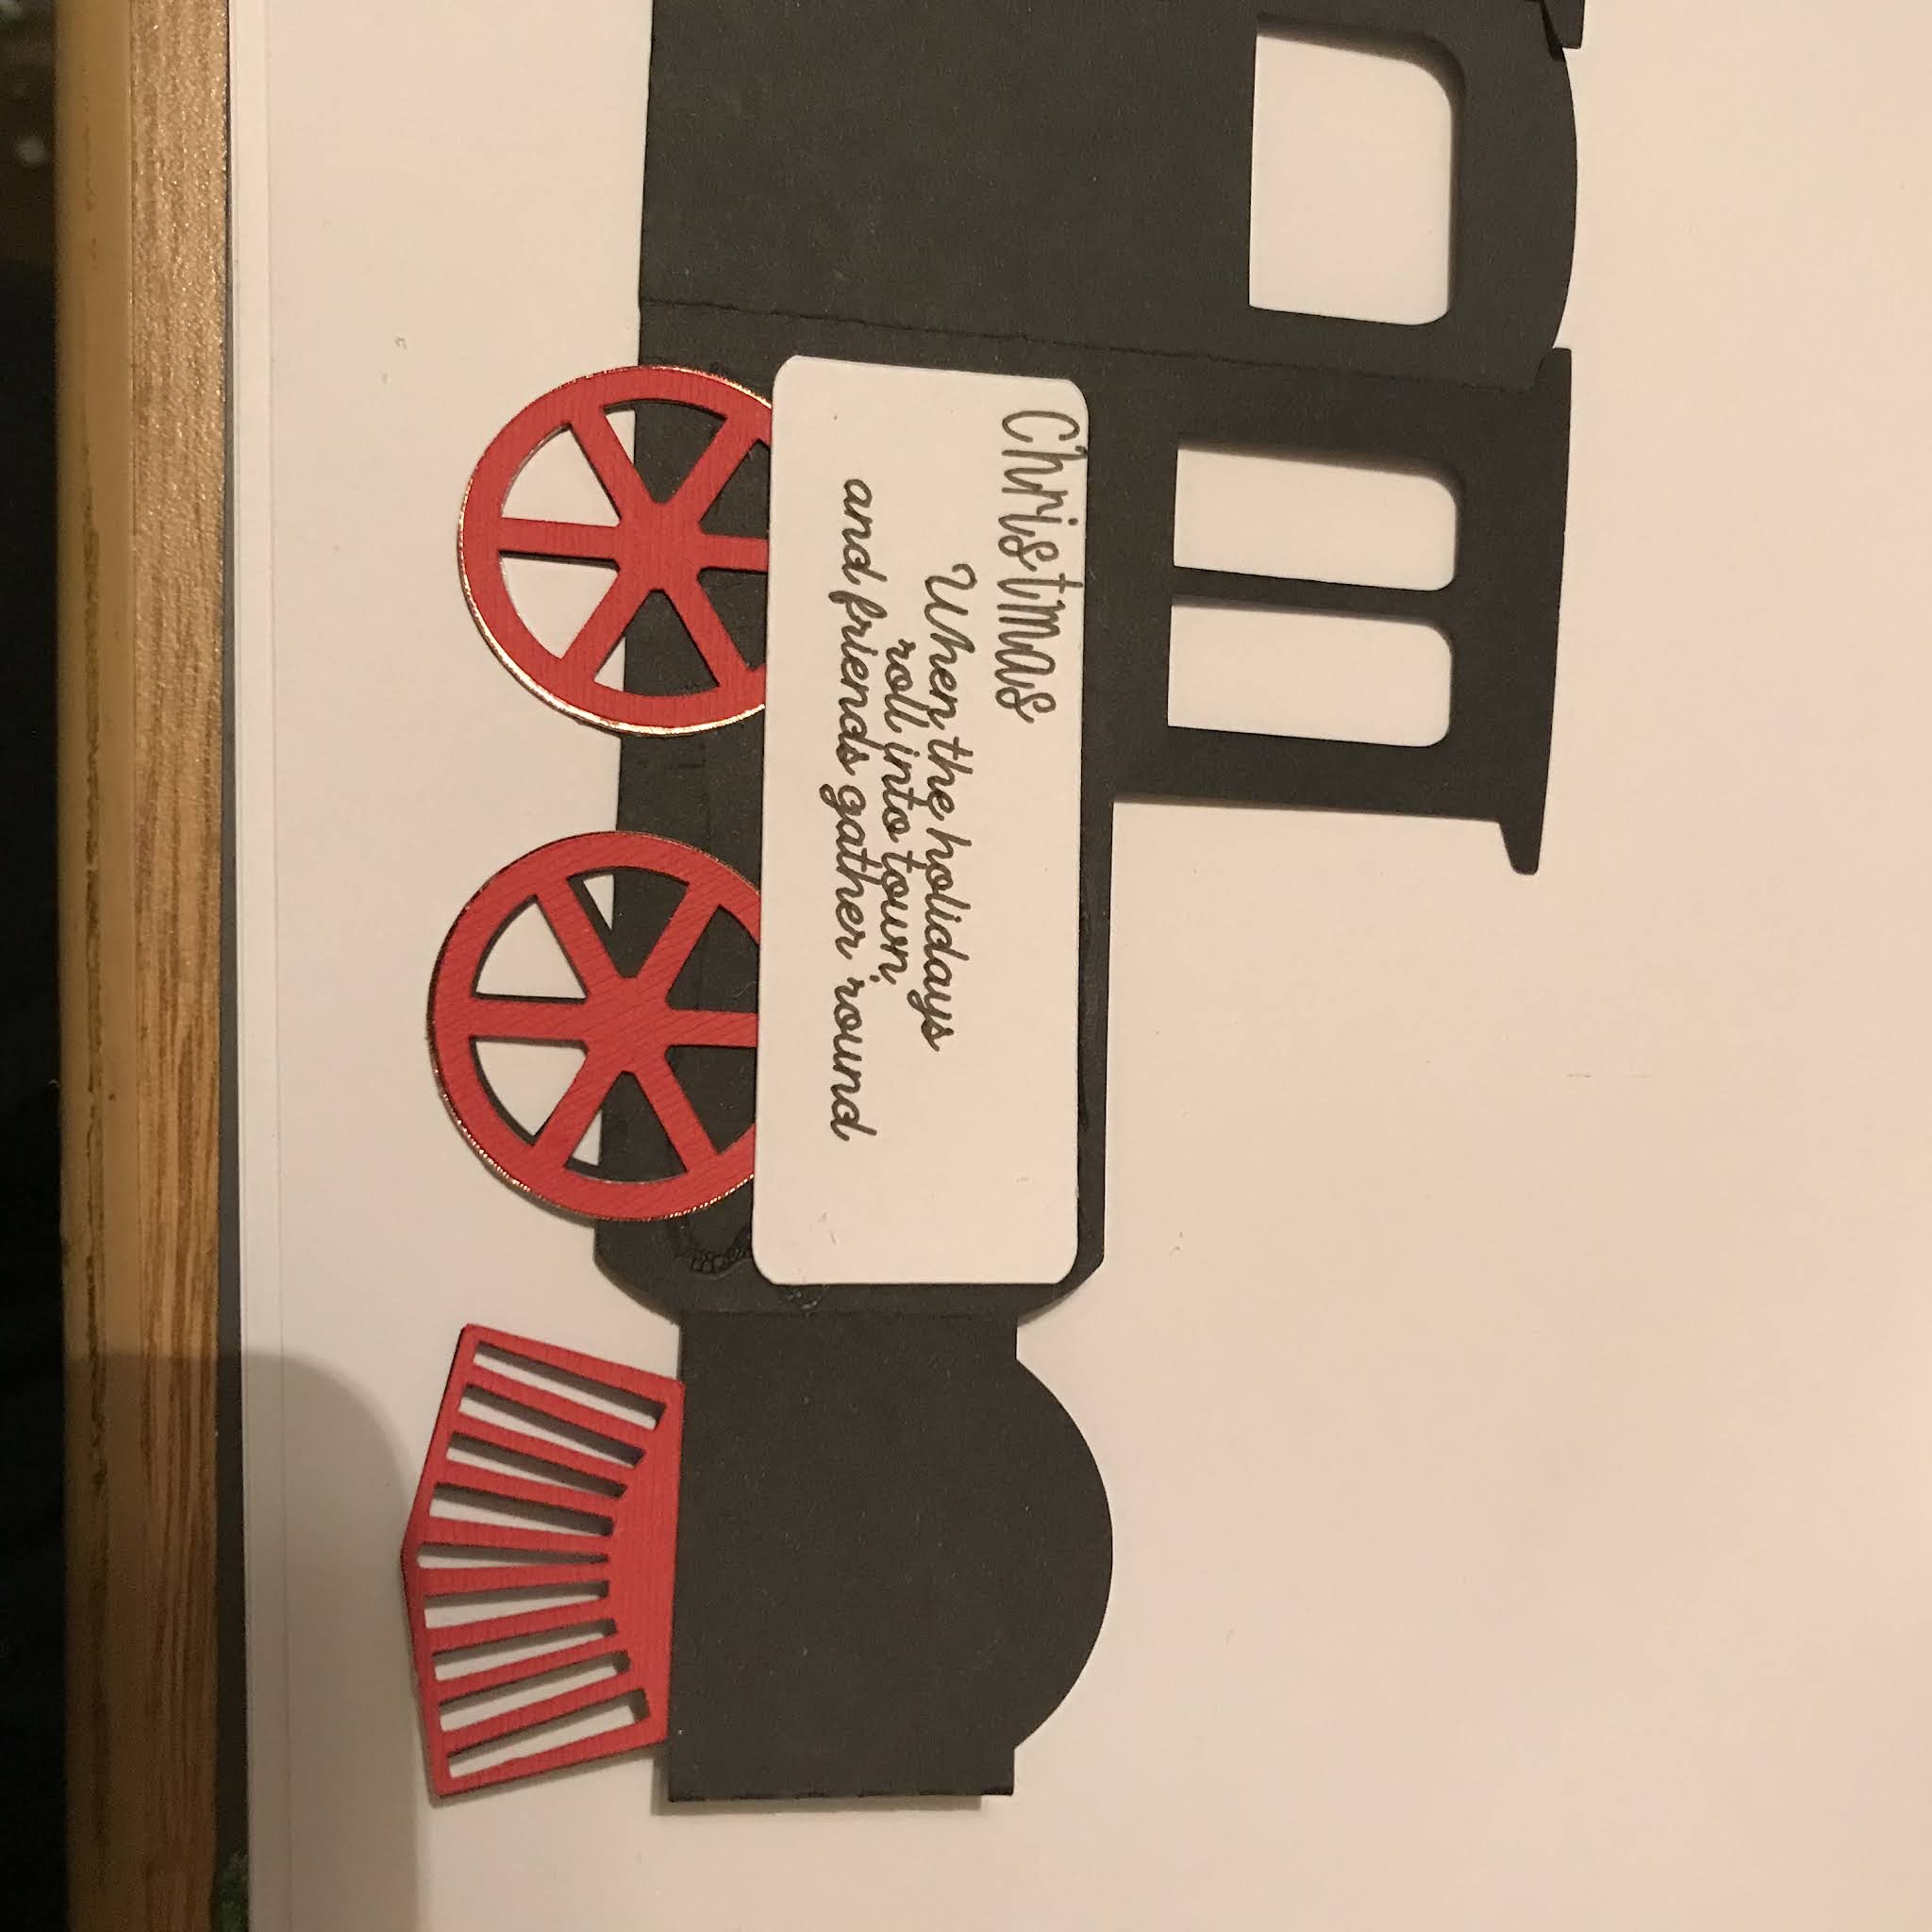
This is the front of the card which holds the train. The train consists of the card base, green train pieces and then the red pieces on top of the green.

Now That completes the train layer. Next, take all the pieces for the tree insert.

Line up the tip of the second tree piece at the top of the first green tree, then the smallest green piece, again aligning all the pieces AT THE TOP OF THE TREE. Attach the star and the brown tree on the back of the green tree and the tree layer is complete.

Now, I’ll ask you in advance to forgive me for the next series of terrible pictures. I just couldn’t get clear pictures so everything for the teddy bear is fuzzy (no pun intended). I am tremendously happy that this blog post is my last blog post!!
You will never again have to pick up kits from my front porch and take them home to assemble. You’ll sit inside my house with everyone else and put the kits together all together!
Now on to the teddy bear insert photos.


Now for the teddy bear:


Since you weren’t able to view the cards today, I’ve taken more detailed photos at the end of this post.

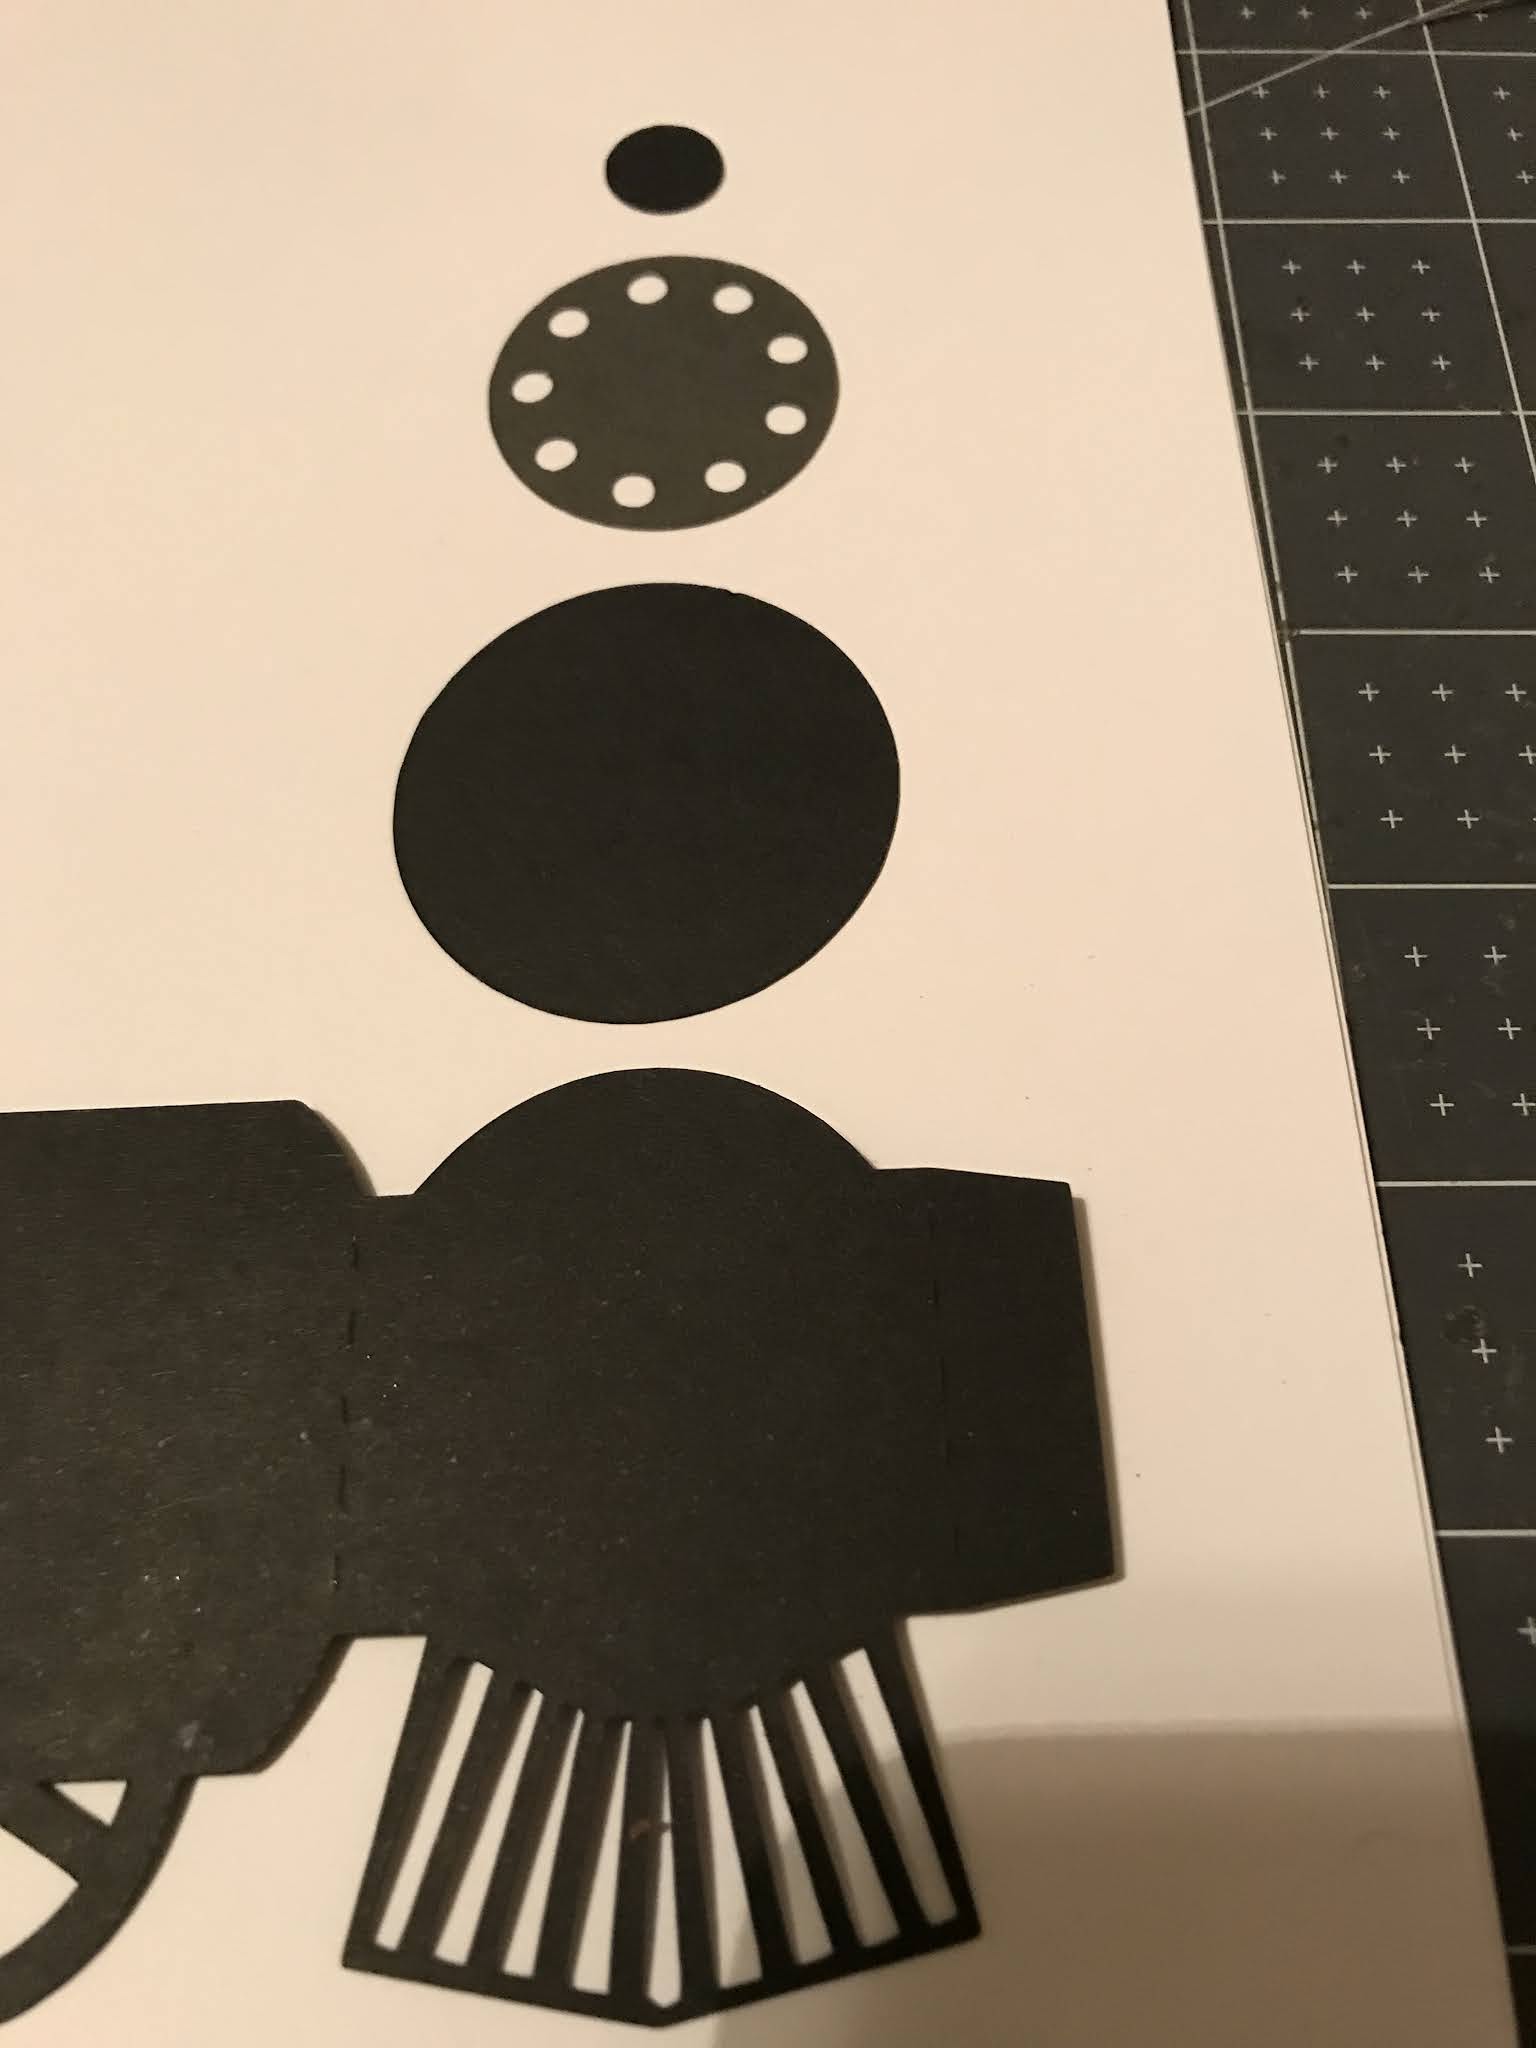
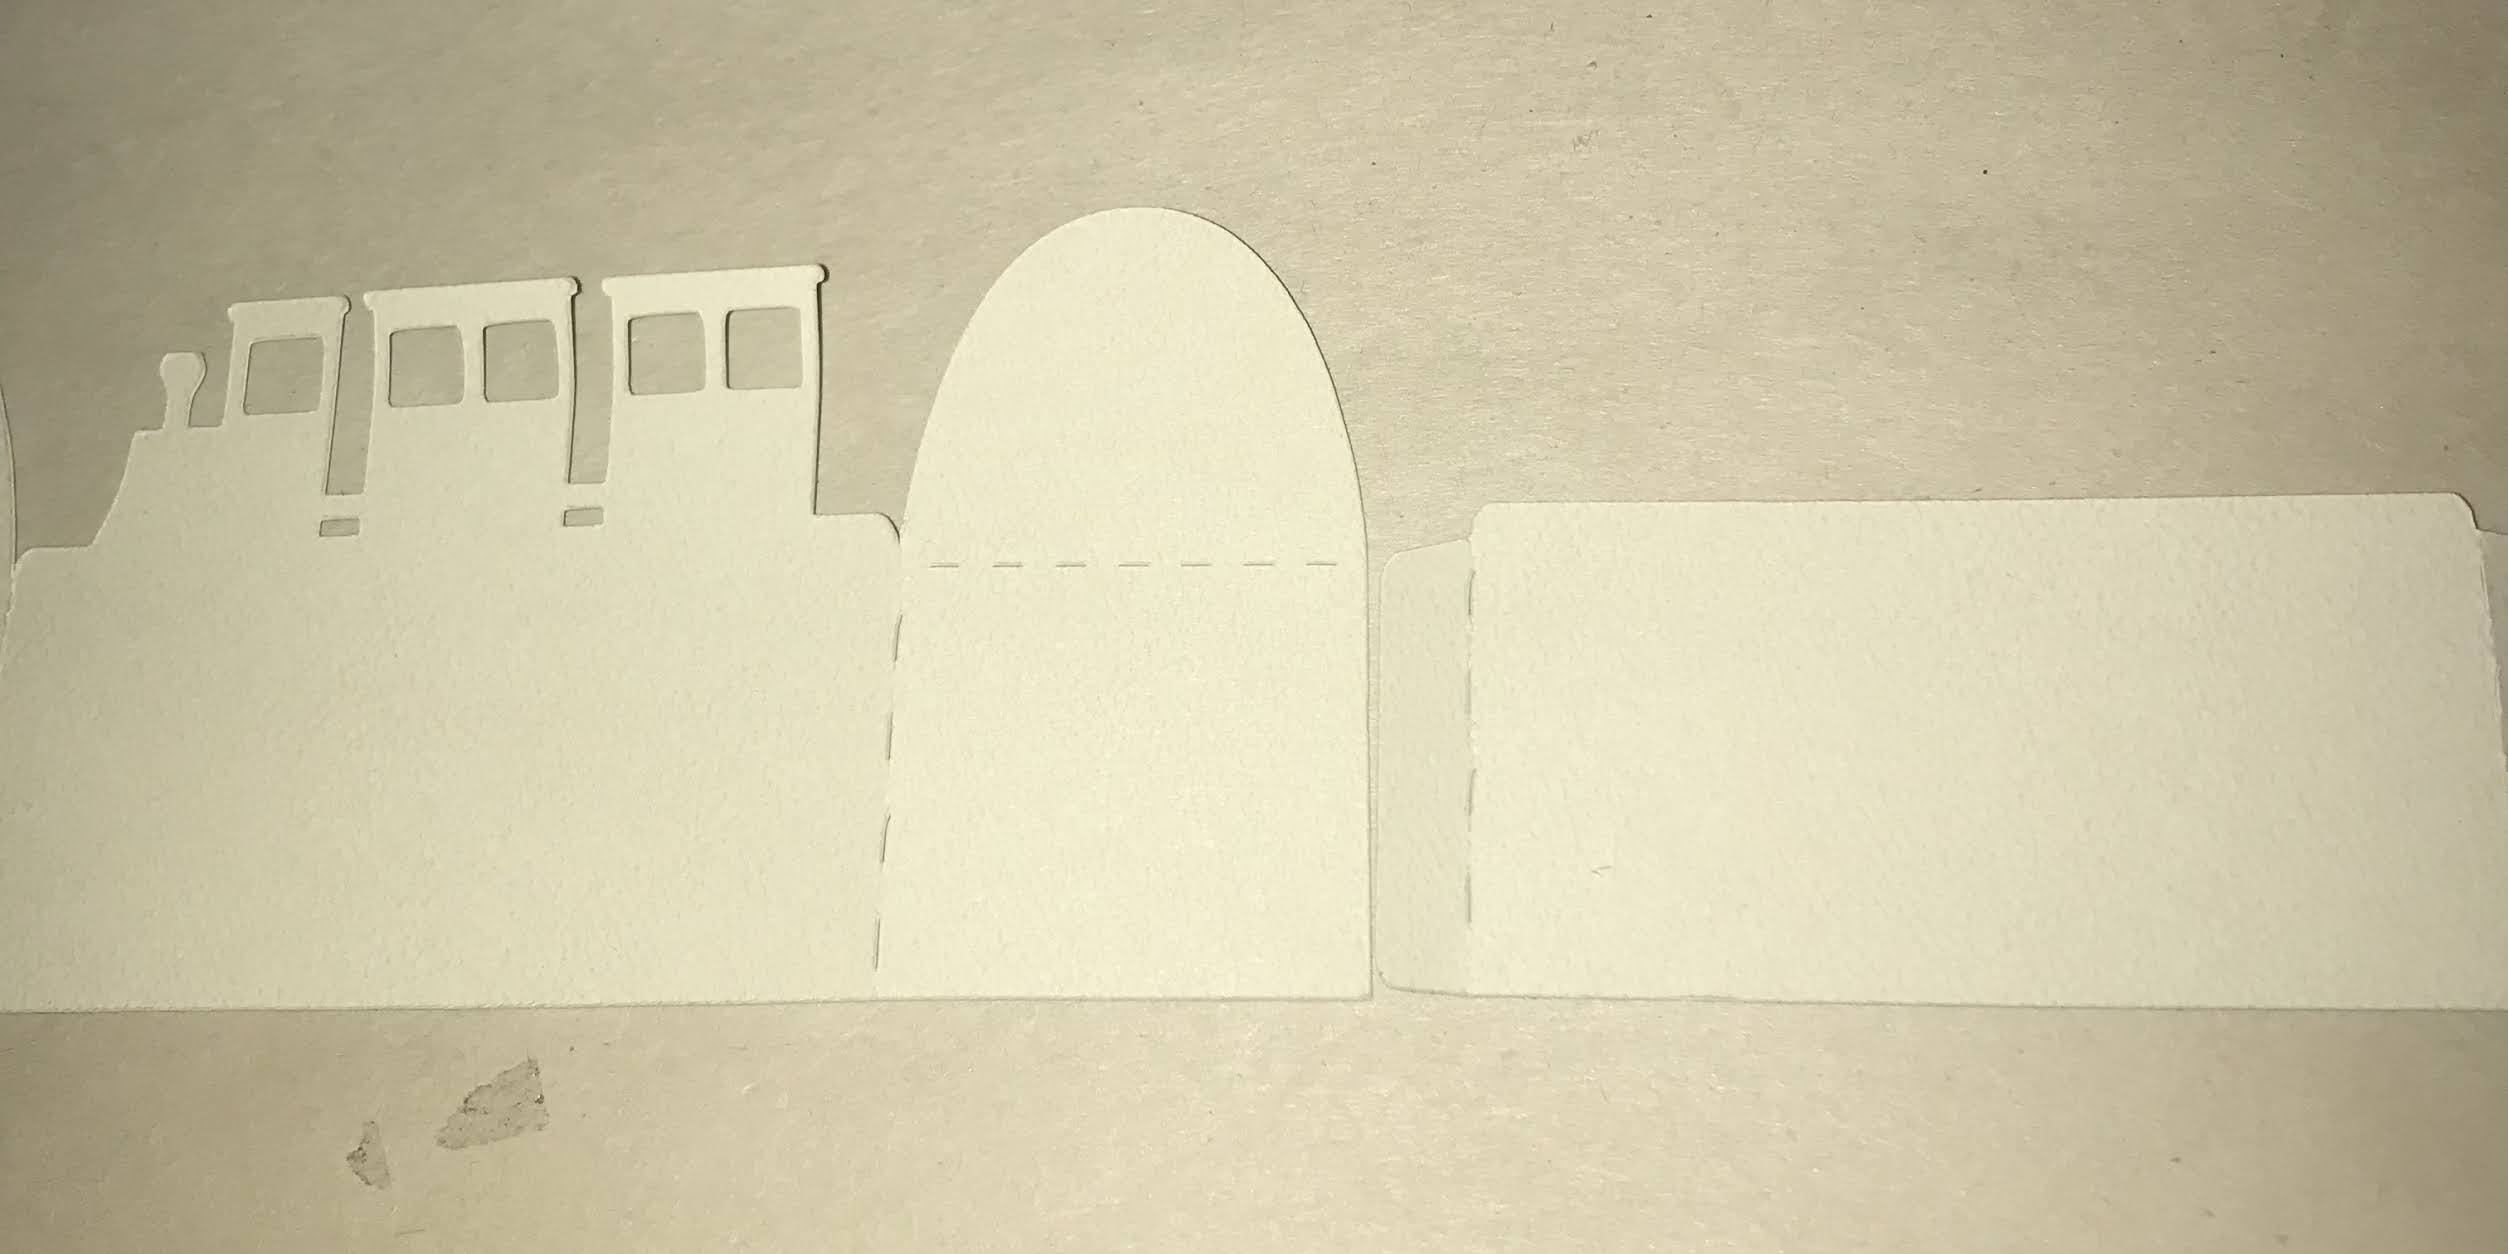
Lay out the 3 black pieces so that the smallest black piece is between the 2 large pieces. This is the back of the train. Fold on all score lines and adhere. You will end up with the train in the shape of a box.

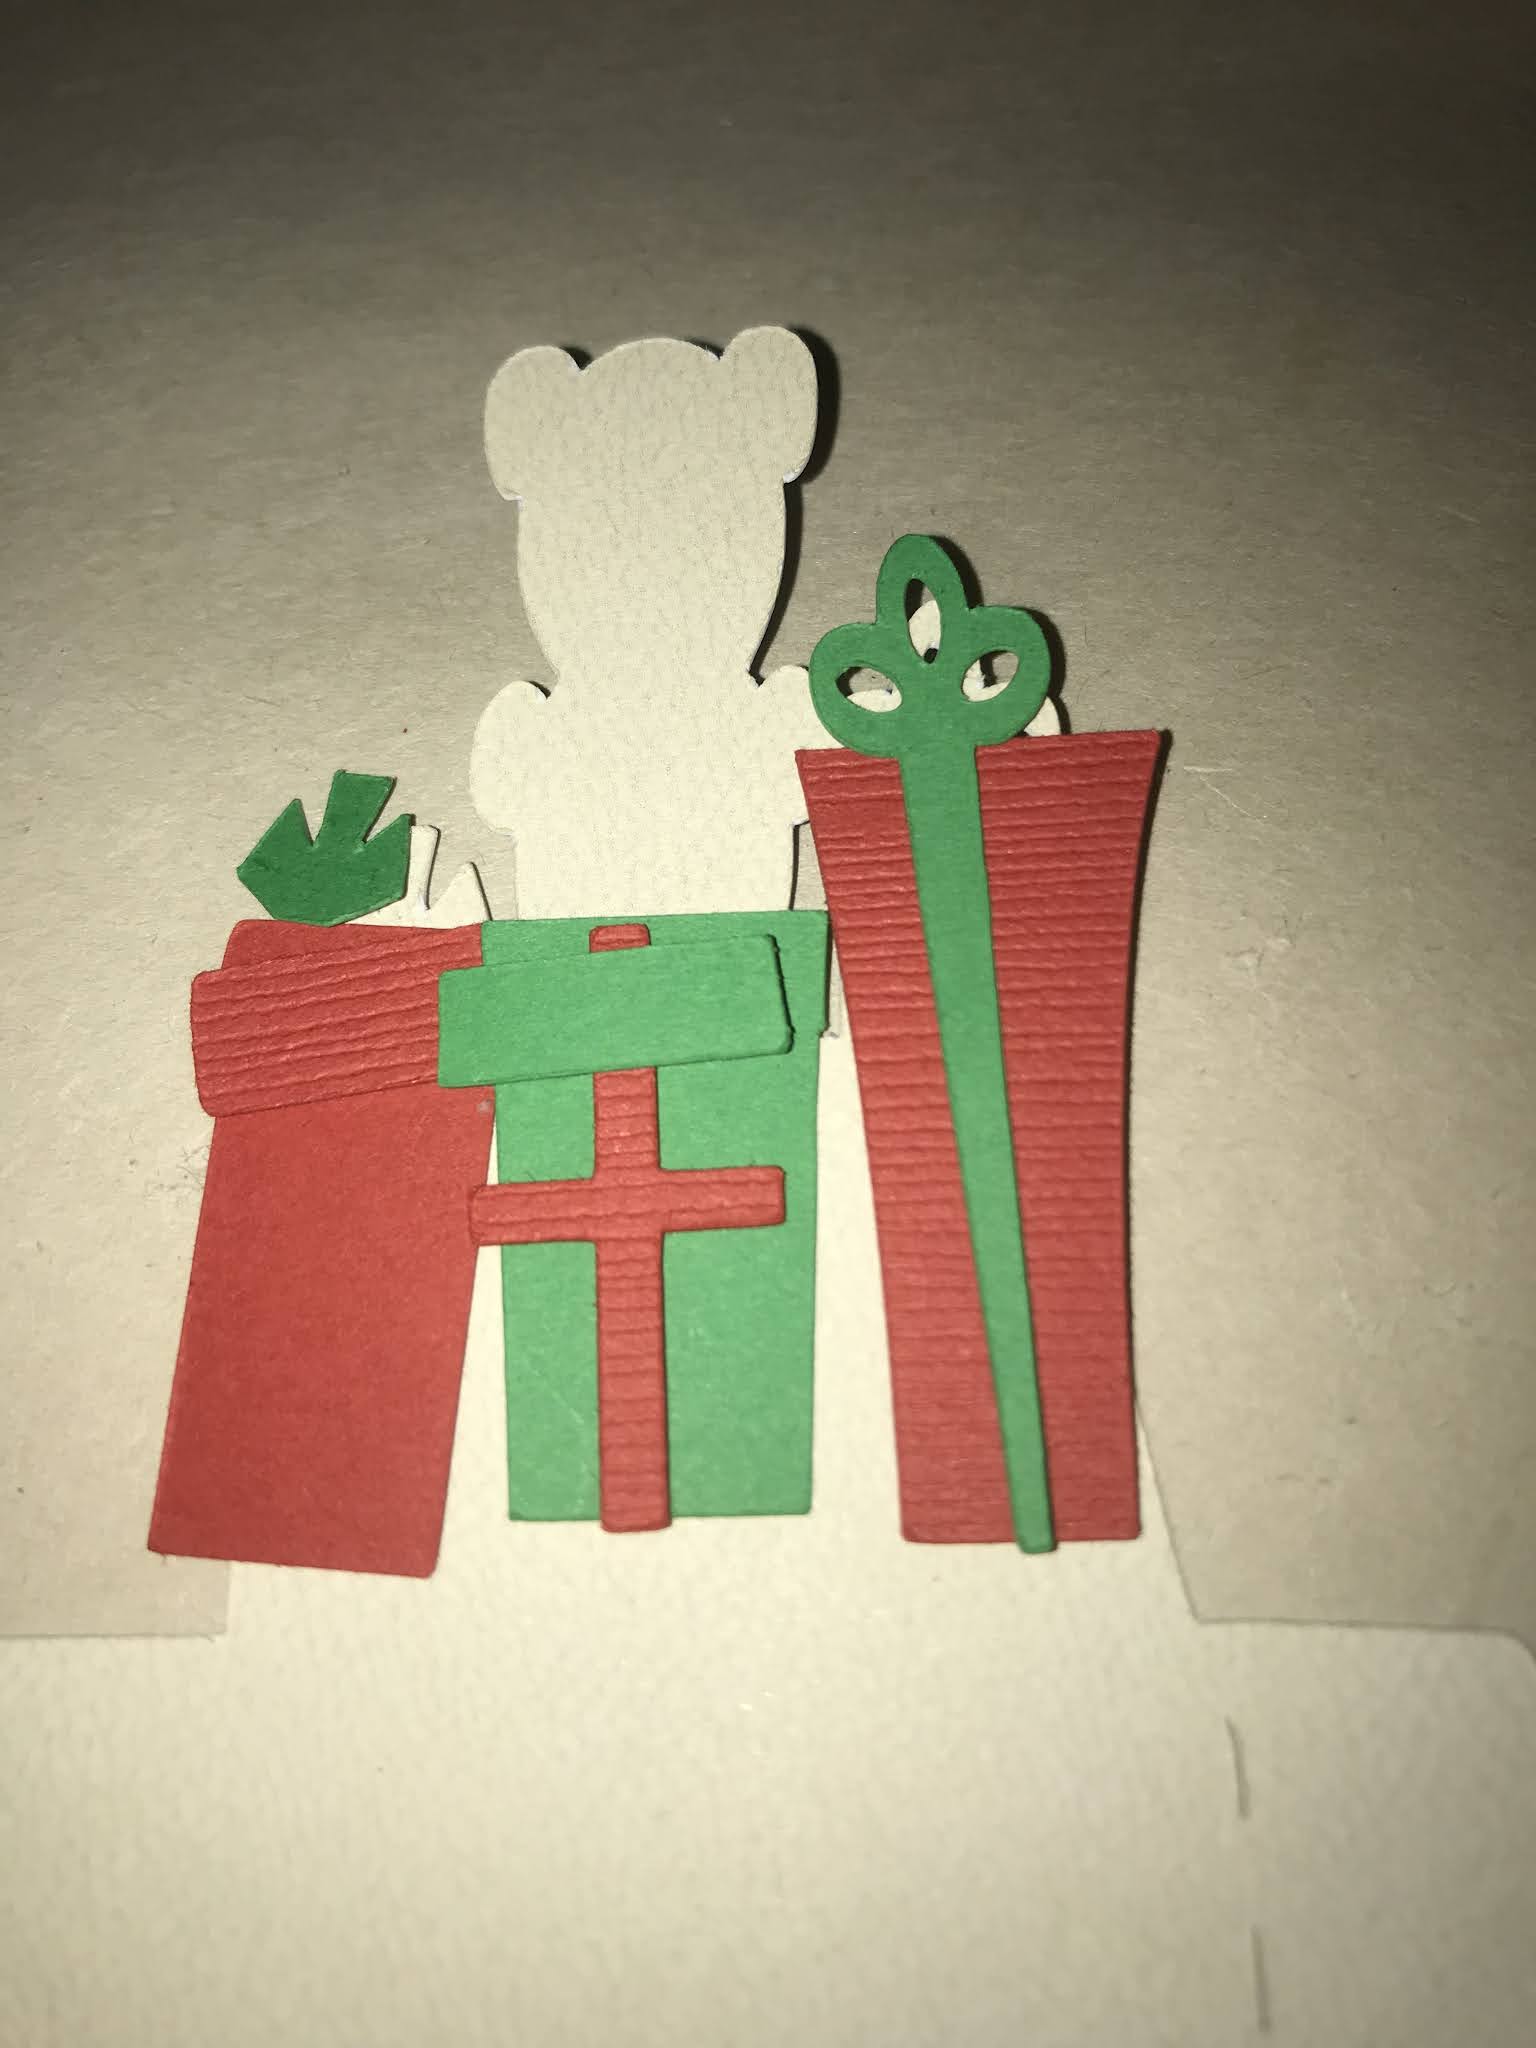
Decorate the pieces as shown below.