Friday, April 9, 2021

Some tips before you begin

 Hi everyone - I do have some tips to make this batch of cards easier to assemble.  First off, there are a lot of small pieces on most of the cards which I put together in a small bag.


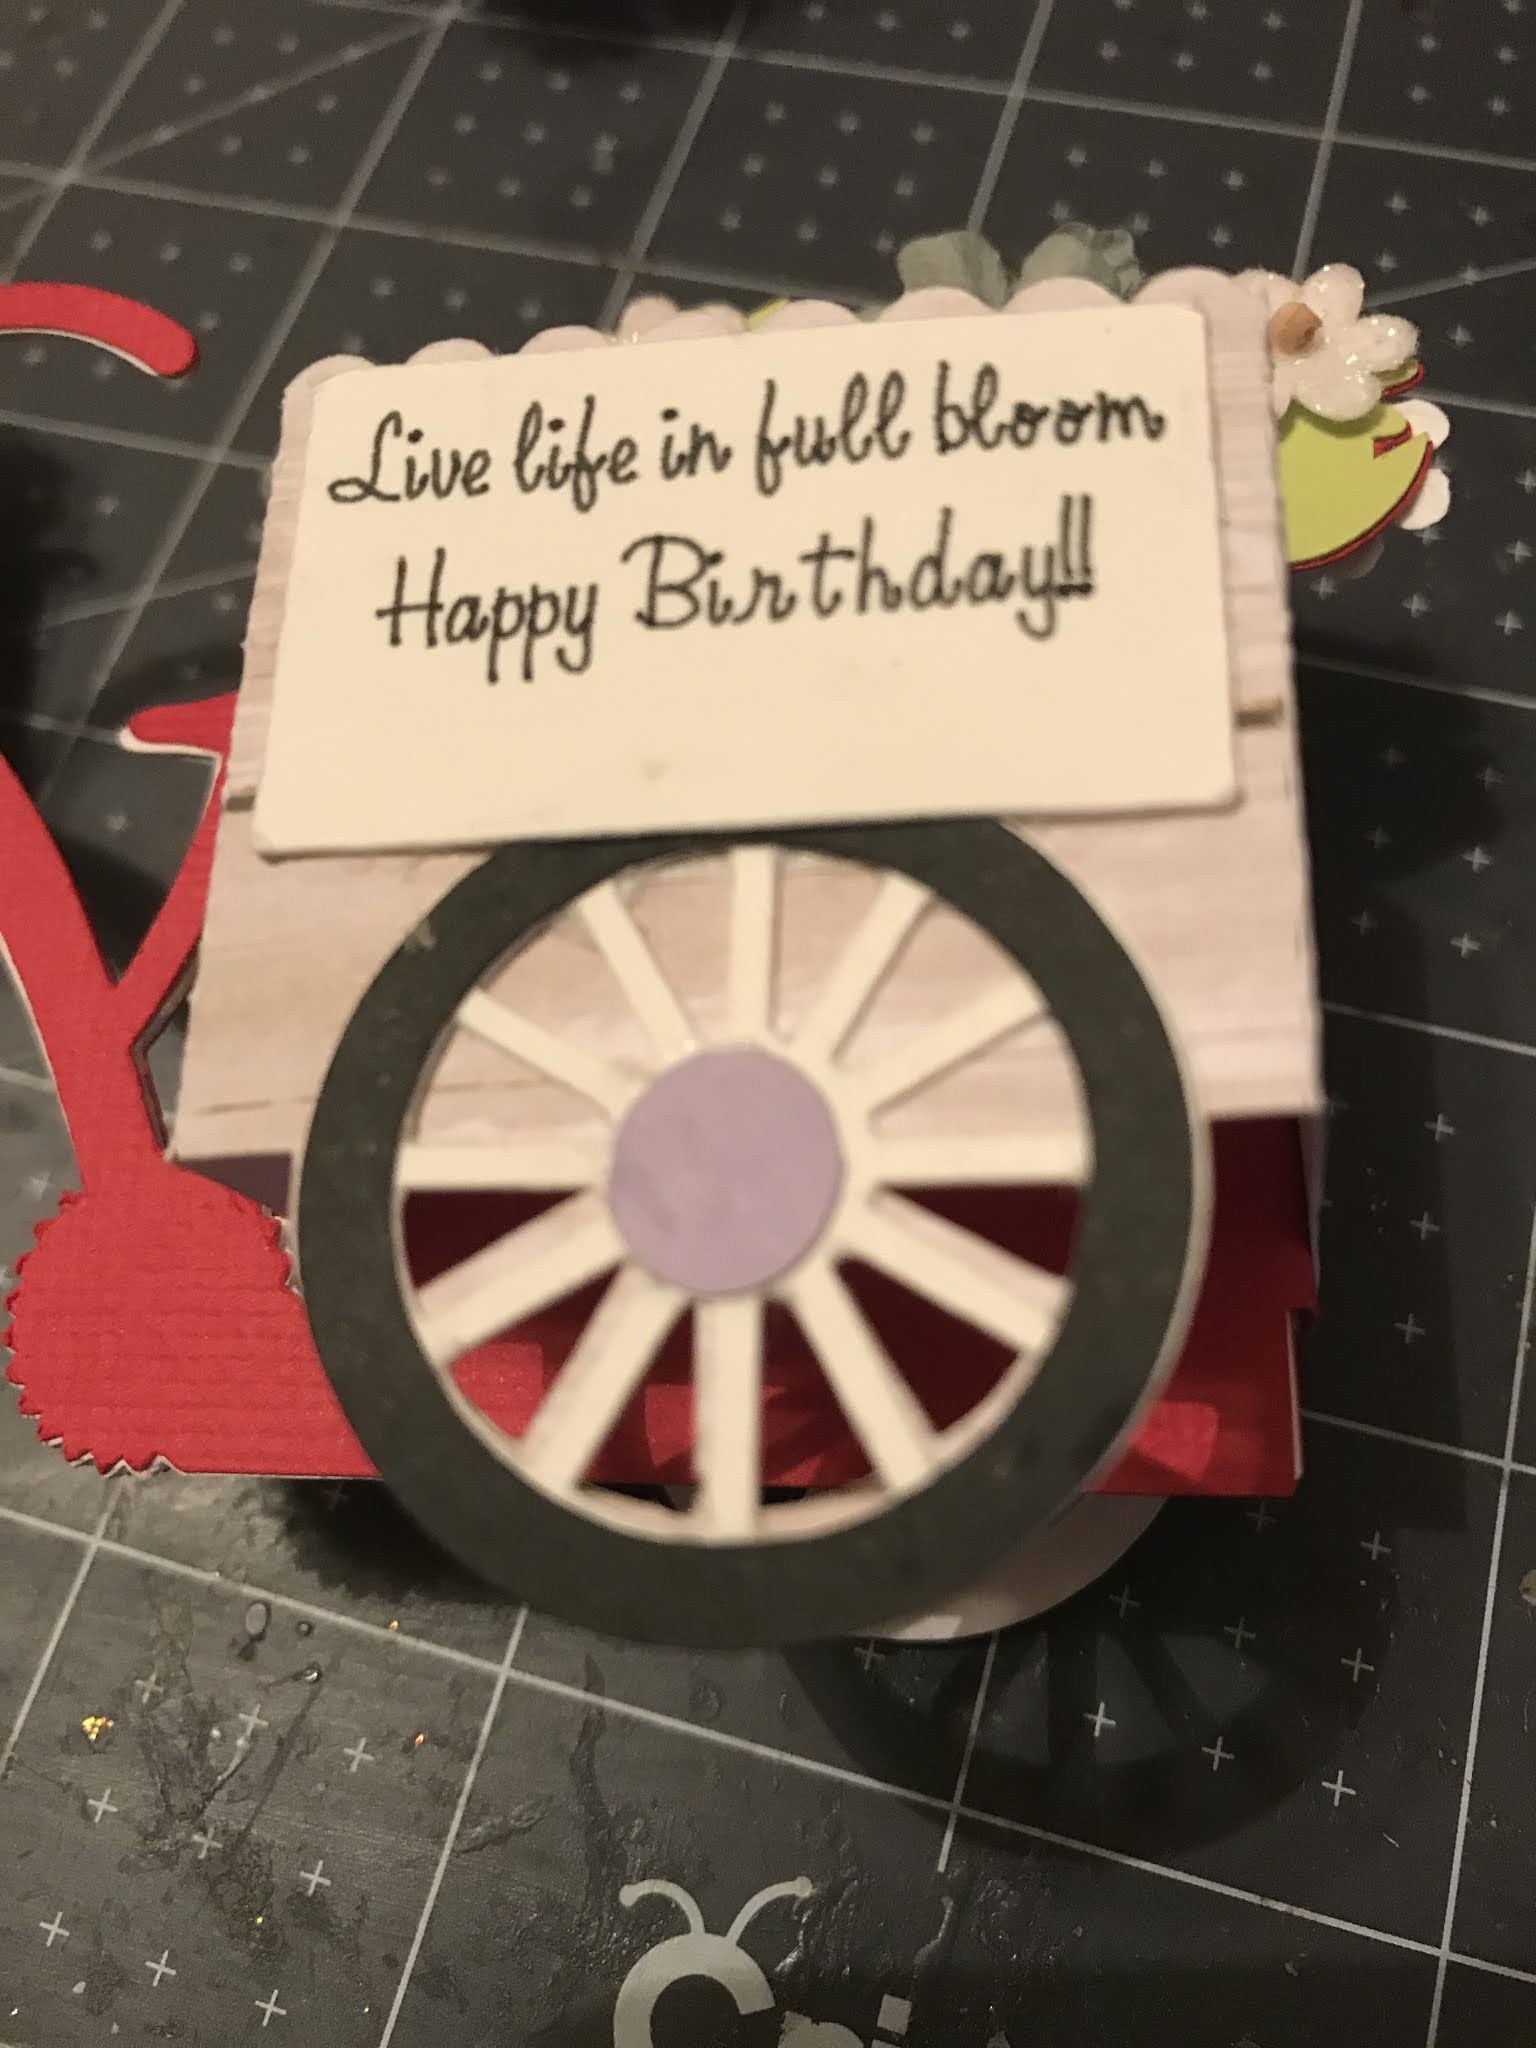
There is a selection of flowers for the bicycle card, 2 small cream pearls for the friend card, 3 colored “candies” for the male card, and 2 bike seats, 2 handle bar covers, 2 pedals, 2 large hub caps and 2 small hub caps for the wheels of the bicycle.  Plus 3 white pearls for the piano card.  Intrigued yet?

Also there are loose larger flowers in the large bag.  I didn’t want to crush them in the envelope.  These flowers are for the bicycle card.

And finally, the words for the friend card are sandwiched between the stamped image and the mat for the stamped image.  There is a tiny “i” there so be careful not to lose it.

UPDATE:  I removed the flowers from the small bag and added to the larger bag of flowers.

Shall we begin??


A quilted card

 This card is fairly easy (the worst is yet to come!)


There are 12 squares in the cut-out.  Just put different squares behind each of the openings.  Adhere the image to the mat and adhere that set to the right side of the card.

This card is intentionally left blank on the inside so you can write a personal note.

Bicycle flower card (CIB)

 Okay, put on your seat belt!  This one is going to be a doozy!


Have you ever dreamed of being a florist, taking beautiful flowers and arranging them into a beautiful display?  (I actually went to school to become a florist.). Well now is your chance to fulfill that dream.  Your kit contains a variety of flowers to put in both the front and back baskets.  Let your creativity flow.  You can use the flowers anyway you want but I’ll post some pictures at the end of this post to give you some guidance.  In the meantime, let’s put the bicycle together.

You have 2 red pieces of the bike and 2 white pieces.  The white pieces are used just to add stability to the bike so glue the 2 white bike pieces together.


Now take the 2 red pieces and put them on either side of the white assembly.


Add the spokes and tire to the red piece as shown in this picture.


Take the small green piece and line it up with the portion of the red bike as shown here:


Now take the large wood grained piece and fold it into a box shape on the score lines.  DO NOT CLOSE UP THE BOX YET.  

Referring to the next picture, wrap the box around the back of the bike.  Center the box on the back of the bike, being sure to line up the tires.


Now you can seal up the box.  There are tabs on the red piece that are used to adhere the box to the bike.


Follow the same procedure for the box on the front of the bike.  It’s going to be difficult to use the tabs to attach this box to the bike.  Once the small box was added, I slid the box up slightly so I could reach the tabs with the glue tip.  Apply the glue to both tabs and slide the box back down.

The following series of pictures shows the smaller pieces attached to the bike.  


Don’t forget to put the small pieces (bike seat, pedals, hub caps, and handle bar covers) on both sides of the bike.  It doesn’t matter which way you have the bike facing.  Also, remember to put the spokes and tires on the inside of the back box.

Here are some photos of how I arranged the flowers.  Use plenty of glue!


Take your time, muster up all of your patience and have fun.  Call me if you are struggling.

Rita

Just a note


This is another simple card.  As you can see it is shaped like a piano with a keyboard at the bottom.  The keyboard is made up of 2 pieces:  a white rectangle goes on the card first, then the black overlay goes on top of the white piece.

After you’ve put those two pieces at the bottom of the card, place the two swirls above them and embellish the swirls with the flowers.  The flowers consist of a white flower topped by black flower.  Stagger each piece so that each color shows.


And this is the inside of the card, suitable for either a man or a woman.  Sorry it looks blue (or at least it looks blue on my iPad ) but it is stamped on white cardstock.


Male card for an oldie but a goodie


 I think this is a great card for a man.  The stripes are actually 3 blue strips of cardstock on a white piece of cardstock.  Just adhere them evenly space across the white piece.

And this is the inside of the card.


Friday, April 2, 2021

A note before you begin ...

 There are several pieces in the four cards today that were just too small to put in the individual kits.  So there is a small bag in your large bag.  This small bag contains the dials for the barbecue card, the pearls for the get well card and the white flower centers for the sympathy card.


Have fun!!


Rita

A pretty get well card


This is a simple card to put together but I think it is very striking.  Just follow along with the following pictorial steps and you’ll have it done in no time.

The large black piece is your bottom layer.  Now take the pink piece and attach it to the BACK of the white piece being sure to cover all the openings in the white piece.  The second picture below shows what you SHOULD’T do.  You don’t want to see any of the black behind the front of the card.


M


Now take the two black scroll pieces and fit them on top of the white piece.


Match up the black outline with the flowers on the white cardstock and glue them in place.  


Attach the inside sentiment and you’re finished with this card.


Have a perfect day


 By now, you know how to layer these flowers.  You’ll notice I didn’t glue the leaves completely down (or is it down completely).  I think it looks much more realistic with the loose leaves.

I forgot to take a picture of the inside sentiment but it says Have a perfect day and it is on oval pieces just like the front of the card.


Unfortunately we all need sympathy cards


 This card is pretty straightforward.  The card itself is gray.  On top of that is the lattice piece, followed by the stitched piece.  Then the outline of the flowers go on top of the solid flowers.  Then you can arrange the flowers and leaves in whatever way suits your eye.

Time for a barbecue


I’ve seen cards like this all over Pinterest and figured I’d give it a try.  I’m very happy with the way it turned out.  

The main pieces of the box are both black - the long piece and the square piece with the handle in top.


Then there are 3 inserts:


Here are some other photos of this card.


And this is the sentiment on the back.


Have fun making this one!