Friday, August 20, 2021
Happy Anniversary
Frilly black and white get well card
All the cards today are fairly straightforward. This one should only take a few minutes to put together. Start with the plain white rectangular piece of cardstock. This is the piece you are going to build on. Take the plain black rectangle and attach it to the white piece at the top. Next, take a scalloped piece that is primarily black (with white flowers) and line it up at the bottom of the front. Then attach the scalloped piece that is white with black flowers. Alternate strips until you reach the solid black cardstock. Now, wrap the black ribbon around around the whole piece you’ve put together and tie on knot on the front of the card.
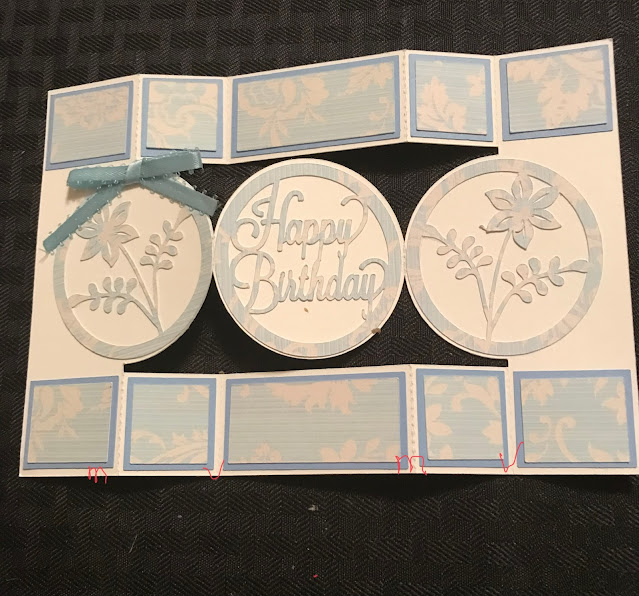
A tri-fold card
It’s a little hard to see but I put M V M V (mountain, valley, mountain, valley) in red at the bottom of the card. This indicates the way you will fold this card. It’s basically an accordion fold.
And the backside:
As always, if I’ve managed to confuse you, text or call me.
Friday, August 13, 2021
Brace yourselves for this card!
It’s really not as hard as it looks, as long as you follow along with the sequence of pictures I’ve posted here.
We’ll put different segments together first.
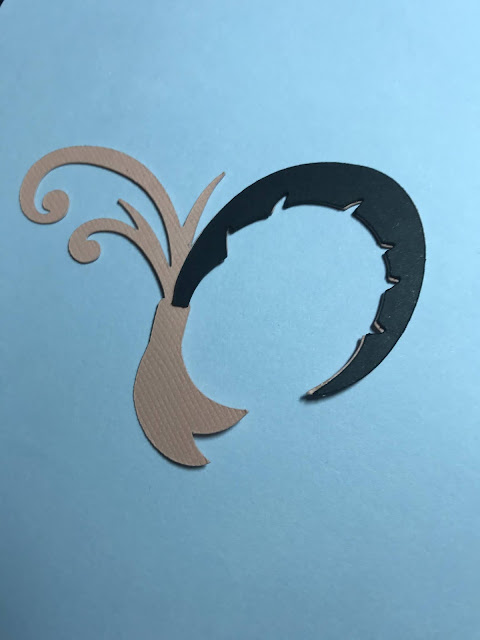
2 pieces
2 pieces
Three pieces (in the wrong sequence!)
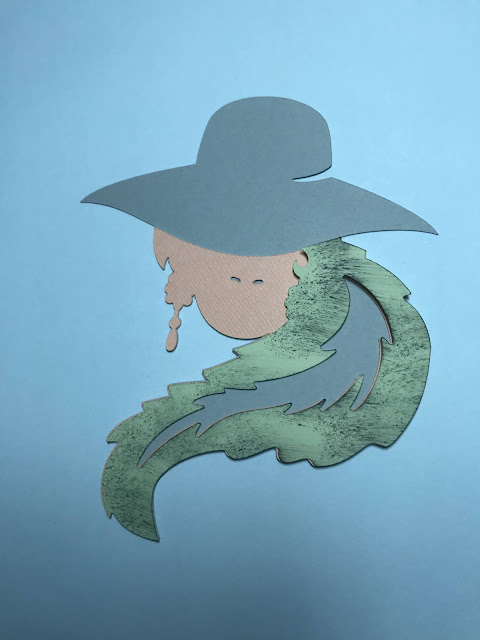
I sponged her fur but decided it doesn’t look good.
Three pieces (again out of sequence!)
Add the two large groups together and then add the earrings, her hat, and her hair.
Fold the bow using these 2 pieces:
Put the tail of the bow on first, then put the bow on.
Give her lips and burgundy ovals on the top of her earrings.
Now you should be left with 3 pieces:
Build these by putting the black piece first, the gold piece on top of it and the burgundy circle on top. These go on the bottom of the inside of the card so they are visible when the card is closed.
I ended up making a ‘handicapped’ CIB
I don’t know what I was thinking when I designed this card. It doesn’t have any “arms”. I still like the way it turned out.

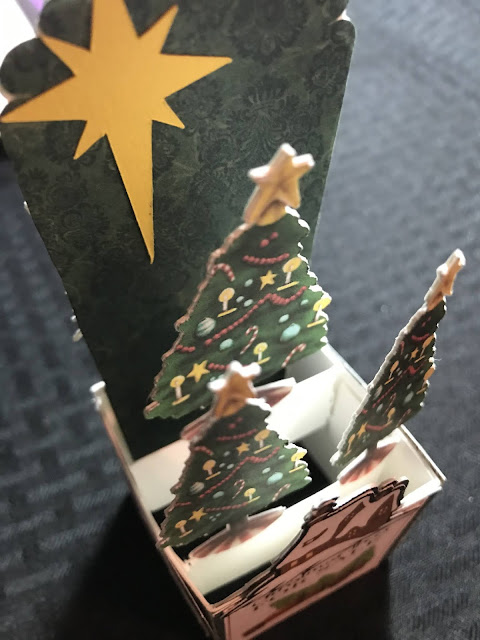
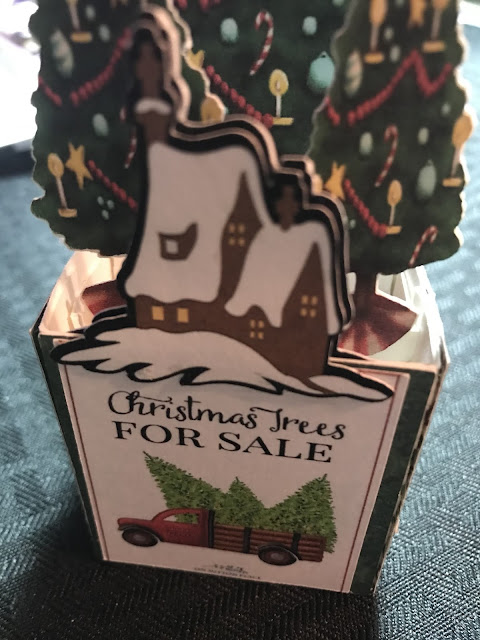
As you can see , it has no side or front flaps. But it is pretty straightforward and simple to put together.
The main thing to remember is remember to put the front insert (the house) against the front of the box. Then put the double trees behind it followed by the single tree at the back.
Put the house on after you’ve put the insert in the box so that the snow under the house shows on the outside of the card.
Sorry, I don’t know what’s going on with Blogger today with the crazy spacing and the change in font size. Weird!!
You should be able to do this type of card in your sleep!
I did put a dot of Stickles in the center of many of the flowers but did not do that in your kits.
And here’s the inside:


