Hi Friends!
I’m sitting here amazed that it’s been 9 years since I posted here and so much has happened in 9 years! I was kicked out of Mulberry Grove since I don’t live in the “right” place, I moved the classes into my house, I upgraded from my Cricut Expression (hence the name of this blog) to a Cricut Explore, to a Cricut Explore Air, then to a Cricut Maker. And most significant for me is that I made some amazing friends. Unfortunately, saddest of all, I lost my sweet Roscoe. I’ll never forget how he welcomed each of you to ‘his’ home.
This is going to a long post so I apologize up front. I’m doing a strange version of my classes, whereby everything is going to be on-line since we can’t get together due to the coronavirus and the stay at home mandate was issued. So the cards covered in this post are for the first class in October: Friday, 10/2. I’m posting multiple shots of each of the four cards showing the cards from each side. I’ll post brief Descriptions of each card and give you instructions of what you should consider when putting the kits together. Also, you can click on each image to make it larger.
So let’s get started with the dancing scarecrow easel card!
Front view open:

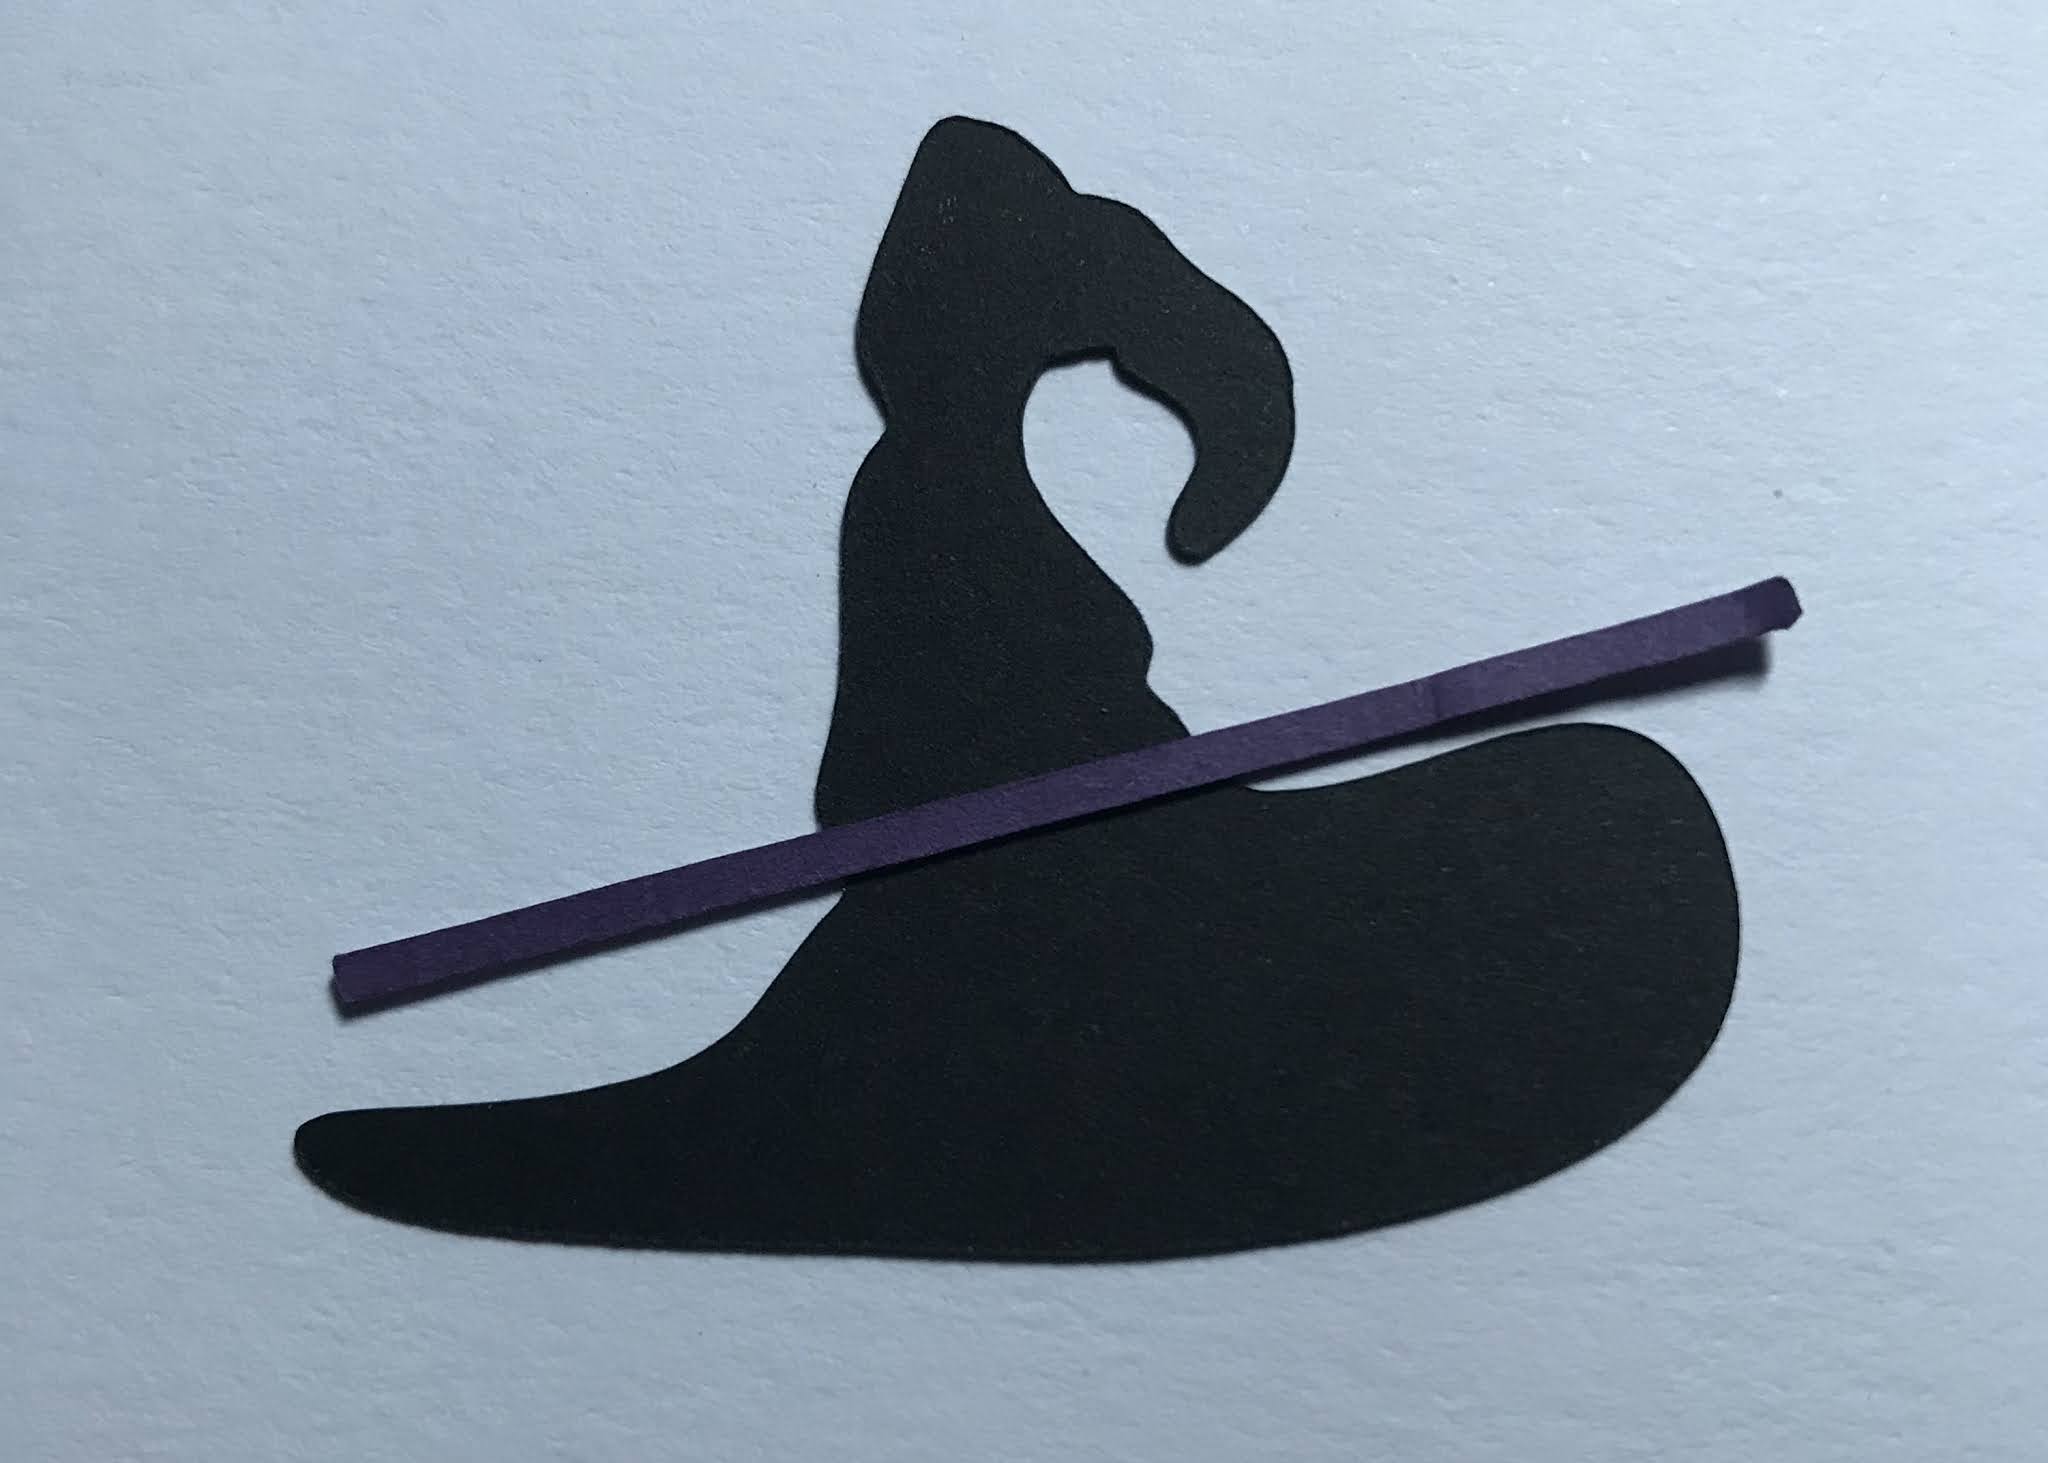
It may be hard to see in this photo but the scarecrow is popped up on a “wobble” so that he moves. Also, I stamped some leaves on the bottom of your cards in the corners of the bottom front. Make sure that you only place strong adhesive on the bottom half of the oval that Mr. Scarecrow is dancing on. And feel free to cut him closer than I cut him.
Sideview open:


This shows the easel portion of the card. You’ve all made enough easel cards to understand how it opens for display.
Front view open: I popped up the stamped pumpkin so that it acts as a brace to keep the card open for display purposes.
Back view:

Here you can sign the card or write a personal message if you wish.
I neglected to mention that if you have any questions, you can comment below or don’t hesitate to call me. I’ll answer as quickly as possible.


