Friday, September 10, 2021

An anything you want card!


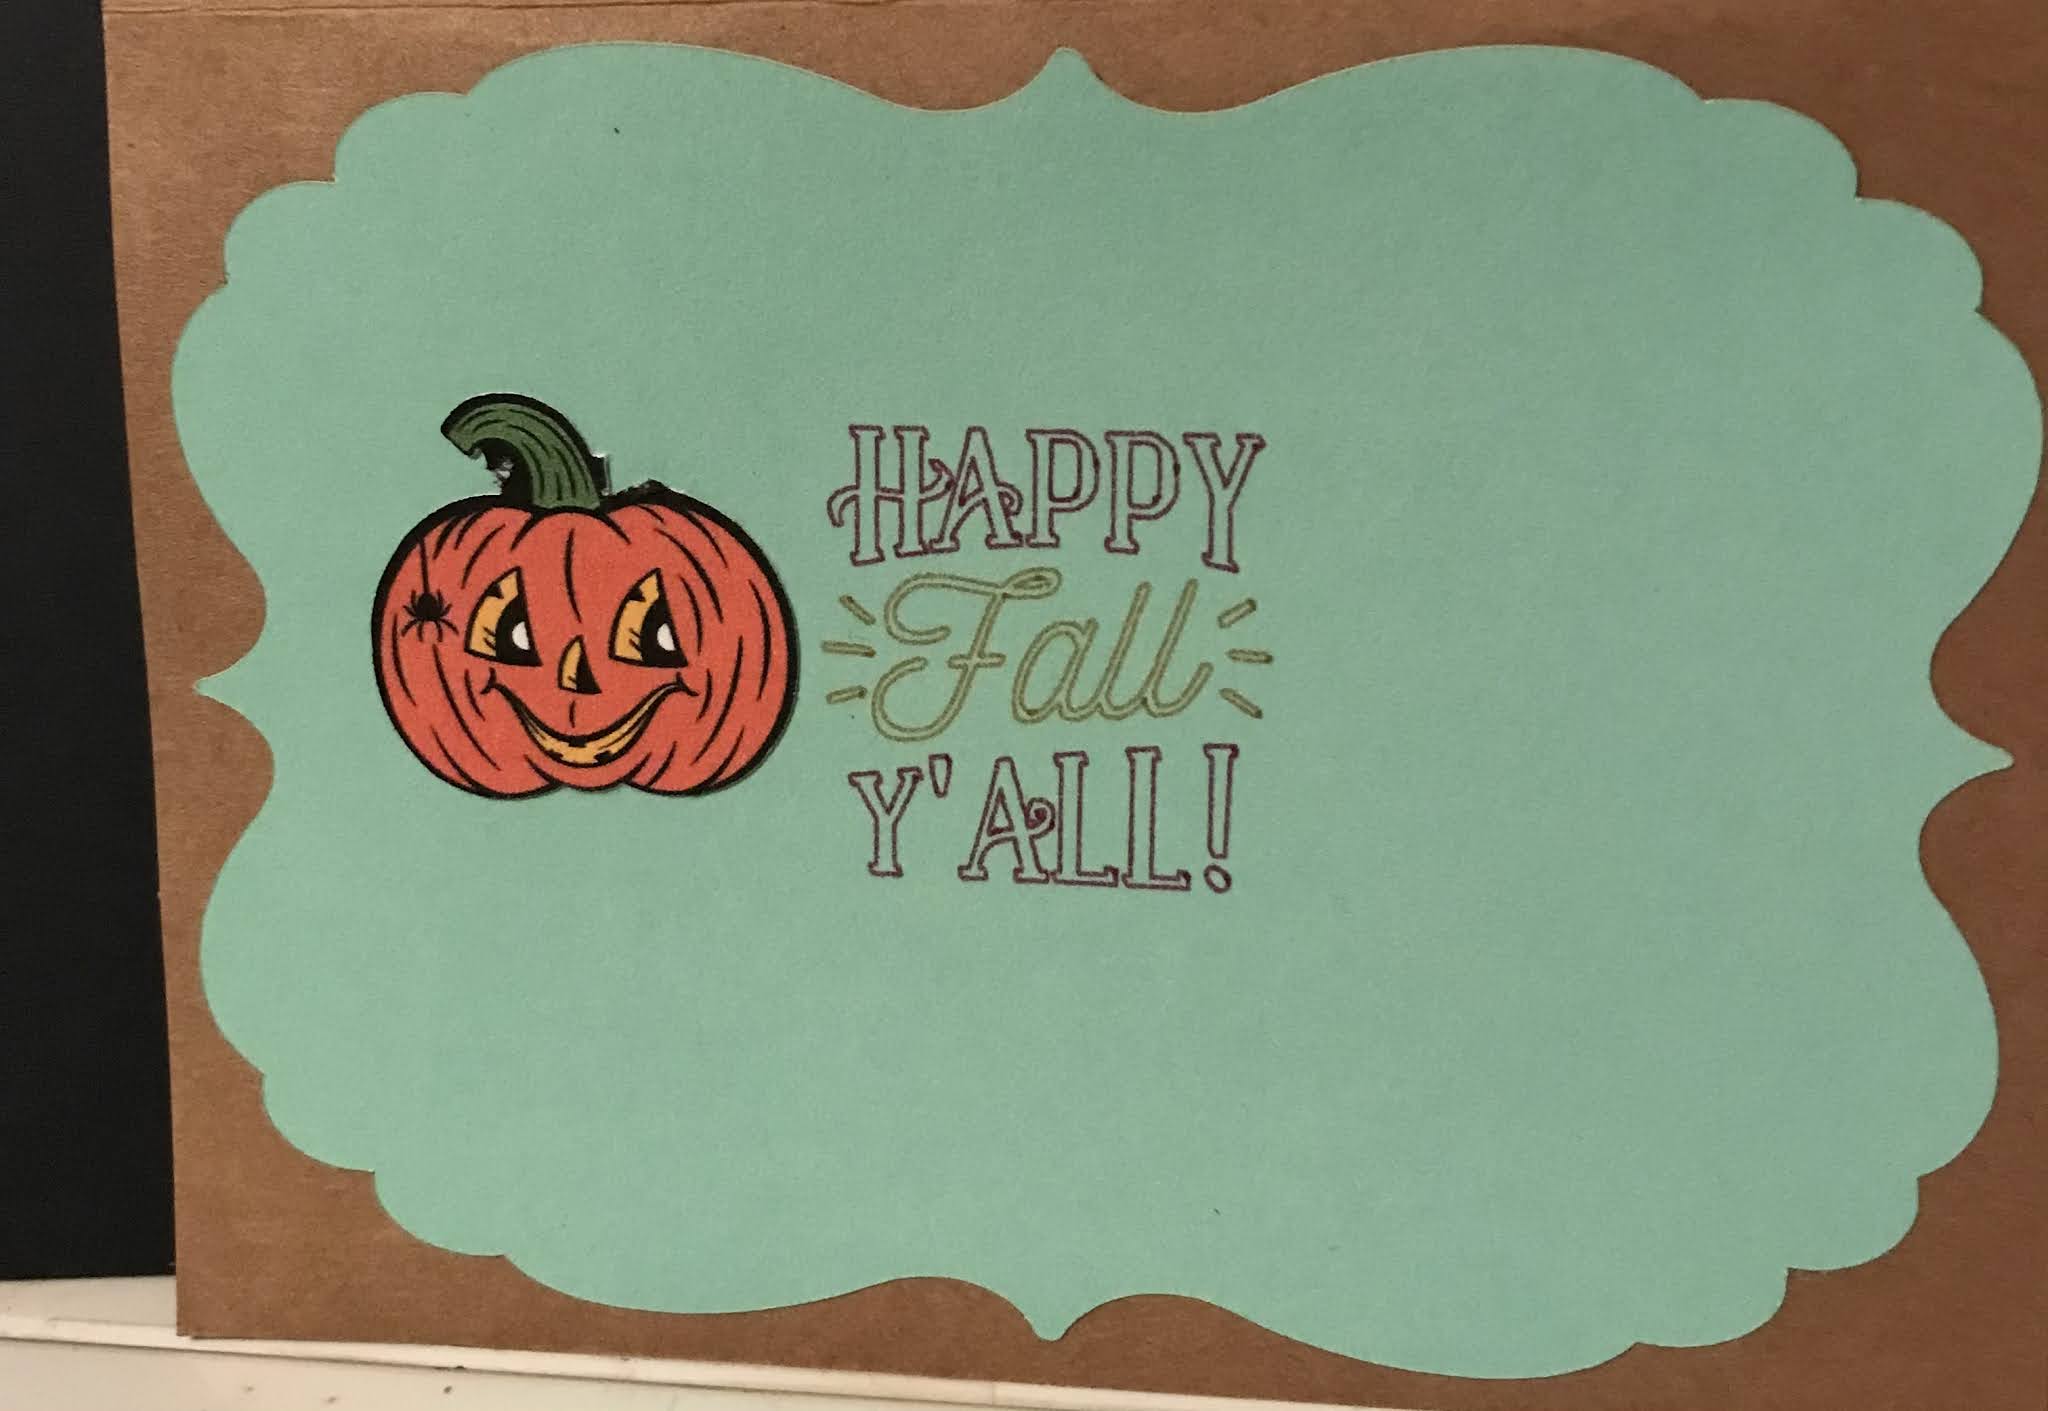
This card is very easy to make.  It is a front flap card.  The flap lifts up and to the left (like opening a book) and the message is hidden behind it.  You can just barely see the white rectangle on the inside of the card.  This is for stamping your sentiment.  I intentionally left it blank so you could use it for any occasion that might pop up suddenly.

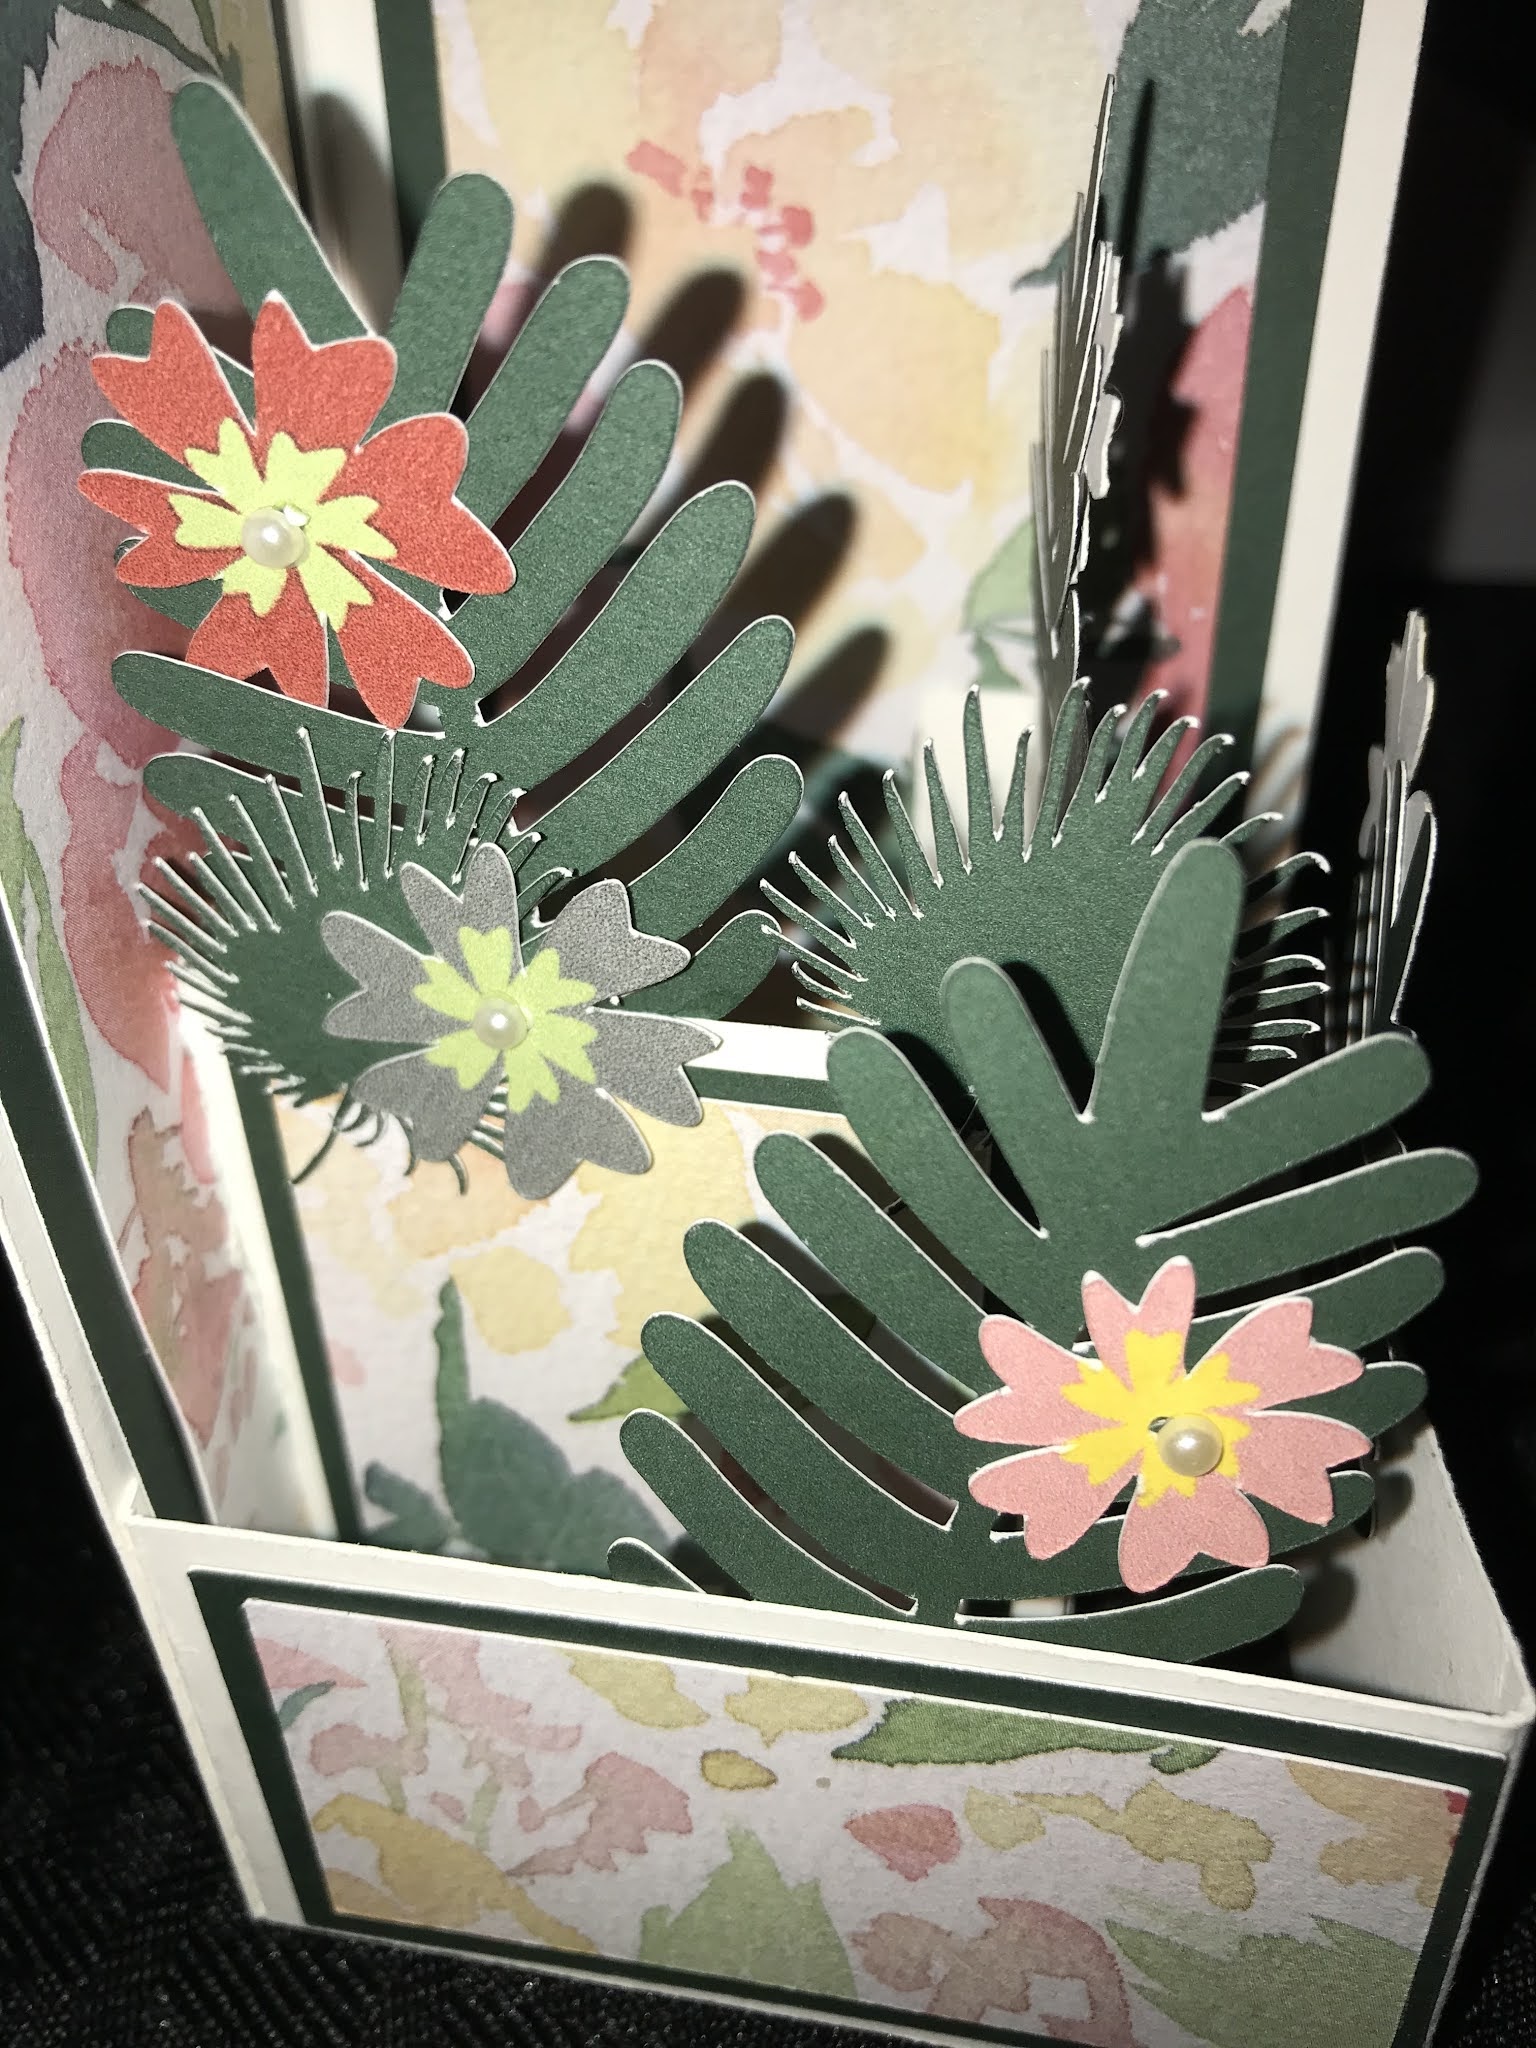
And of course, you built your own flowers just like all the other cards like this.   The red mat behind the flower panel is a square of the patterned paper.

 I laid out the flowers like this.  Start from the top down, in other words, the top flower in this picture is the bottom of the arrangement.


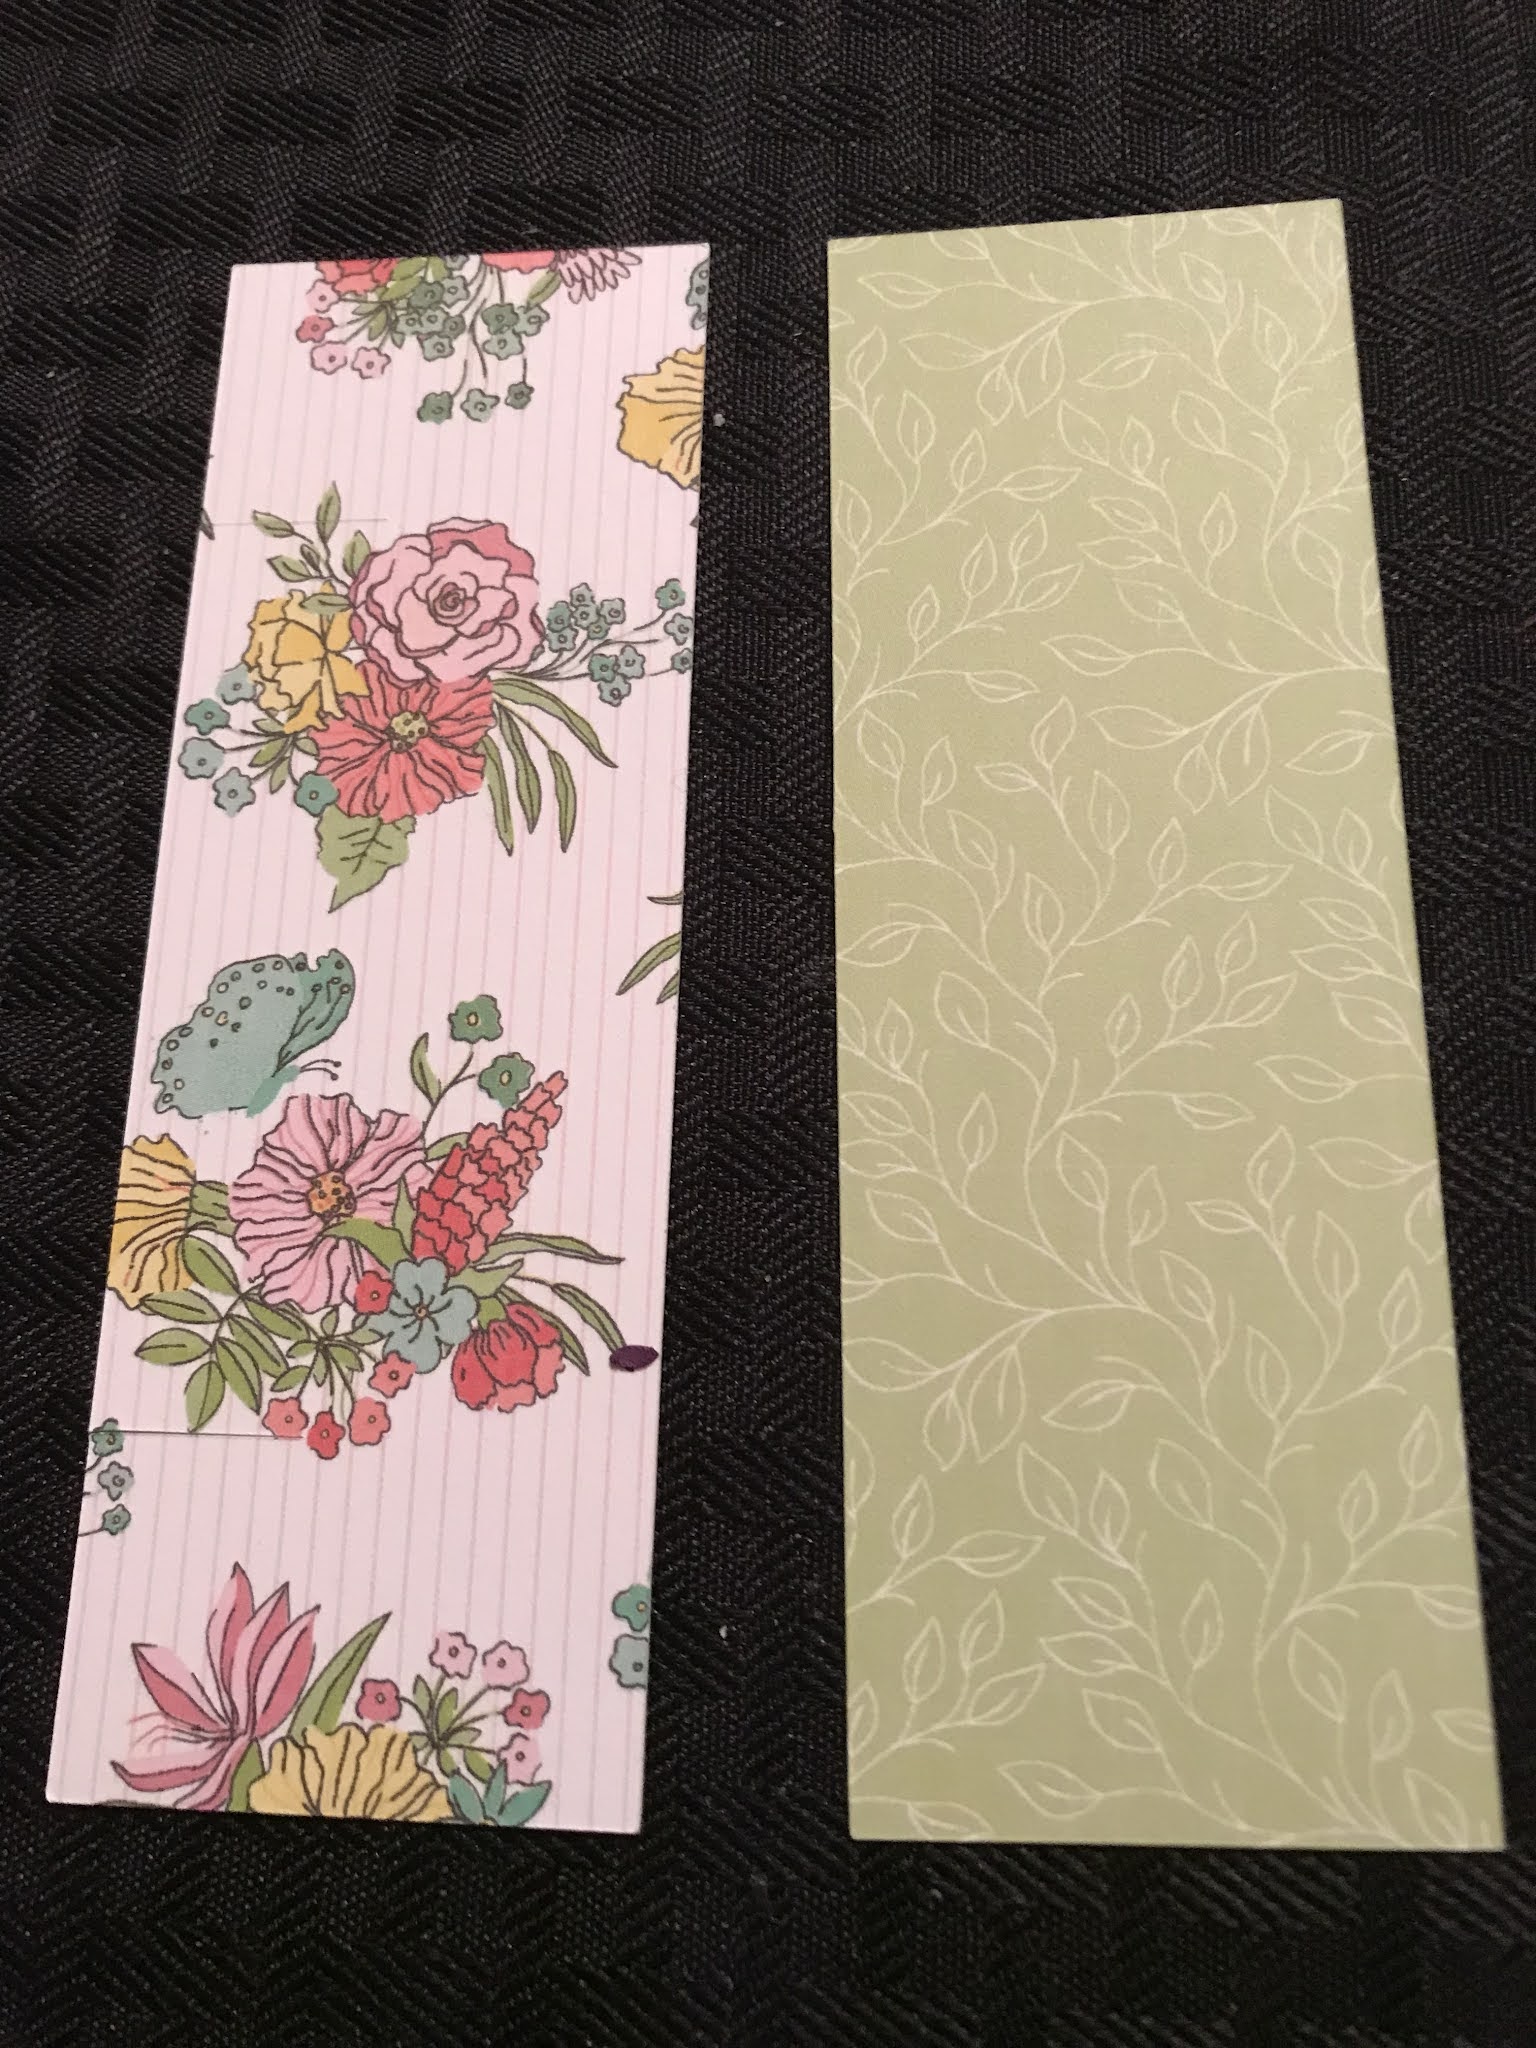
Take a close look at the white piece for the center of the card.  This piece has two tabs sticking out from it but they are not the same size.  The largest of the 2 tabs should be on the left side and if you look closely enough, you will see it is scored about 1/2" in.  This is the piece that gets folded backward and then attached to the large patterned paper to be able to flap up.  Then the pattterned paper gets attached to the large white cardstock.This forms the basis of your card. 


 I included 2 white rectangles for you to stamp.  One of them is extra in case you need it.


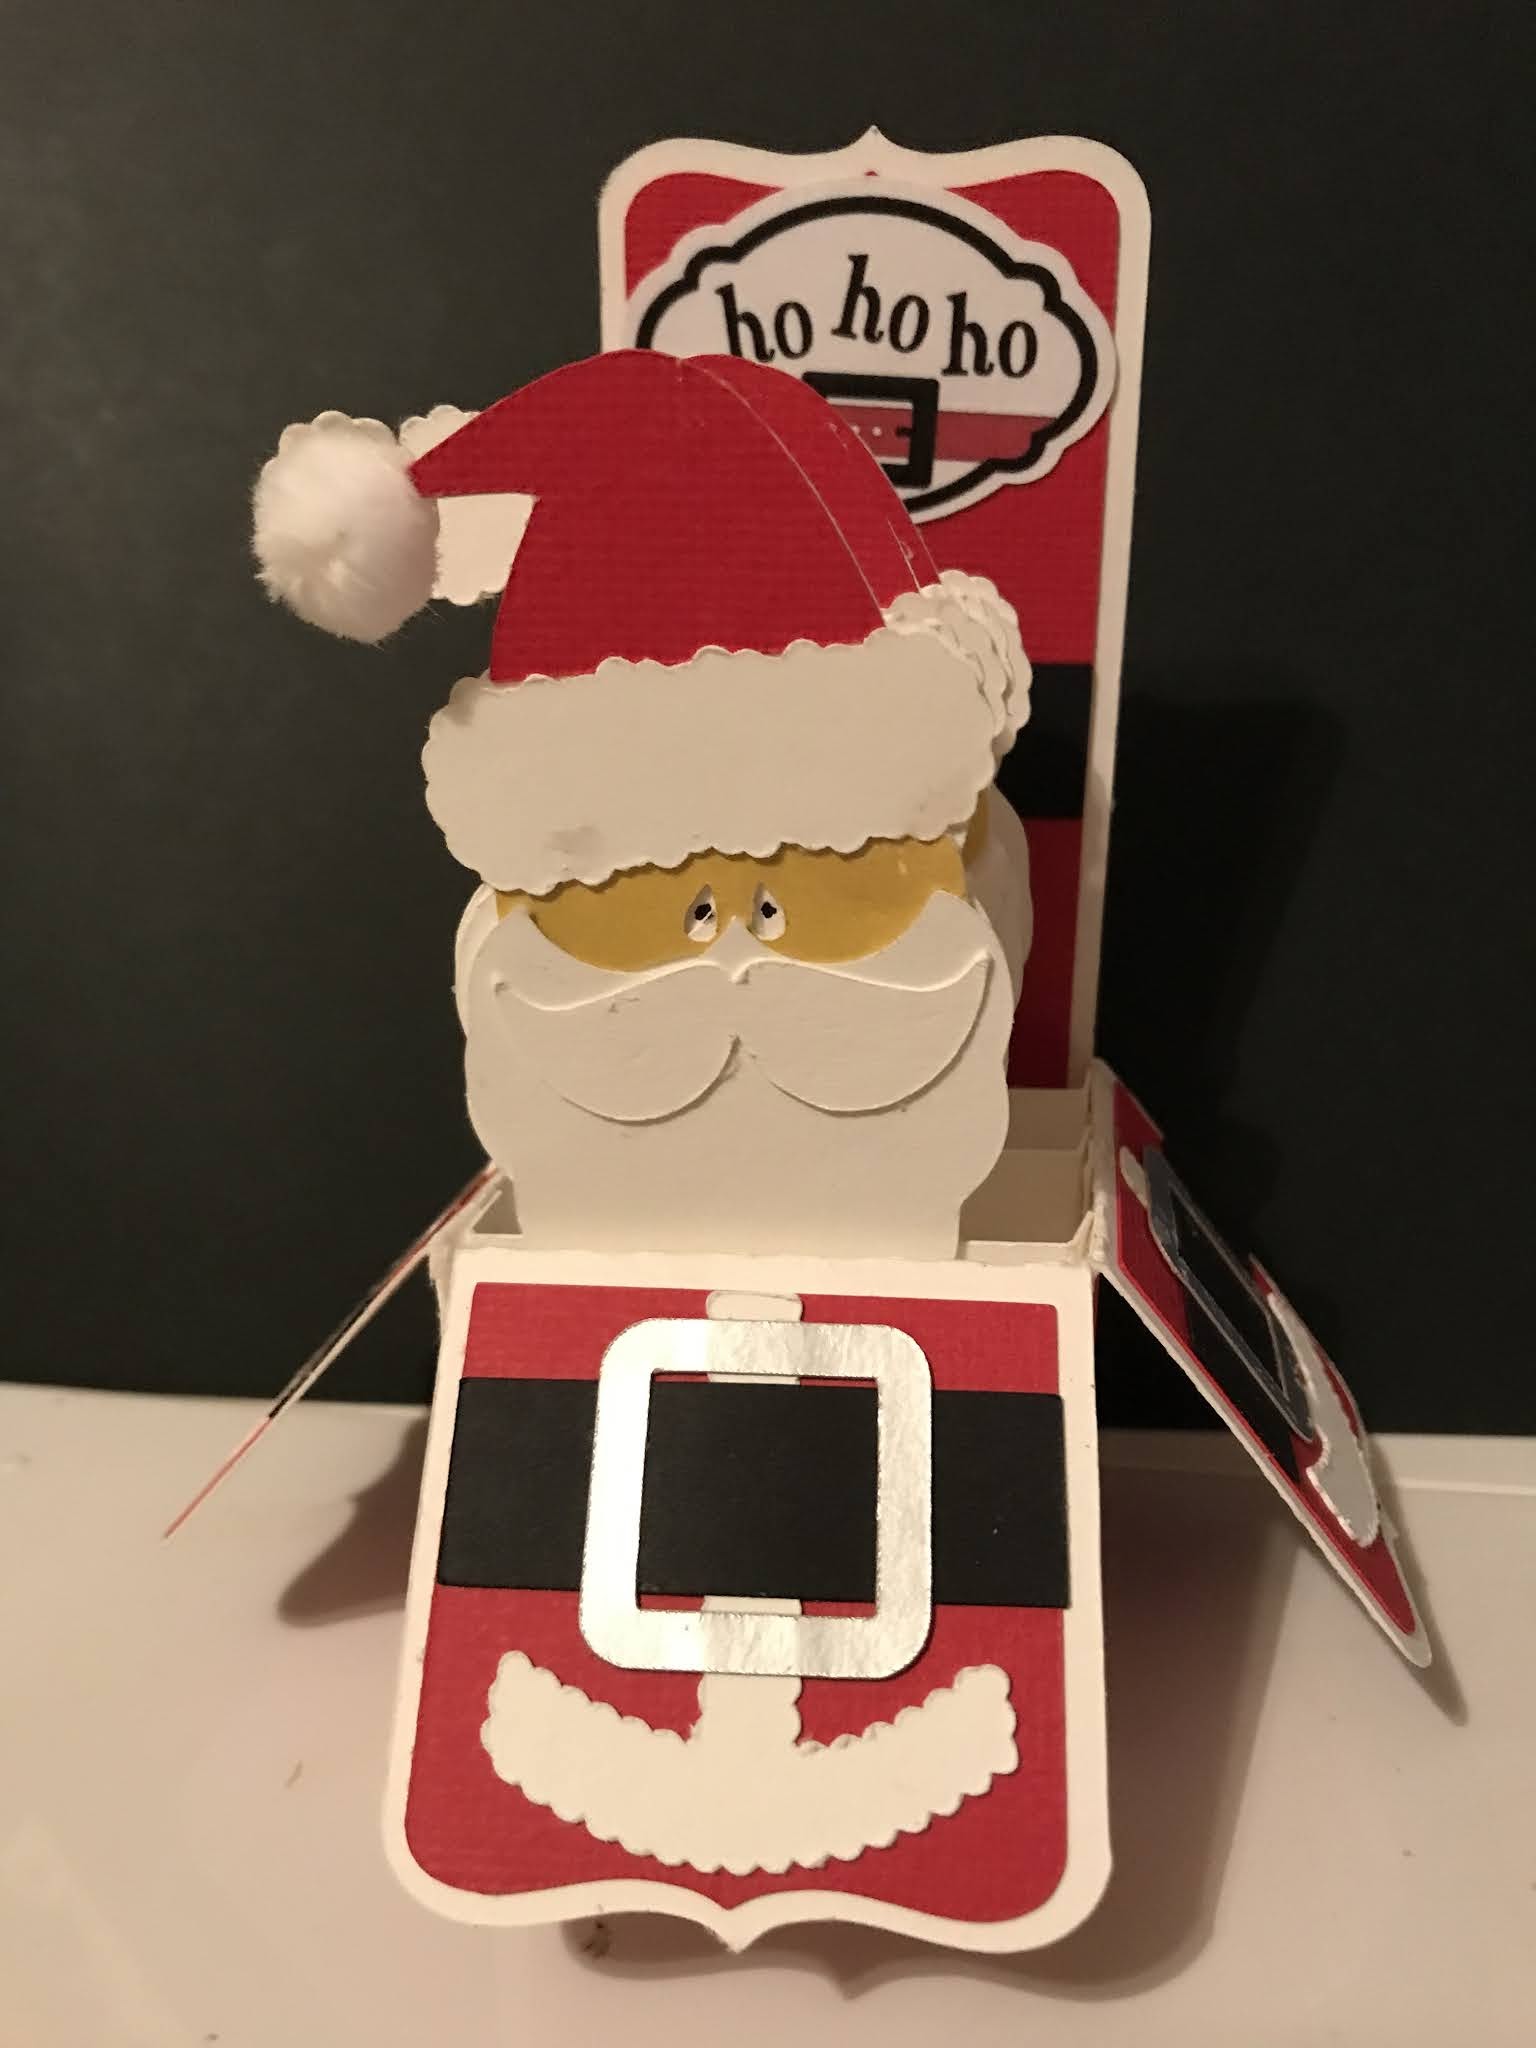
Here are some extra photos that may help you.


Warm wishes from Florida


There are 3 inserts in this box card.  However, the insert with the flamingos on it has to have the tabs cut off.  Then, you will attach it to the inside front of the box.  If you don’t cut off the tabs, it won’t fit inside of the box.  And don’t forget to test after you put an insert in.  Make sure it folds flat.

Some extra photos:


Cool weather is coming!

It's time to start thinking about Christmas cards.  There are multiple layers to this skate and each one is popped up.  If you think it is too thick for the envelope, just don't pop up some of the layers.

Here are the layers in the order of how you use them:


Then add the blades, followed by the poinsettia, and finally, the ferns.  This picture shows 4 ferns then I remembered that an odd number is more pleasing to the eye and went with 3 ferns.


Time for Fall


This card is very simple to put together.  All the images are printed for you.  The blue sky background is already embossed with clouds.  Enjoy! 

Friday, September 3, 2021

Sweet male birthday card


And the inside sentiment 


I decided to make a simple male birthday card because the rest of the cards have a certain degree of difficulty to them.    The first layer is the brown with the small stripe. The next layer is black, followed by the map pattern.  Then attach the sentiment inside and you’ve completed the easiest of this weeks cards.

A balcony card


I love the way this card turned out.  This is a unique card fold that I've never done before but I will be doing again.  It is called a balcony card because there are two layers to the front, one higher than the other, as if it was in a theater with staggered seating.

Before you start making this card, decorate the long white strip as shown in the photos.  Then fold back the flaps and attach it to either side of the inside of the card.  You want to do this before you attach the inside designer paper.  Once your tabs are attached, and the whole long white piece is decorated, you can attach the large designer paper to the inside.  That way you are hiding your tabs.

Then decorate the smaller but taller white strip.  It should be level on the bottom with the entire card.  Attach the tabs to the inside.  Unfortunately, there is no way to attach those tabs without seeing them.


 Decorate the inserts as show in the above and below pictures.


There are pearls in your kit for the center of each flower.  There should be 6 flowers.

 I saw this card on Split Coast stampers and they left the front and back outside of the card blank.  I didn't really like that look so I gave you pink paper to use.

 Enjoy!


 This card is similar to a tri-fold card.  The unique feature is that a flag pops up on a shelf in the middle when opened.


Here are some other photos to guide you.


The following two pieces are not attached together.  They are double sided cardstock so feel for the cuts in one of them and they proceed with the directions.

These 2 pieces look the same except for one thing:  there are slits in the patterned paper that allow you to fold it back, as shown below.


The base of the card looks like this when folded:


There are slits in the center of the card base so you can pop the center up when you close the card.  Be sure to use your bone folder on the card base - it is very heavy cardstock (110#).  That pop up forms the shelf that the flag site on.

This is the card with the patterned paper added.  The folded up sections for the wide and the narrow pieces fit on the "shelf" in the center of the card.  The picture following this one shows what the two patterned pieces look like before they are attached to the inside of the card.


Finish the card by adhering the flag on the shelf, putting the inside matted sentiment on the inside of the card, and finishing the front with the two matted and tilted squares and the round sentiment with the doily behind it.  I trimmed the doily but you might want it larger.

That’s about it.  If I’ve thoroughly confused you, don’t worry … I’m going to demonstrate it when you pick up your kits.

Santa Claus is coming to town


This is a very simple card in a box.  The only thing I would suggest you do differently than what is shown in this picture (because I was day dreaming when I put it together) is that the second insert should be decorated so that Santa's hat is on the right side of the insert.  All the inserts are sized exactly the same.  Just remember that the 3 inserts should have Santa's hat 1) on your left as you look at it, then 2) on your right as you look at it, and finally 3) on your left as you look at it. 

There is a sentiment on the back but I forgot to upload a picture of it.  And I'm at work now (don't tell anyone) so I can't take a picture of the card here.