Wednesday, October 7, 2020

Layered bowls of fruit

This is the final card you will be making

You are going to layer the image using the pieces provided.  There are 6 layers to the image.  The bottom piece is flat on the card.  All the rest of the layers are popped up with the exception of the top layer which is not popped up.  Hopefully, you still have pop ups from last week’s card.  If not, let me know.

This is the inside of the card.


Here is a side view of all the layers put together.


Thursday, October 1, 2020

I hope he doesn’t miss my house!


This would be a cute card to display in your window.  It looks more difficult than it really is to make.  It is actually 6 layers.  These are the layers in order of assembly.  


In this picture, the second white piece from the left is popped up on the black piece; then the red piece is popped up on the second white piece; then the white piece with the scalloped edges with holes is popped up on the red; and finally the final white piece is NOT popped up on the white piece edges.  Just use your favorite adhesive for this layer.  Pop ups are included in your kit.  This is how it looks from the side.


The bottom white piece is attached to the black piece to form the card.  Just removed the tape at the top of the white piece to the black piece.  Now your card is complete with the exception of the bow.


These are the pieces of the bow:


Take the long pieces of both the white and red together and fold them underneath the the center of the bow in the back.  Then take the red and white tails and attach it to the back of the card.  Finally, take the small red and white pieces and wrap them around the center of the bow, gluing on the back and top the front with the button.


Deck the palms


Here’s a cute card in a box very appropriate for Floridians.    


There are 3 inserts in this card.  The first layer is the Santa with an inner tube around his waist and the Pom Pom on his hat hangs to the right.  The second insert has a drink in his hand and his hat hangs to the left.  And finally, the final insert in the palm tree.  Have fun coloring!  And please do a better job of spacing the inserts than I did!

Here is the view looking down into the box card.  You can see more clearly what a lousy job I did on spacing the inserts.


Now finally the back of the card and more coloring!


I hope you enjoy making these cards.  As always, if you have any problems or comments, just get in touch with me.


Pretty in pink

 I think this is a lovely card which is very easy to assemble.  

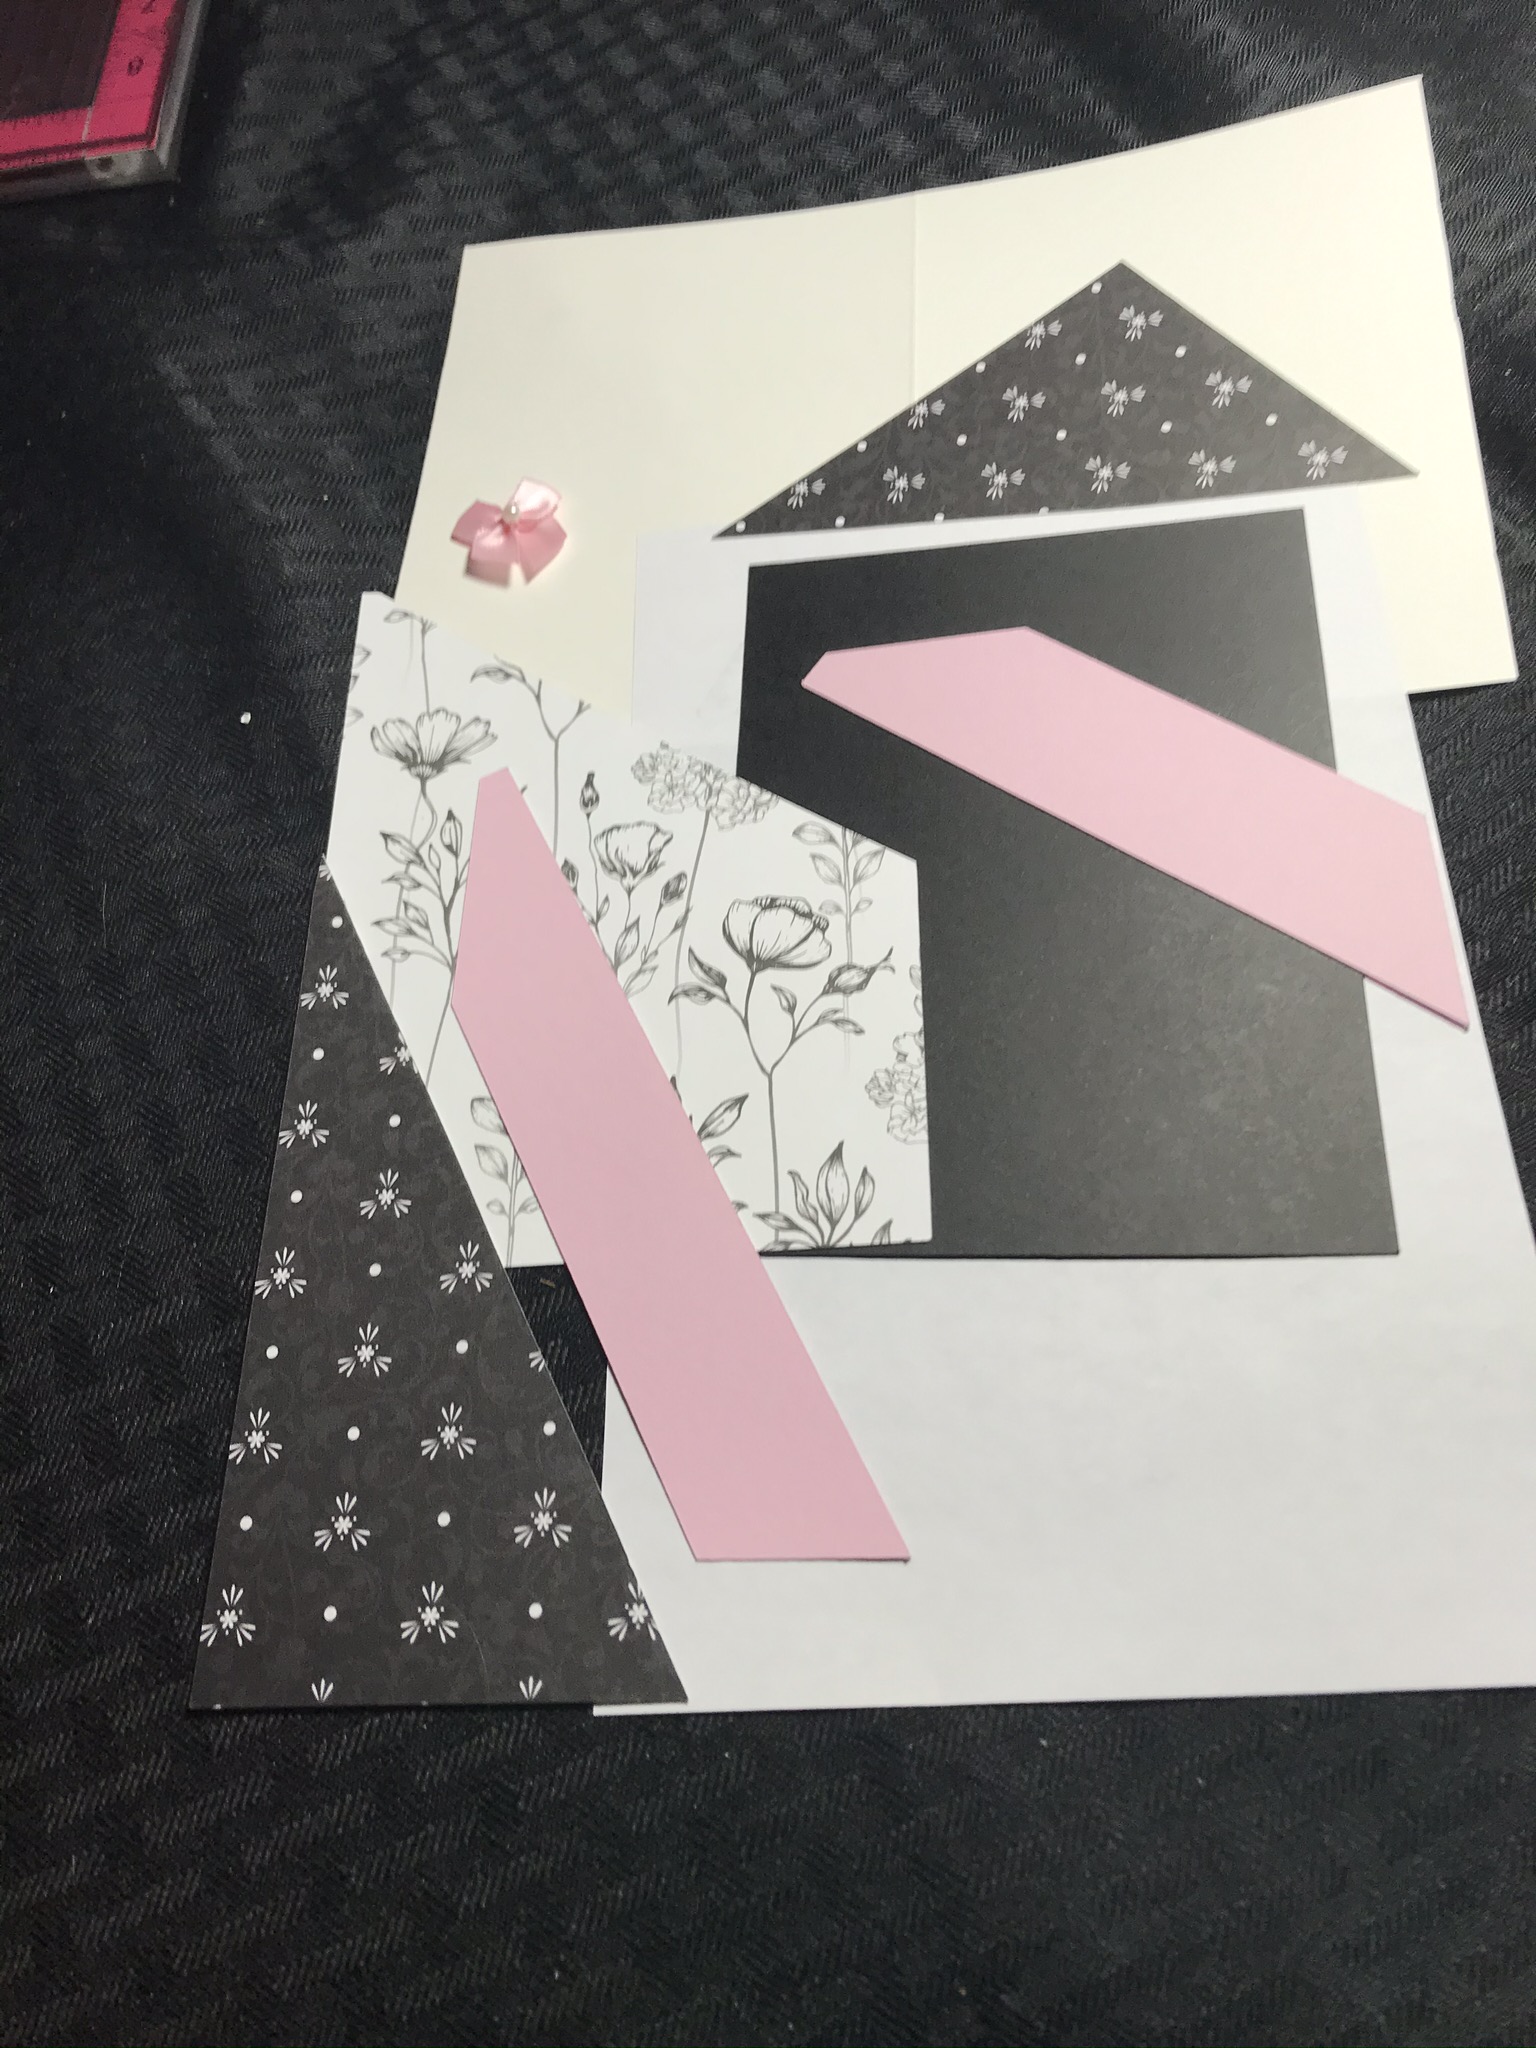
These are the pieces included:


Just follow along now as we assemble the pieces.  As you are assembling it, keep in mind that the pink  pieces are placed behind the black and white pieces with just a narrow strip showing.  Attach the black and white floral piece to the left side of the black piece.


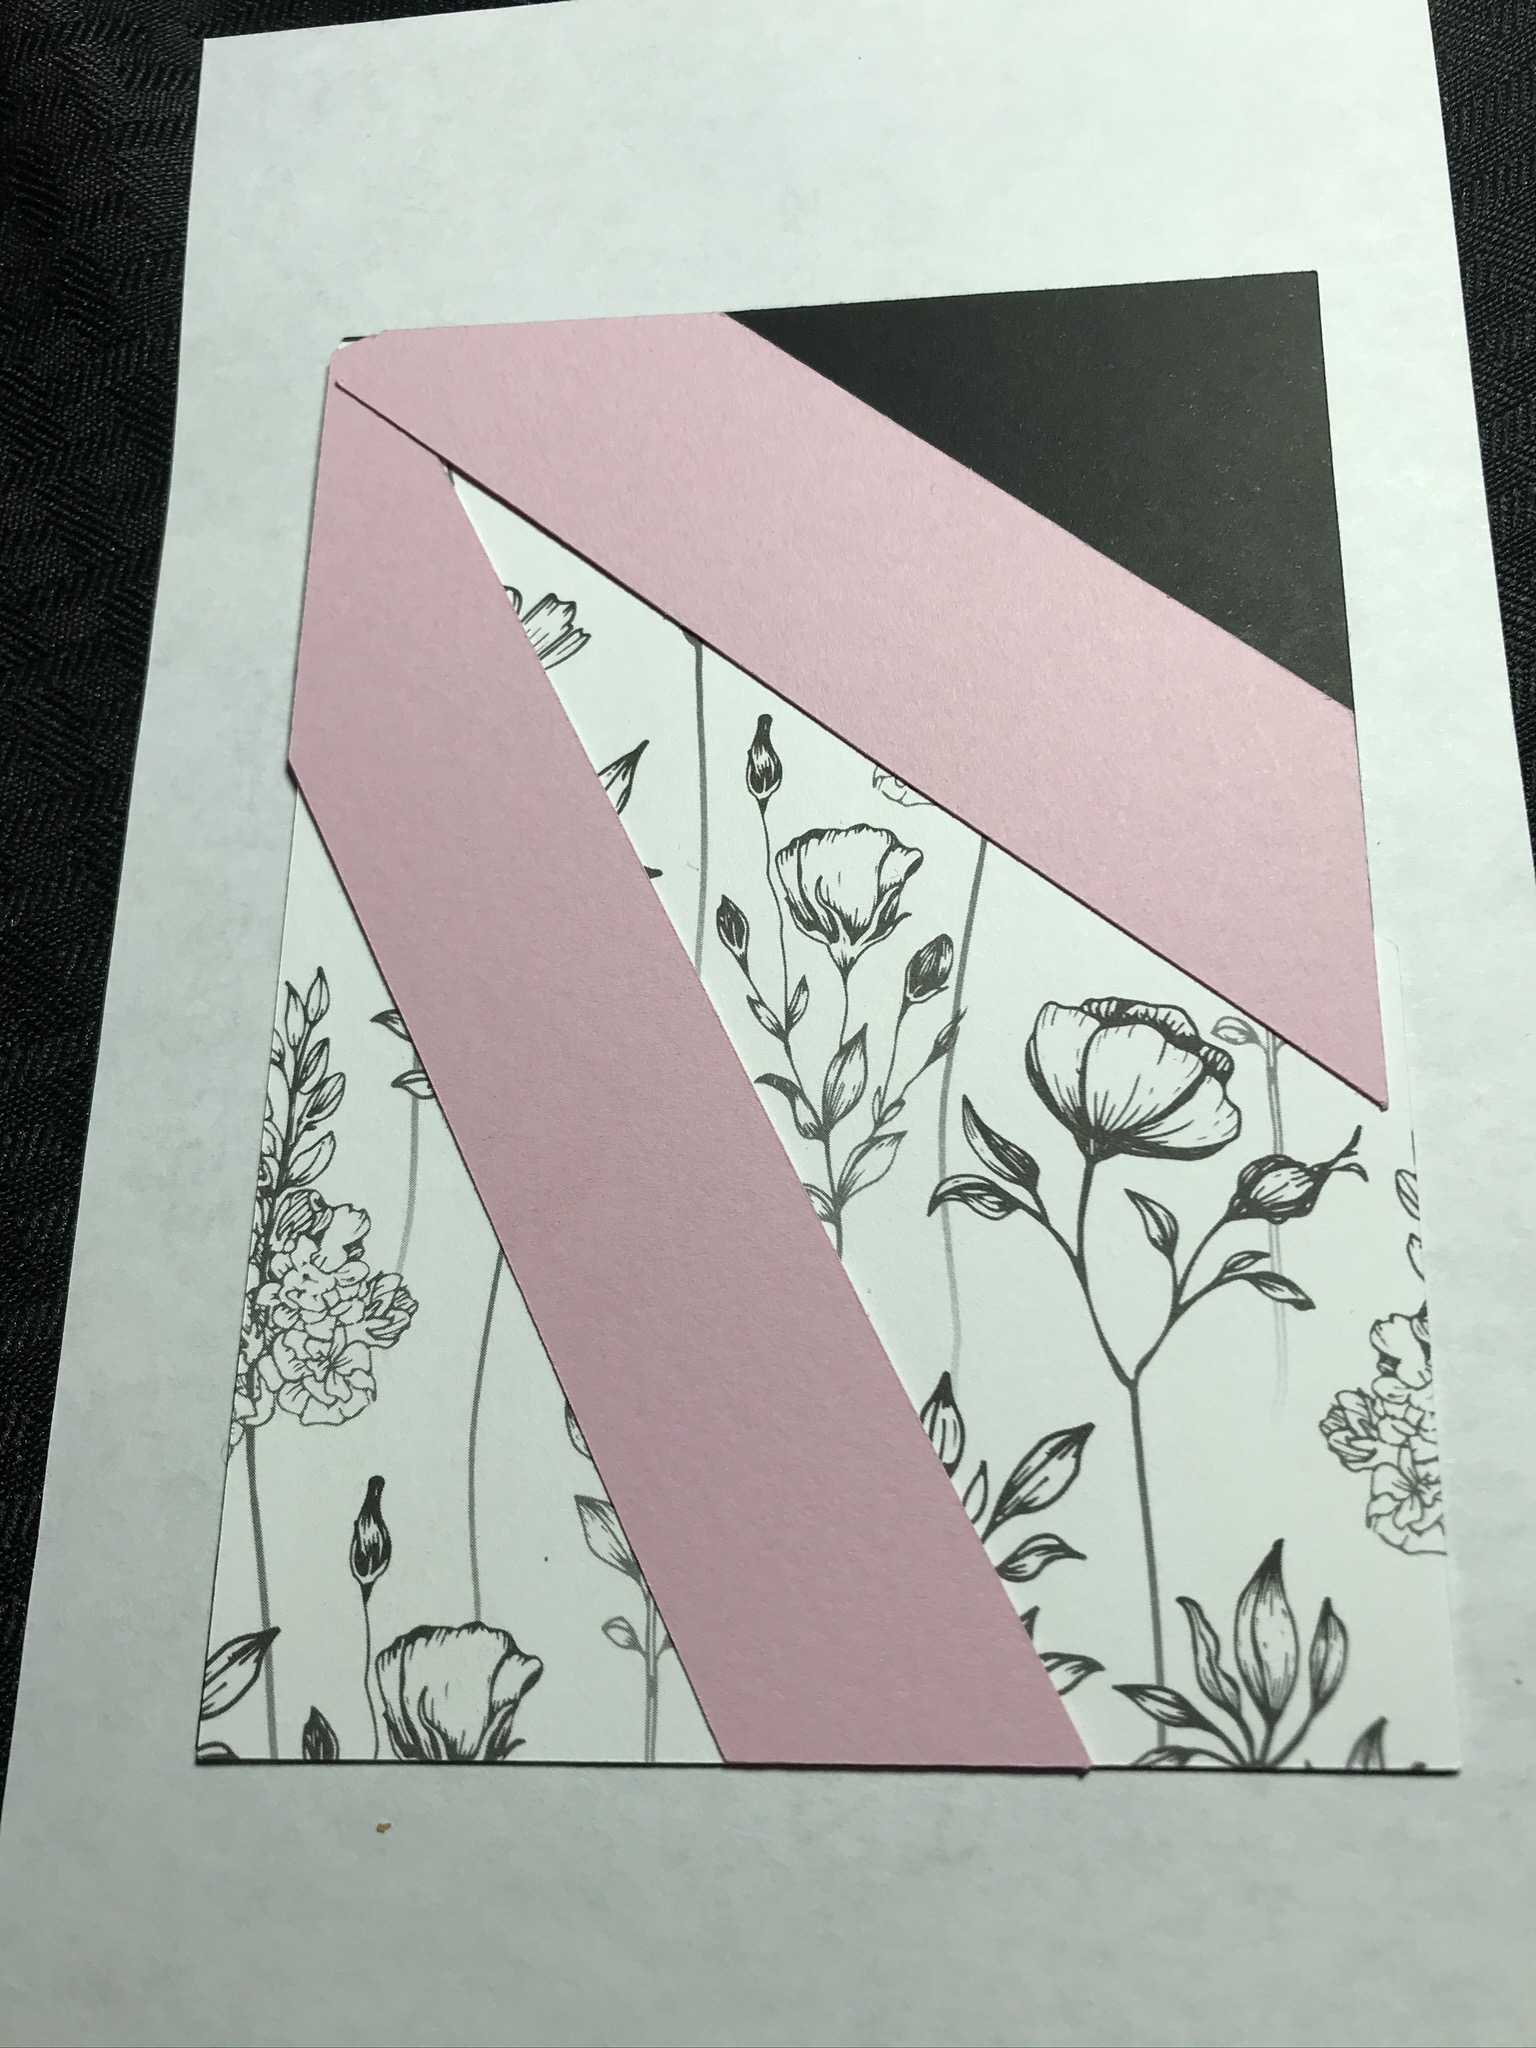
Now take the larger of the two pink pieces and line up the top and    upper left side on the left side of the card and adhere the smaller pink piece on the right, lining up this piece on the top and on the right side.


Finally, lay the black and white pieces in position as shown in this picture

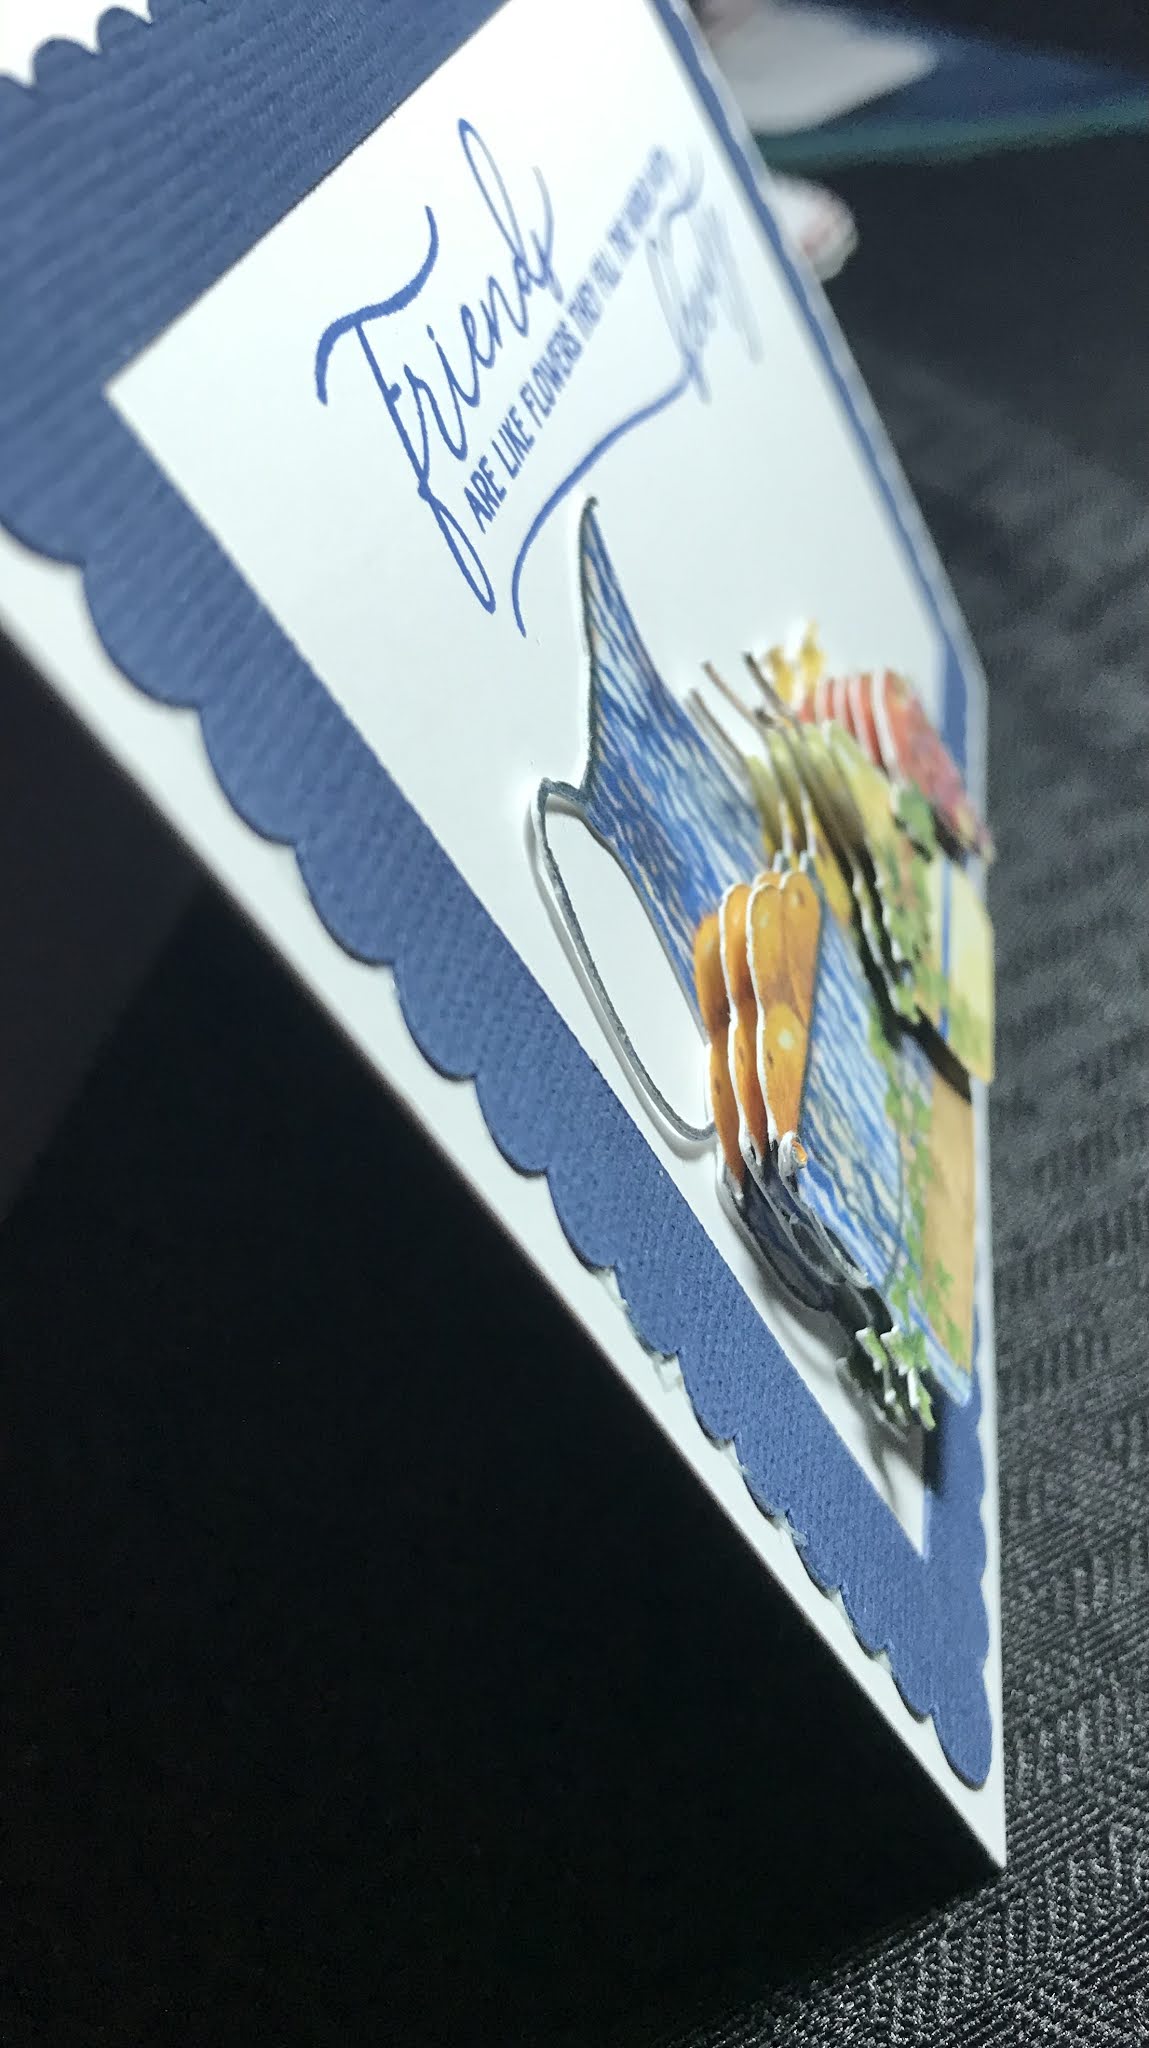
You can color at this point or leave it black and white.  I personally really like it colored.  I used a Copic marker.

Now, you can attach the large pink ribbon.  I’ve put a strip of aggressive tape on the back of the bow.  Then attach the little pink bow on top of the large pink bow and you are finished!


I did not stamp an inside sentiment.  I’ll leave that up to you to pick your favorite sentiment.   It really could be almost anything:  birthday, anniversary, get well thanking on you, even sympathy.