Friday, May 14, 2021

Everyone needs to have dreams

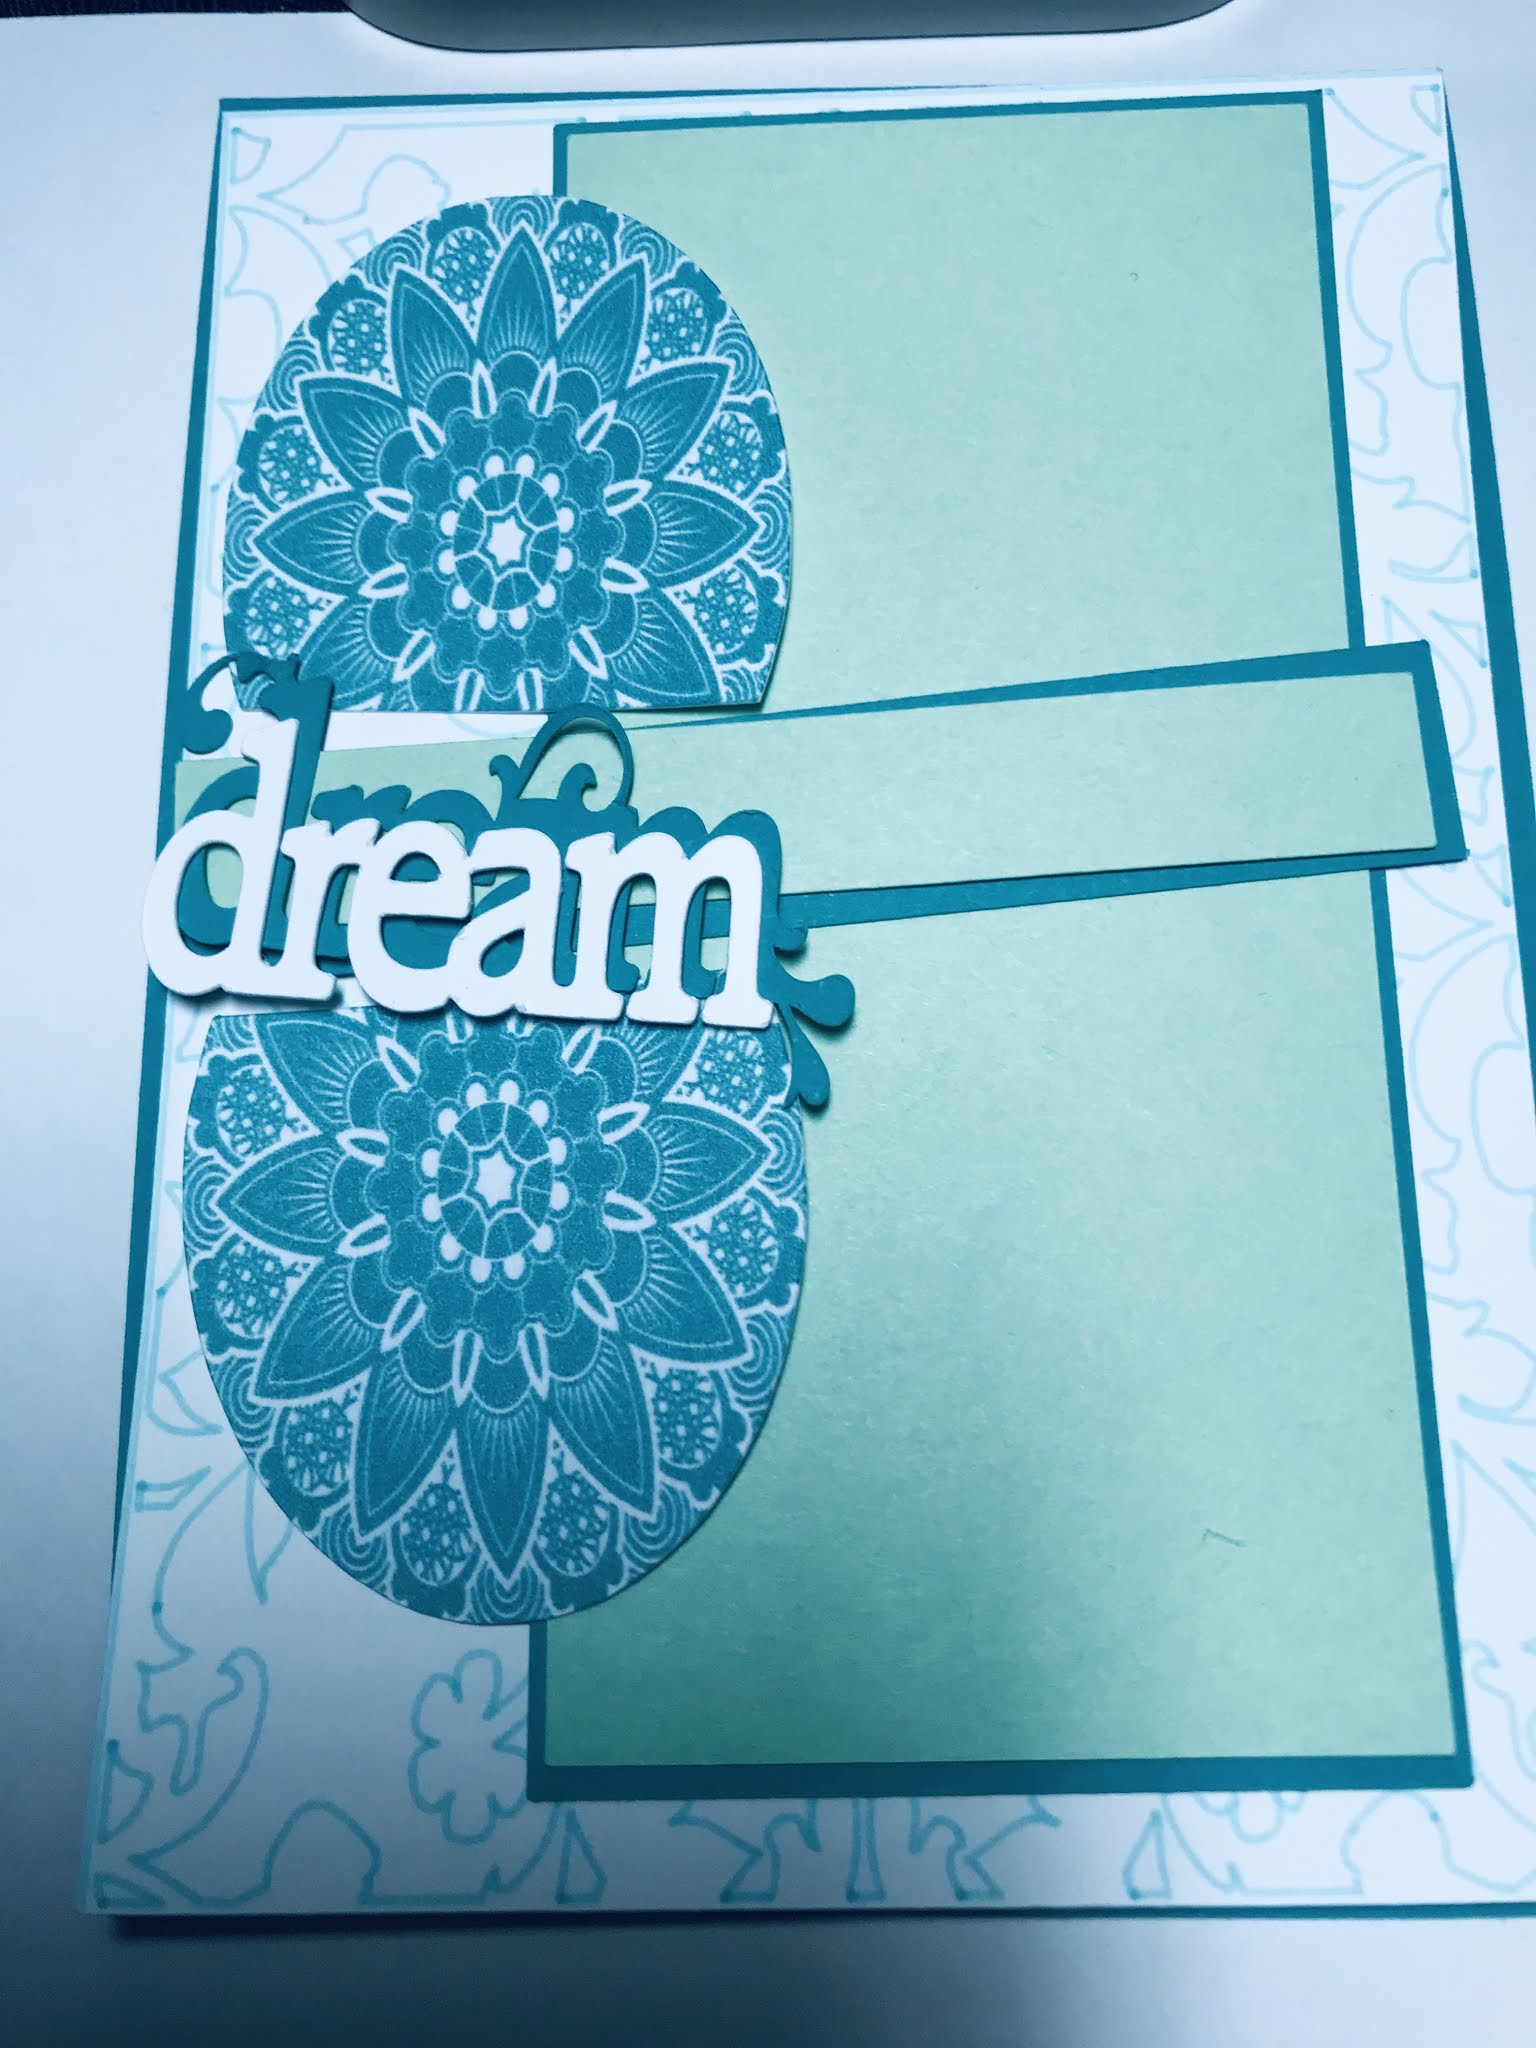
 This is simply going to be a pictorial post.


Well it’s messy but you get the gist of it.

And this is the inside.


 This card can be used for almost any occasion.  The only thing you should be aware of is that there is pop up tape behind the center of the large flower.  Then I folded the inside of each petal up for added dimension.


And this is the inside of the card:


Here’s a rather simple card

 I love the simplicity of this card.  I hope you like it too.


The flowers are colored with a light lavender alcohol marker.  If you don’t have one, bring the completed card to the next class and you can use mine.  Here’s the inside of the card.


If you’re going anywhere, might as well head to the beach


And finally, a cute summery (is that a real word?) card in a box featuring a suitcase and a beach scene.  This picture doesn’t show the flip flops; they were an afterthought.


And here is the back of the card.


Friday, May 7, 2021

The bees are buzzing but these bees won’t sting you


I folded your card in half so it would fit in your kit bag.  You just need to fold the front panel of the card base in half on itself.


This is the card completely open.  Attach the panels as shown here.


The honeycomb is only attached to the front panel of the card.


A Simple (but I think stunning) card


This is the card base.  Match up the bumps of the edge of the card with the panels on the front and inside the card.


Enjoy!!


One for the kiddos


Here’s a close up of the dinosaur.


And the inside:


That’s all for now.  See you next week!

Monday, May 3, 2021

A simple card in a box


This card just requires you to fit matching pieces together.  Kind of like fitting a square peg into a square hole.  The only things you need to be aware of are 1) line up the holes of the checkered paper with the holes in the card base, and 2) put the checkered apron on the card base then turn over the card base over and put the rest of the checkered paper and the red backing on the card base.  

The following photos will give you some guidance.


There is also a little bag in your card kit which contains the handles of each of the tools.  

Also included is ribbon for the top of the card.  I put one one end of the ribbon through the holes, tied that end into knot, then took the other end of the ribbon, fed it through the other holes, tied that into a knot and trimmed the excess ribbon.

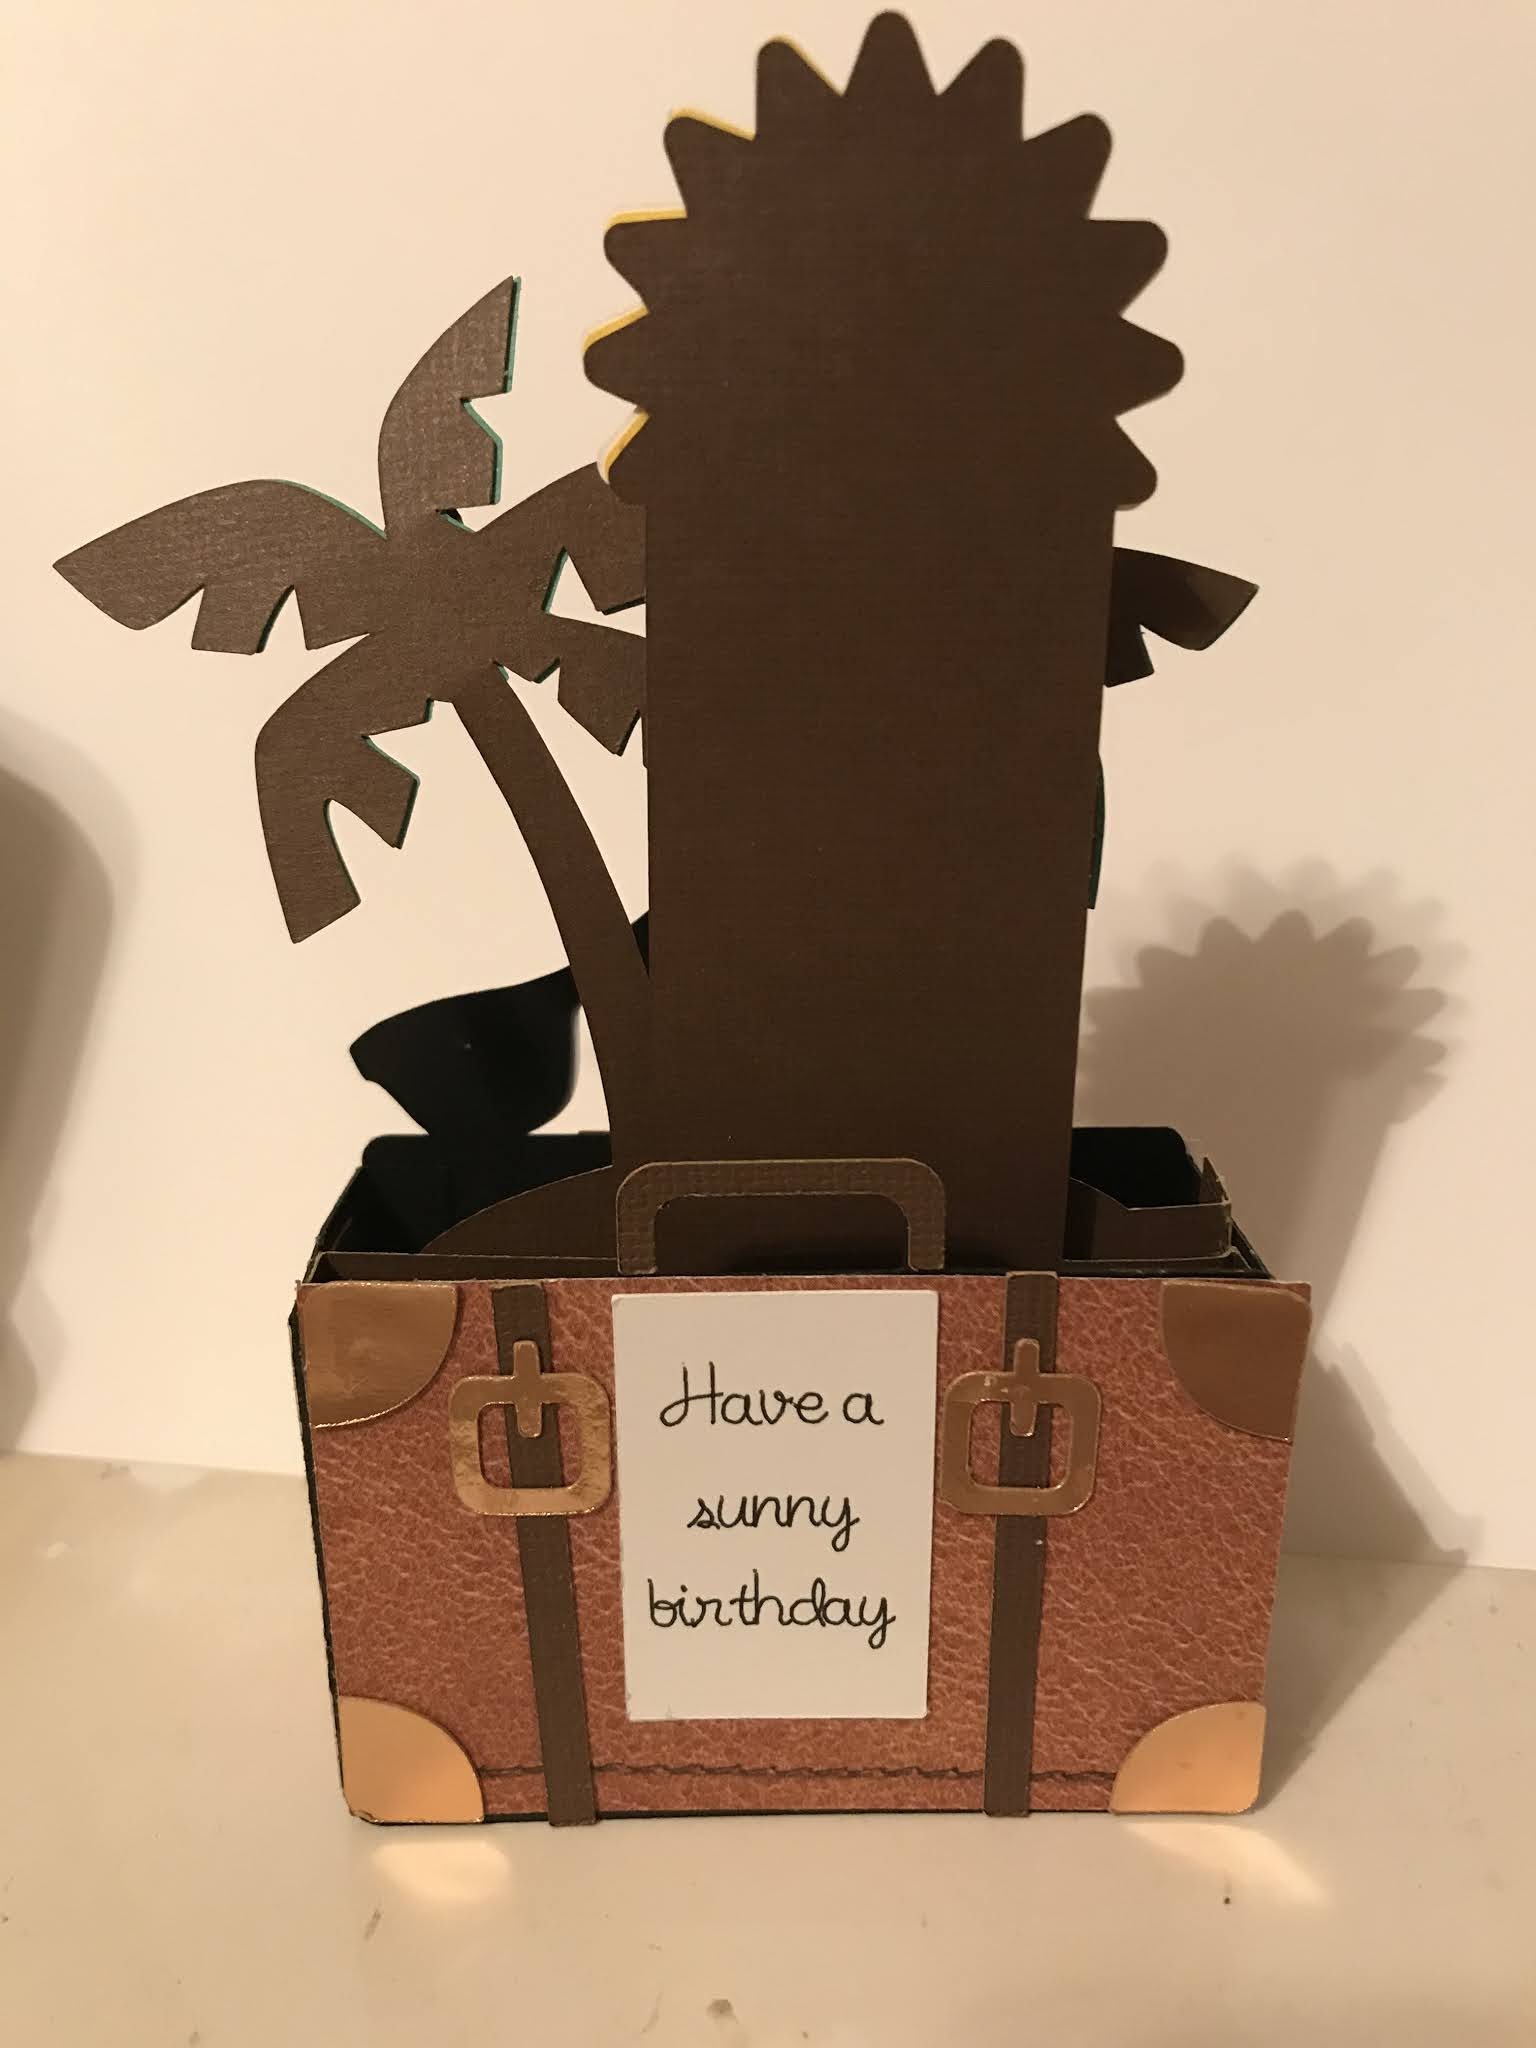
Here’s the back of this card.