Thursday, November 5, 2020

A Card For Your Grandchildren (or for yourself)!

 Trust me ... this looks harder than it is.


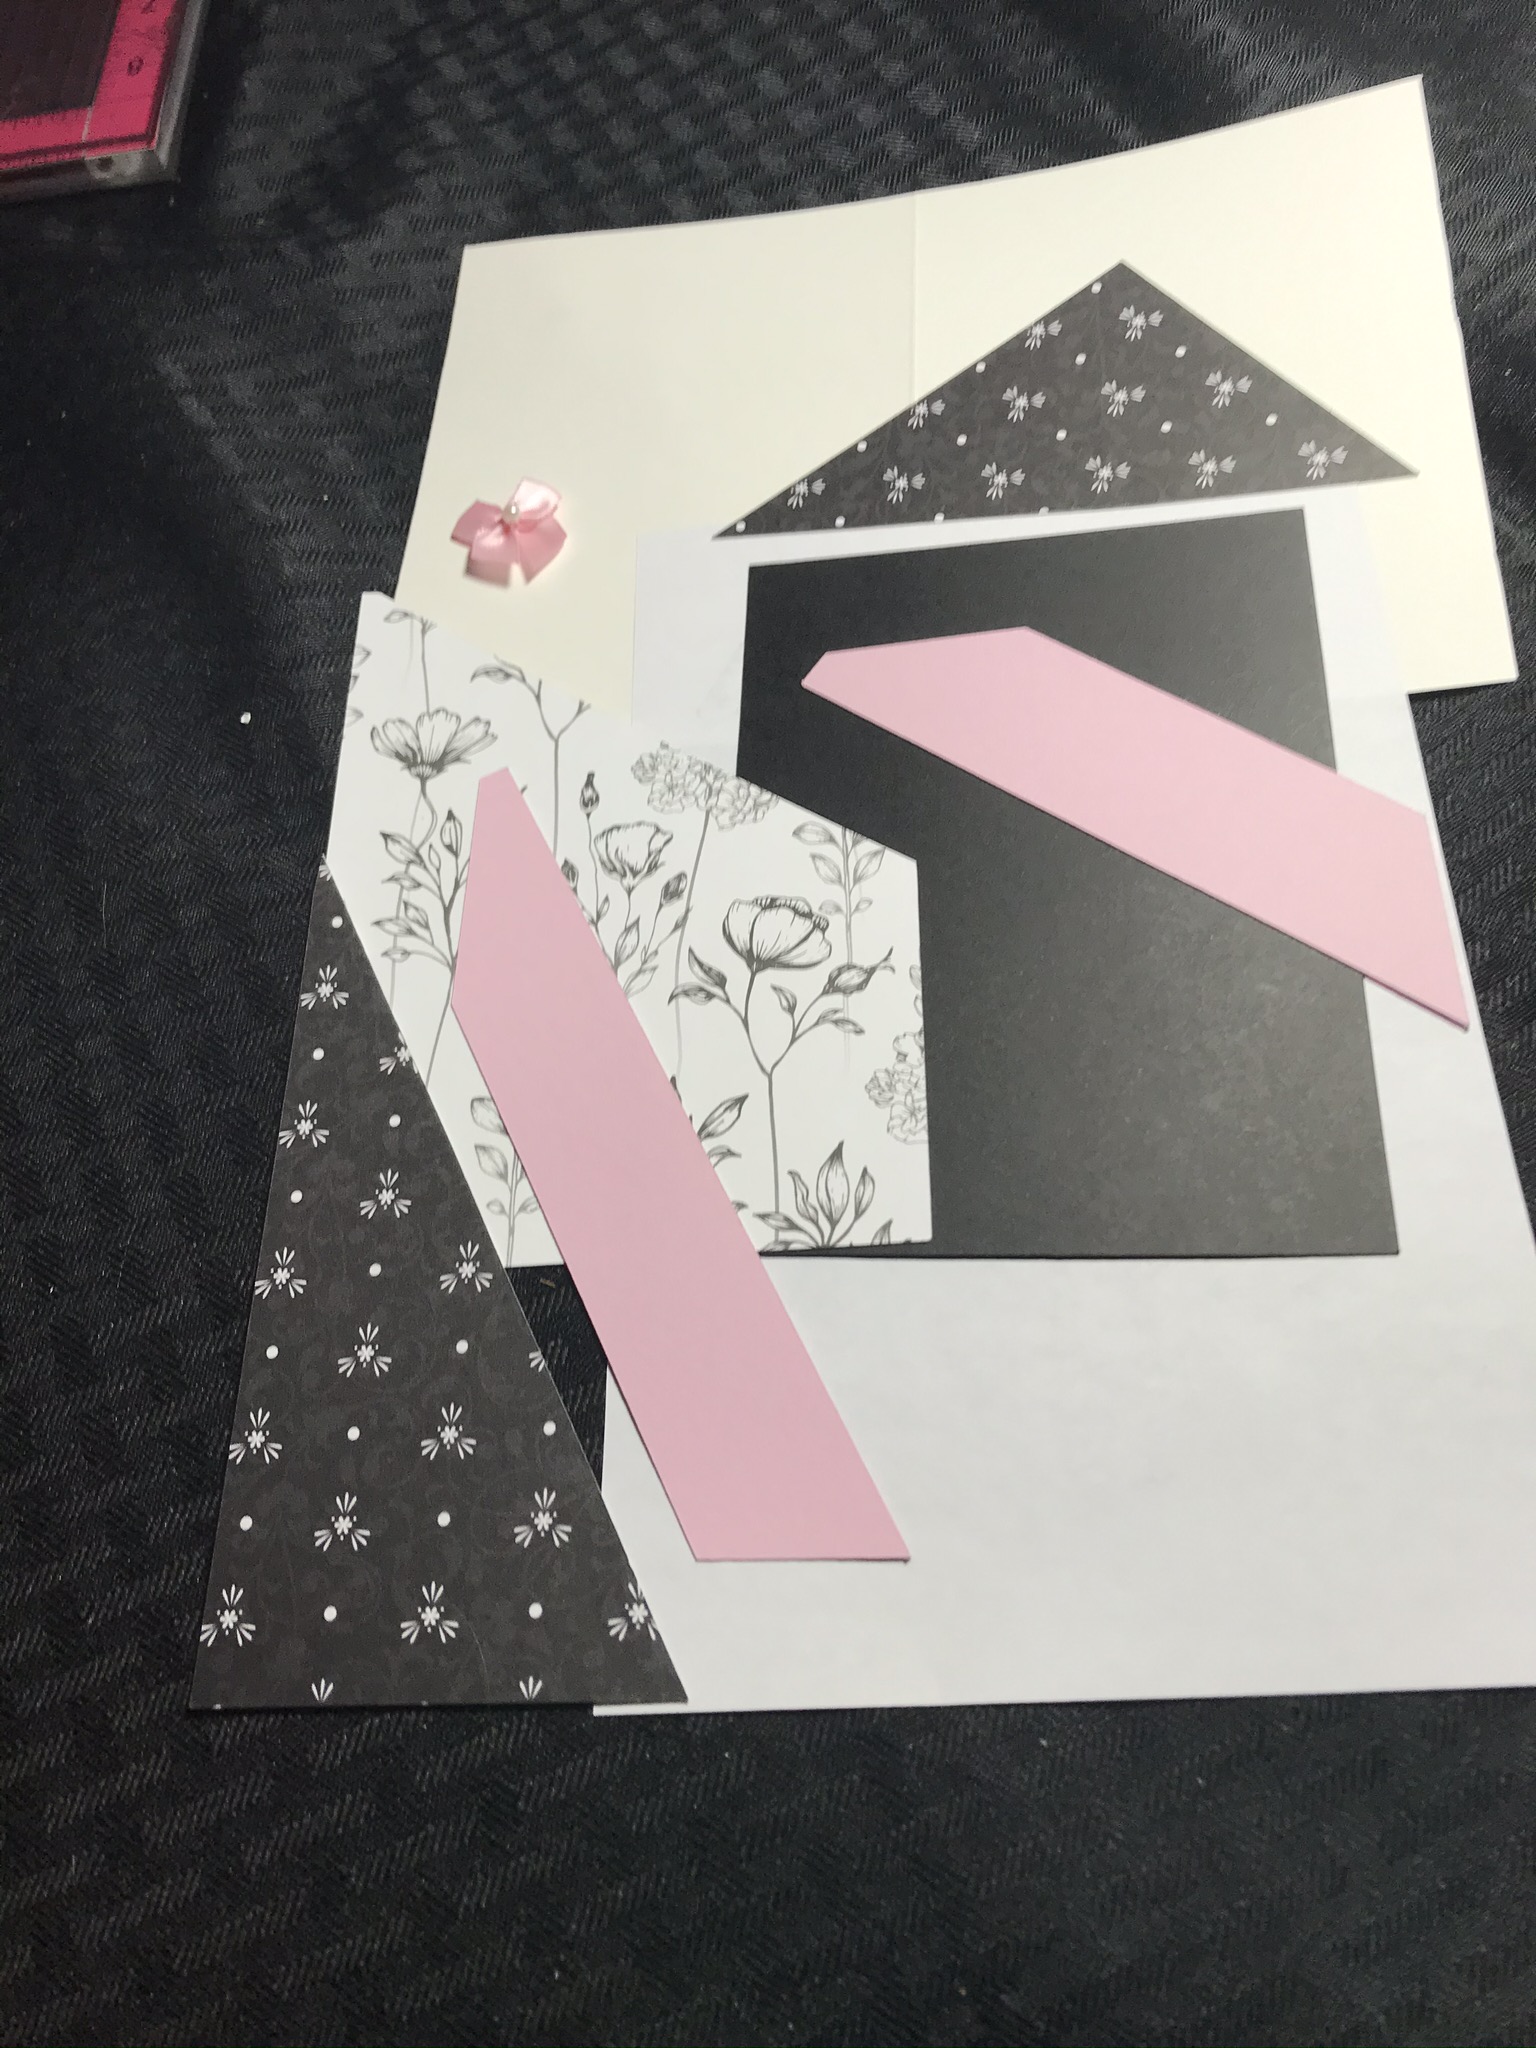
There are quite a few pieces to this rocking house so let’s step through them one at a time.


This is the back of the card.

It consists of the black snowflake horse with the white oval.  Make sure the head of the horse is pointing to your right.  You can put aside the white oval for the time being and attach it after the card is completely assembled.  Use it to write a personal message or just sign it here.


The brown piece is then attached to the black snowflake piece, again with the horse’s facing to the right.  Be careful selecting the correct brown piece; you want this one at this point.


Attach the brown piece behind the black piece.


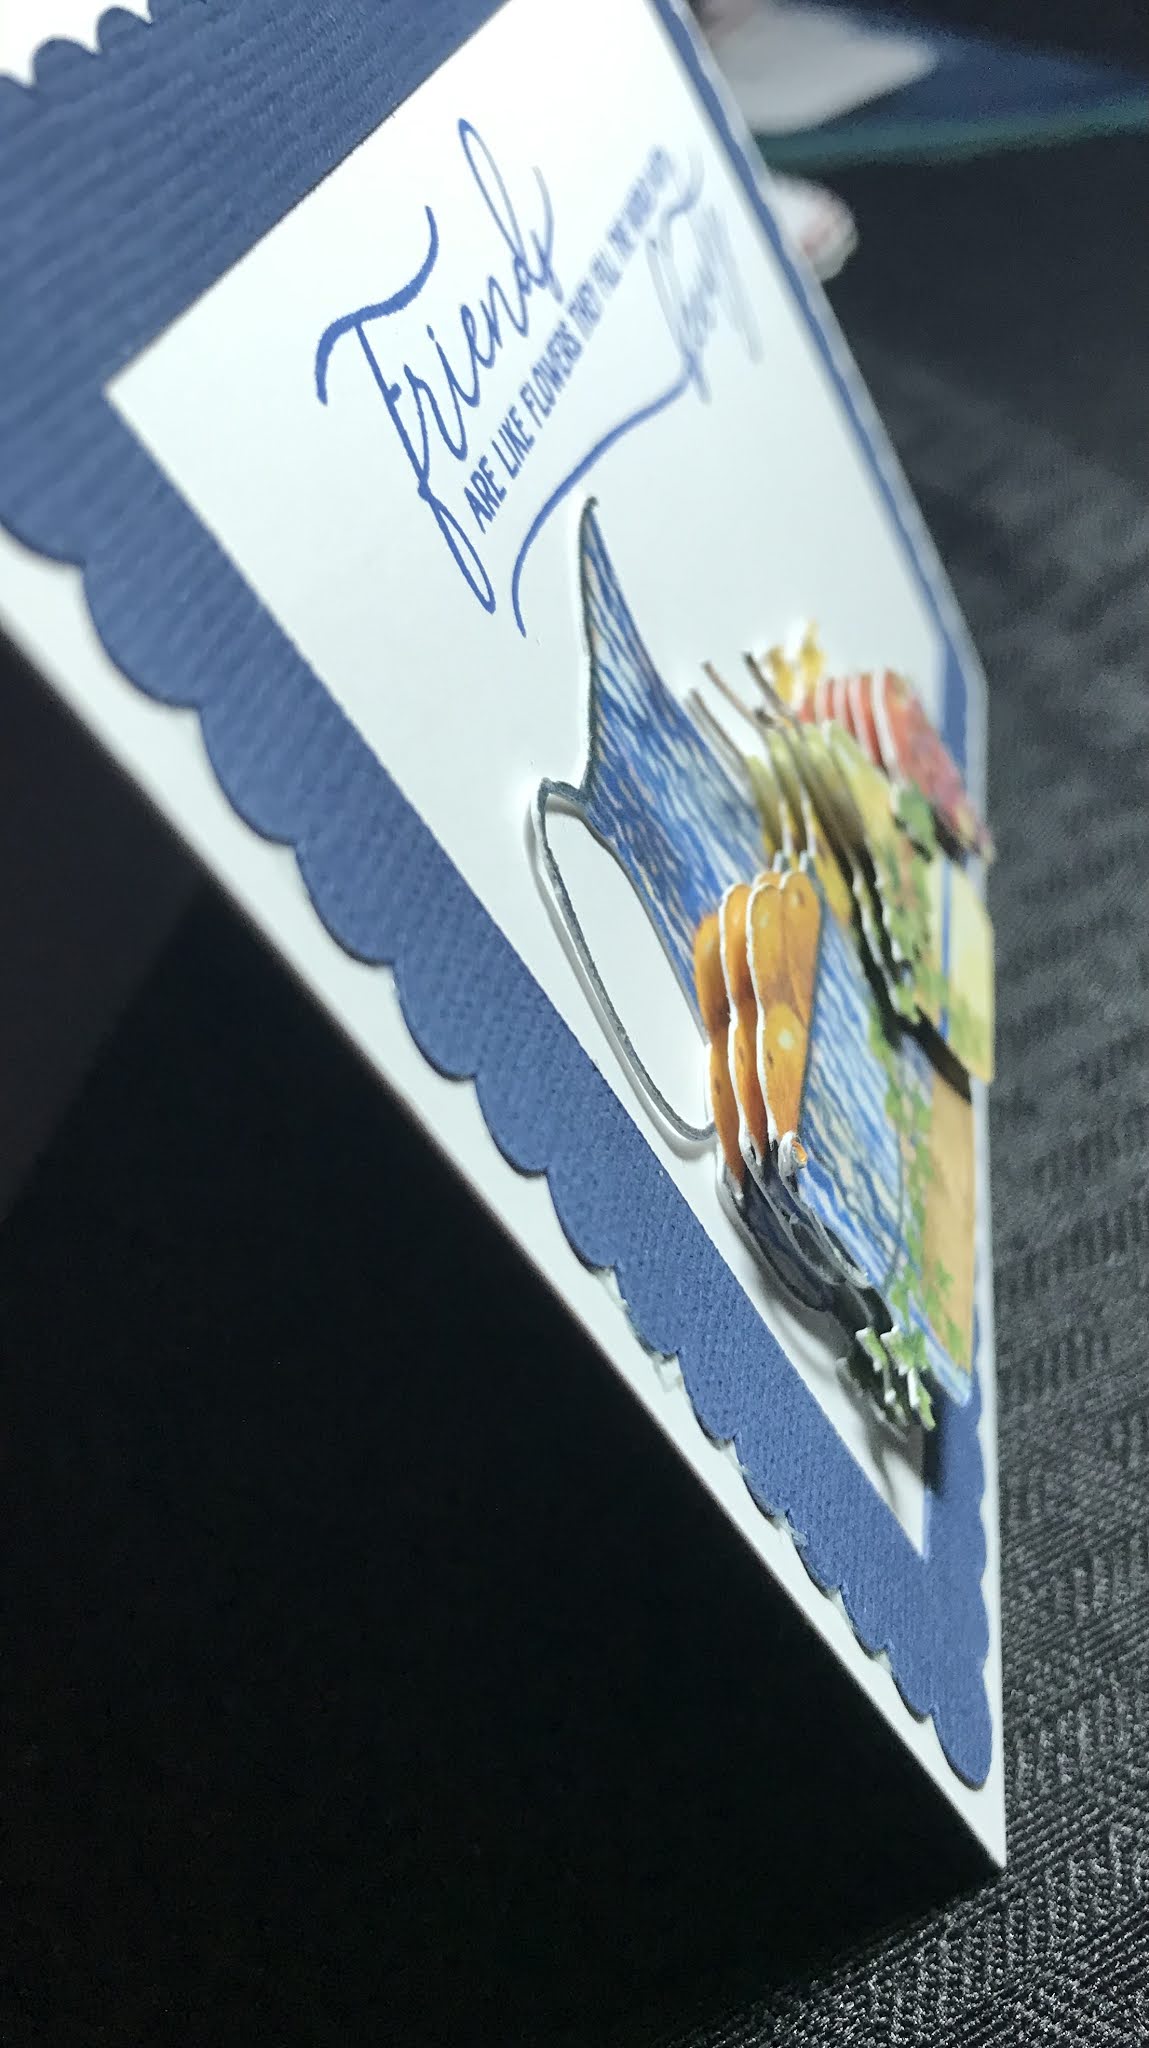
Now turn the assembled piece over so that the brown piece is on top and the horse’s head is facing left.  Then take the two presents, the ball, and the Christmas tree and attach them to the brown piece, along with the two poinsettias.  Assemble as shown in this picture:

Now you have the backside of the card finished so let’s start on the front.  Put your complete backside to the side for now (well, not your backside but the horse’s backside.). We’ll deal with this in a bit.


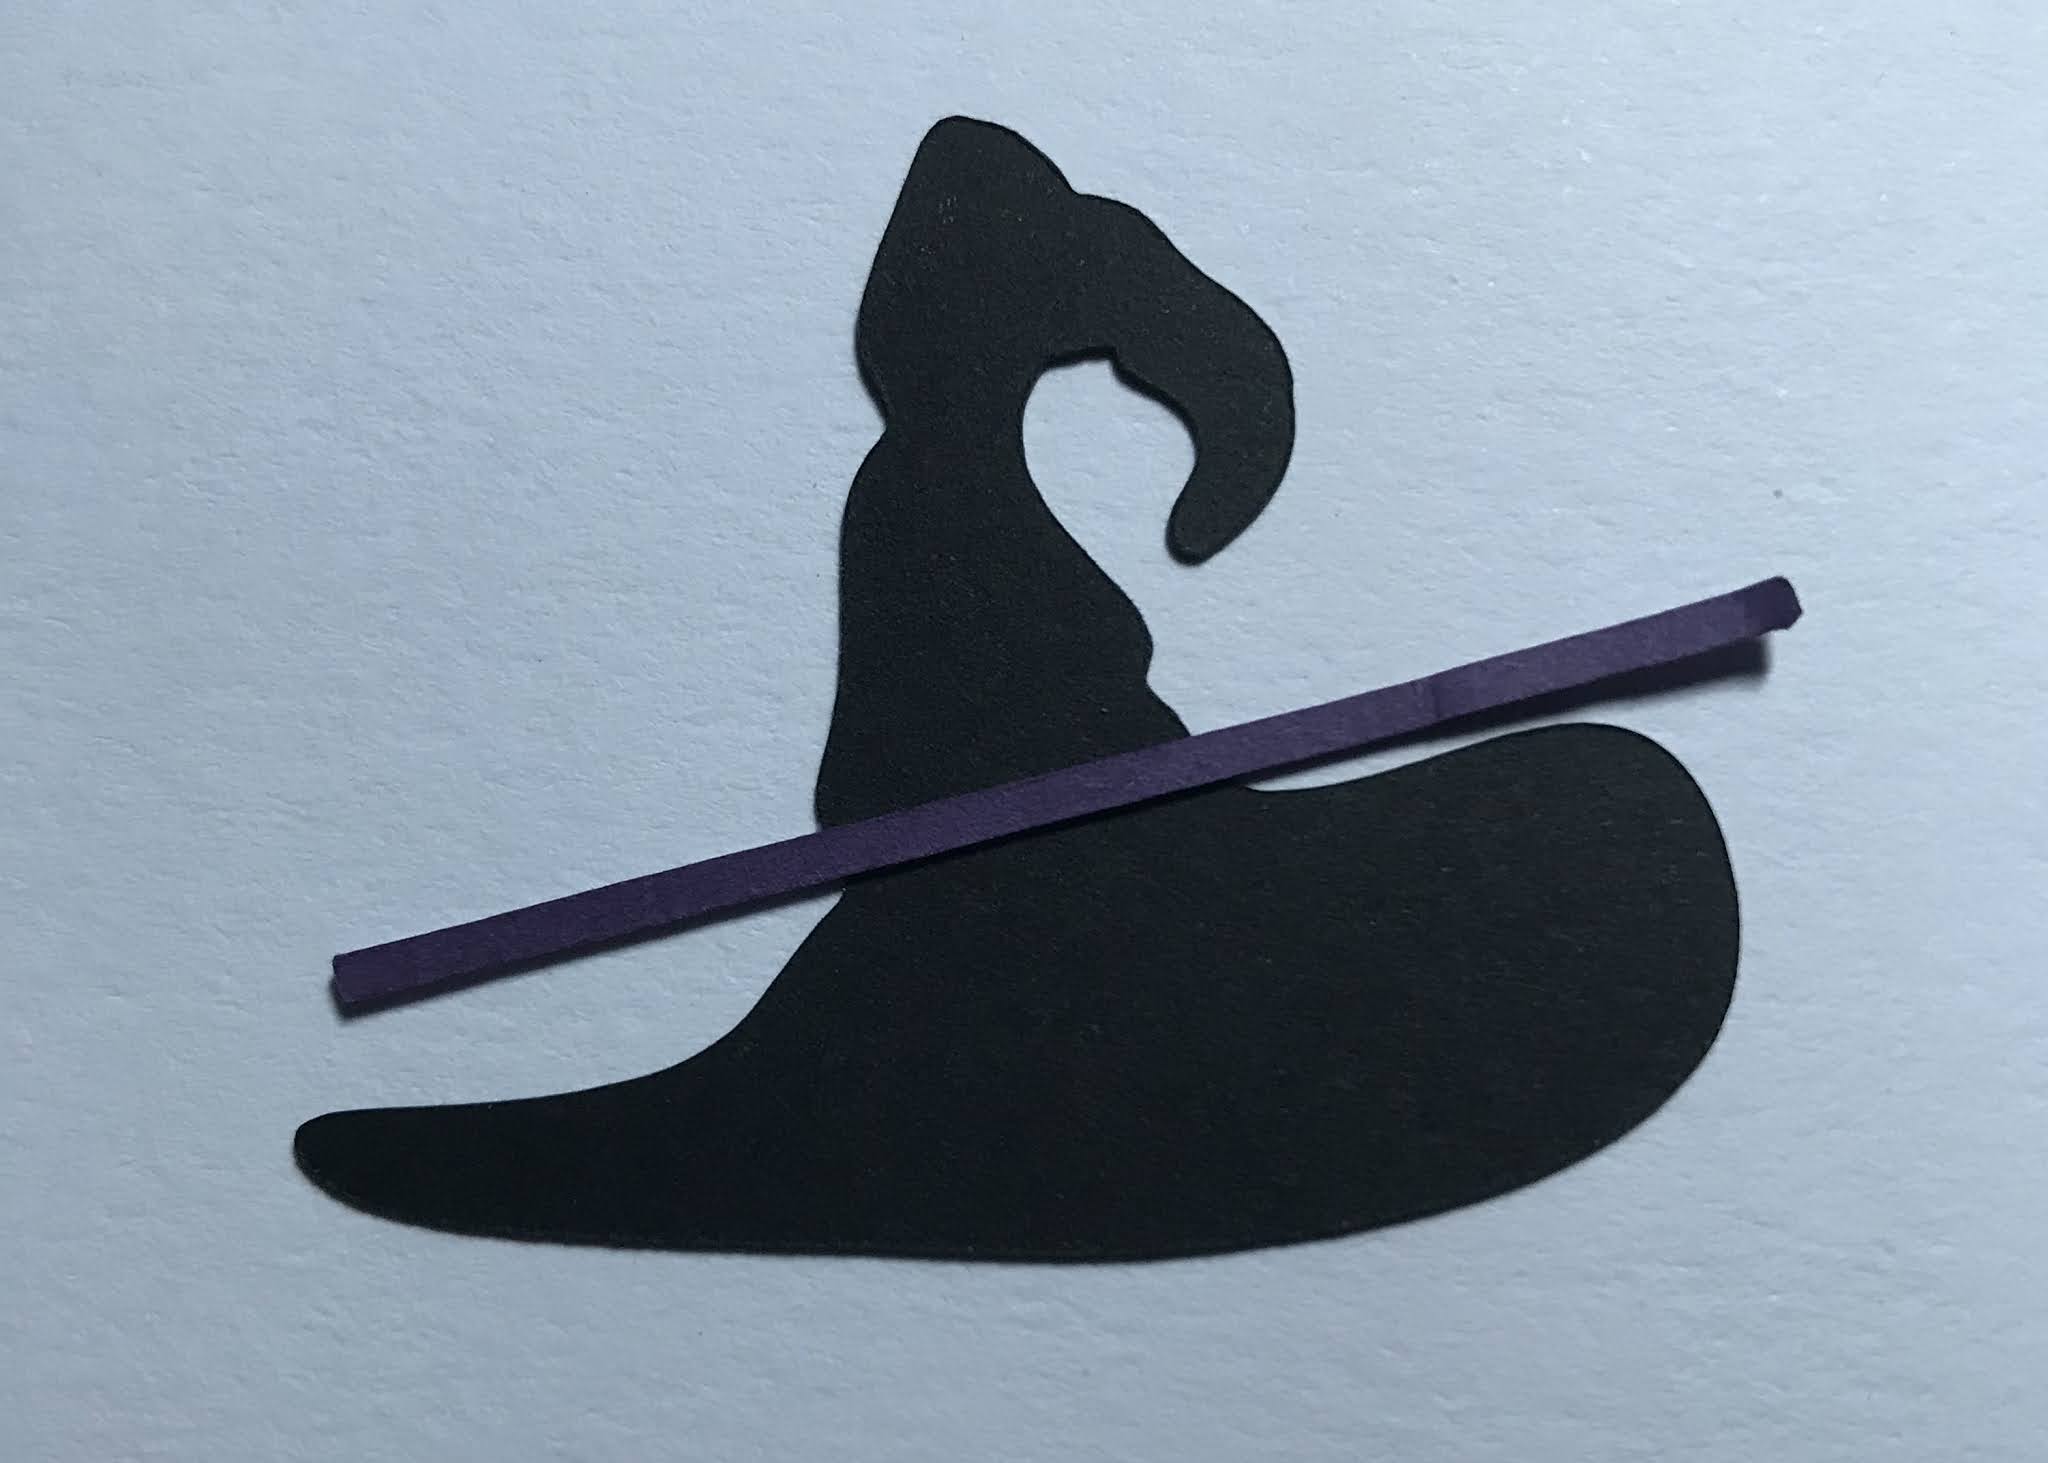
Take the remaining brown piece and attach the white horse to it.  This time, make sure your horse is facing to the left.

Attach the white horse to the brown horse. 


Attach the 2 light brown pieces to the brown horse as shown above.  Then, attach the stamped sentiment as shown below.


Next, attach the two sections of the saddle:


Attach the tail to the horse.


Attach the red whatcamacallit to the horse.  As an aside, I was thrown off a horse when I was much younger and have never gone near one since so I don’t know what the red piece is called.


Now attach his mane.


Now assemble and attach the green poinsettia near his tale.


Now the front is finished.  Easy peasy, right?

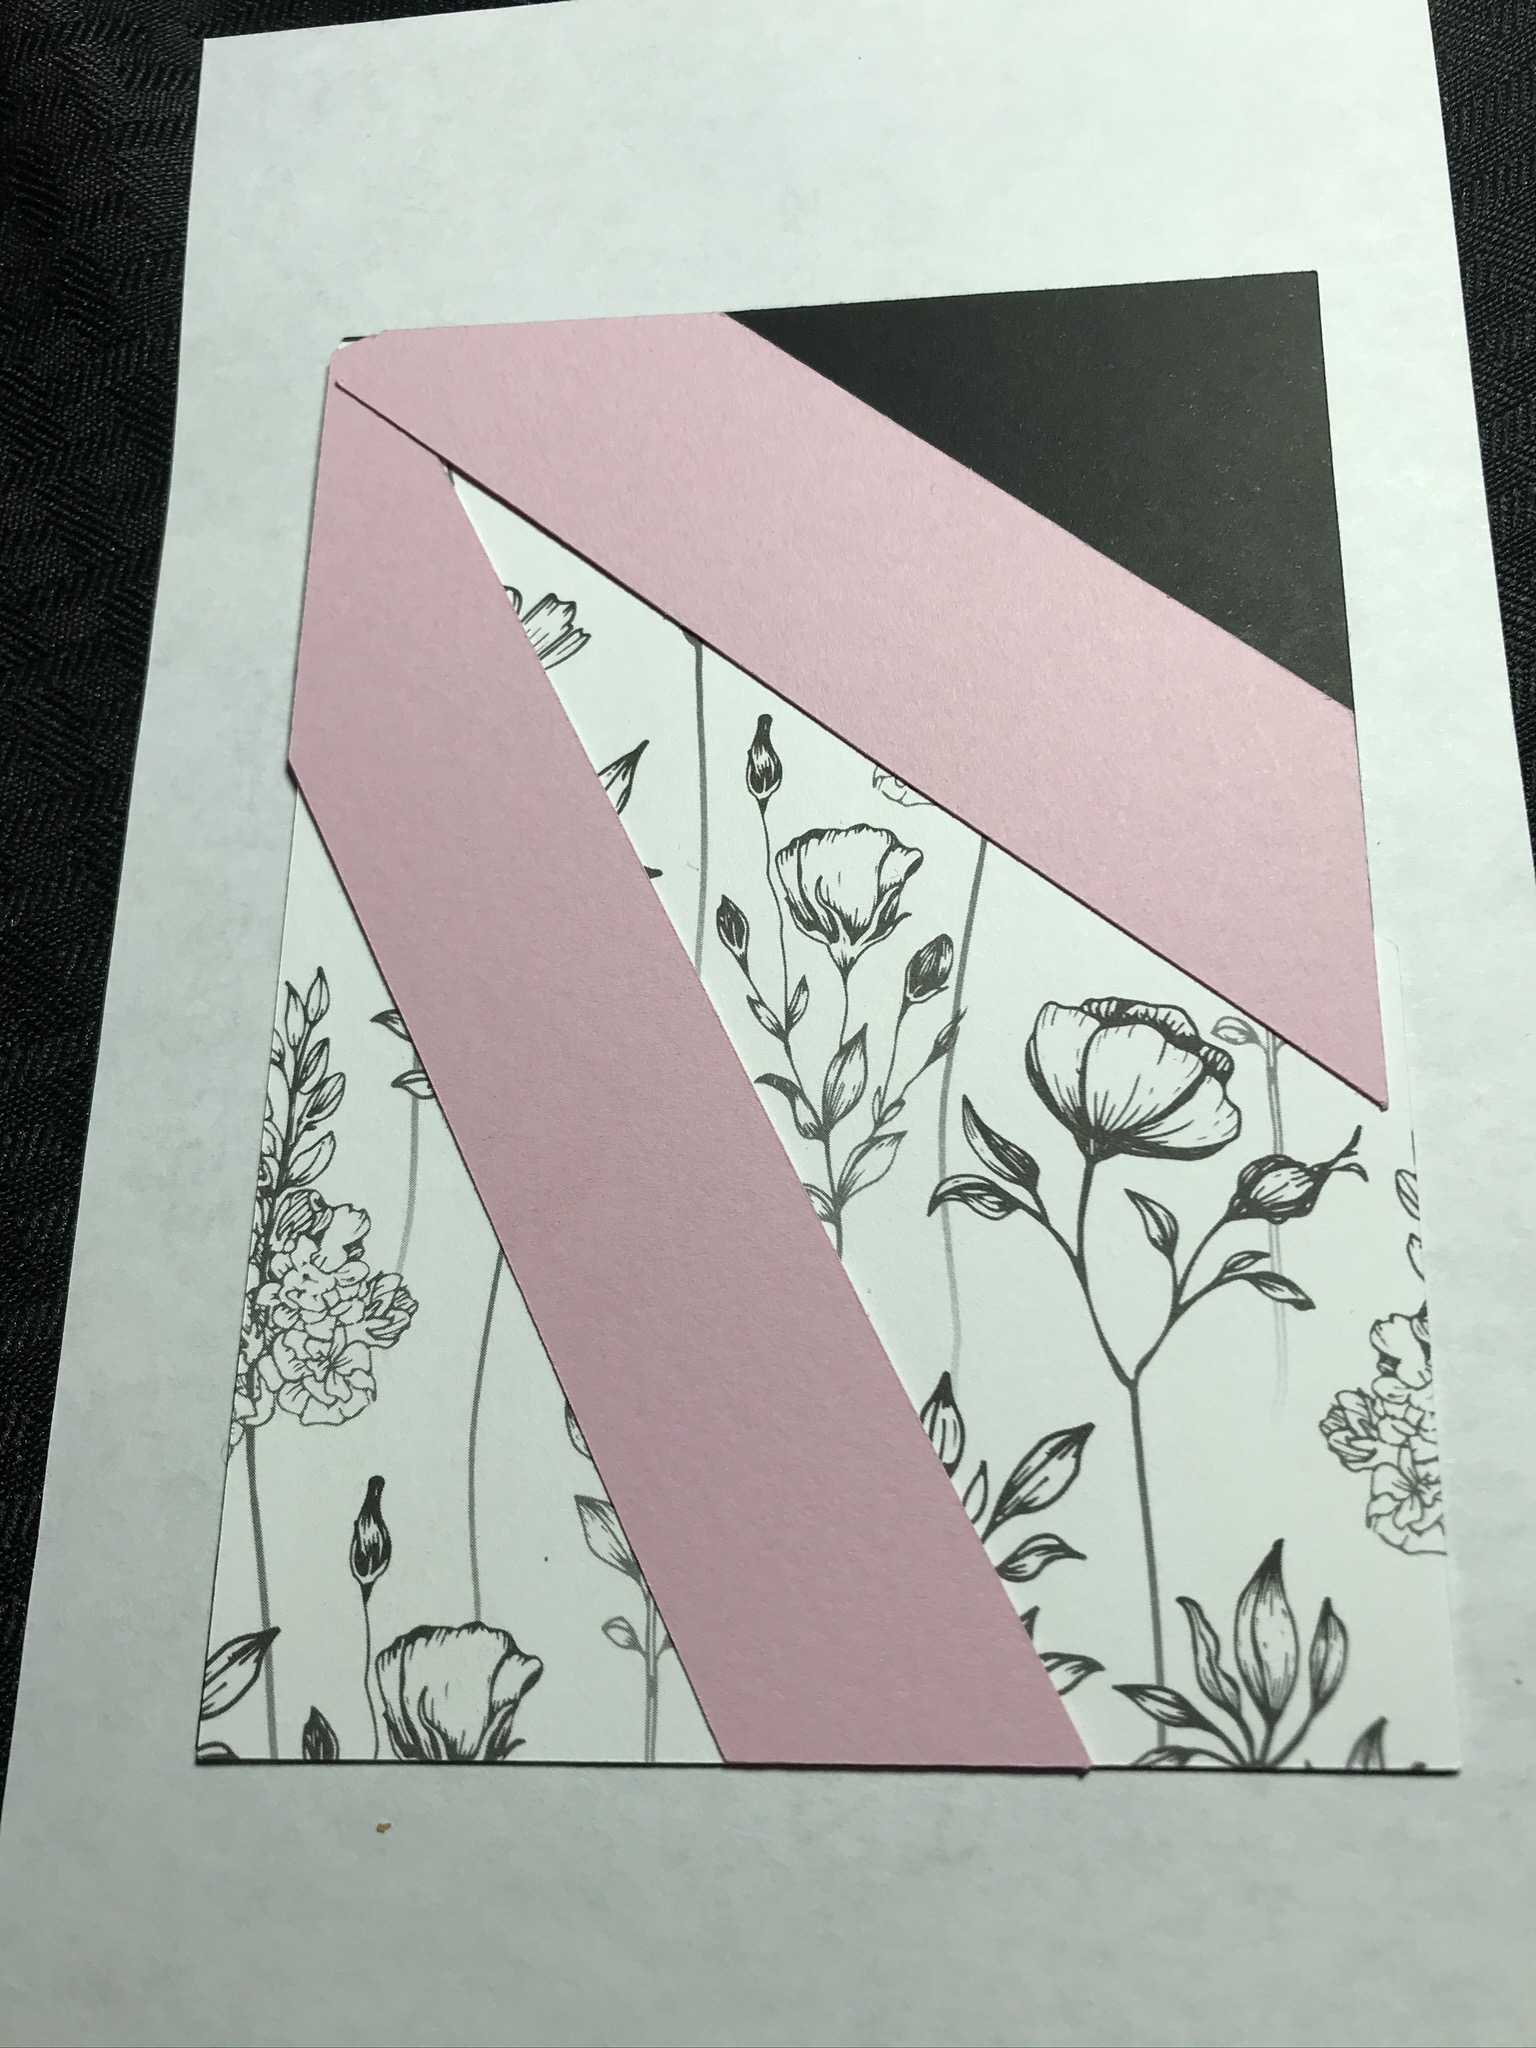
Now you should be left with just a long strip of brown which you need to fold in to itself so you have two long sides, a short side, and a short side with a tab on the end.


Attach the tab to the free long end so you end up with a rectangle.


This is the piece that attaches the front of the horse to the back of the horse.  Put glue on one long end of this insert and attach it to the front of the horse.  Then put glue on the other long side of the insert and attach it to the back of the horse.  This is what it looks like looking down on it.


And you are finished!!! Except don’t forget the white oval on the back of the horse.  Now that wasn’t so hard, was it?  And it really rocks!!


Wednesday, October 7, 2020

Layered bowls of fruit

This is the final card you will be making

You are going to layer the image using the pieces provided.  There are 6 layers to the image.  The bottom piece is flat on the card.  All the rest of the layers are popped up with the exception of the top layer which is not popped up.  Hopefully, you still have pop ups from last week’s card.  If not, let me know.

This is the inside of the card.


Here is a side view of all the layers put together.


Thursday, October 1, 2020

I hope he doesn’t miss my house!


This would be a cute card to display in your window.  It looks more difficult than it really is to make.  It is actually 6 layers.  These are the layers in order of assembly.  


In this picture, the second white piece from the left is popped up on the black piece; then the red piece is popped up on the second white piece; then the white piece with the scalloped edges with holes is popped up on the red; and finally the final white piece is NOT popped up on the white piece edges.  Just use your favorite adhesive for this layer.  Pop ups are included in your kit.  This is how it looks from the side.


The bottom white piece is attached to the black piece to form the card.  Just removed the tape at the top of the white piece to the black piece.  Now your card is complete with the exception of the bow.


These are the pieces of the bow:


Take the long pieces of both the white and red together and fold them underneath the the center of the bow in the back.  Then take the red and white tails and attach it to the back of the card.  Finally, take the small red and white pieces and wrap them around the center of the bow, gluing on the back and top the front with the button.


Deck the palms


Here’s a cute card in a box very appropriate for Floridians.    


There are 3 inserts in this card.  The first layer is the Santa with an inner tube around his waist and the Pom Pom on his hat hangs to the right.  The second insert has a drink in his hand and his hat hangs to the left.  And finally, the final insert in the palm tree.  Have fun coloring!  And please do a better job of spacing the inserts than I did!

Here is the view looking down into the box card.  You can see more clearly what a lousy job I did on spacing the inserts.


Now finally the back of the card and more coloring!


I hope you enjoy making these cards.  As always, if you have any problems or comments, just get in touch with me.


Pretty in pink

 I think this is a lovely card which is very easy to assemble.  

These are the pieces included:


Just follow along now as we assemble the pieces.  As you are assembling it, keep in mind that the pink  pieces are placed behind the black and white pieces with just a narrow strip showing.  Attach the black and white floral piece to the left side of the black piece.


Now take the larger of the two pink pieces and line up the top and    upper left side on the left side of the card and adhere the smaller pink piece on the right, lining up this piece on the top and on the right side.


Finally, lay the black and white pieces in position as shown in this picture

You can color at this point or leave it black and white.  I personally really like it colored.  I used a Copic marker.

Now, you can attach the large pink ribbon.  I’ve put a strip of aggressive tape on the back of the bow.  Then attach the little pink bow on top of the large pink bow and you are finished!


I did not stamp an inside sentiment.  I’ll leave that up to you to pick your favorite sentiment.   It really could be almost anything:  birthday, anniversary, get well thanking on you, even sympathy.


Monday, September 7, 2020

WE’RE BACK TO CLASS (sort of) on October 2nd!

 Hi Friends!

I’m sitting here amazed that it’s been 9 years since I posted here and so much has happened in 9 years!  I was kicked out of Mulberry Grove since I don’t live in the “right” place, I moved the classes into my house, I upgraded from my Cricut Expression (hence the name of this blog) to a Cricut Explore, to a Cricut Explore Air, then to a Cricut Maker.  And most significant for me is that I made some amazing friends.  Unfortunately, saddest of all, I lost my sweet Roscoe.  I’ll never forget how he welcomed each of you to ‘his’ home.

This is going to a long post so I apologize up front.  I’m doing a strange version of my classes, whereby everything is going to be on-line since we can’t get together due to the coronavirus and the stay at home mandate was issued.  So the cards covered in this post are for the first class in October:  Friday, 10/2.   I’m posting multiple shots of each of the four cards showing the cards from each side.  I’ll post brief Descriptions of each card and give you instructions of what you should consider when putting the kits together.  Also, you can click on each image to make it larger.

So let’s get started with the dancing scarecrow easel card!  

Front view open: 

It may be hard to see in this photo but the scarecrow is popped up on a “wobble” so that he moves. Also,  I stamped some leaves on the bottom of your cards in the corners of the bottom front.  Make sure that you only place strong adhesive on the bottom half of the oval that Mr. Scarecrow is dancing on. And feel free to cut him closer than I cut him.

Sideview open:  


  This shows the easel portion of the card.  You’ve all made enough easel cards to understand how it opens for display.

Front view open:  I popped up the stamped pumpkin so that it acts as a brace to keep the card open for display purposes.


Back view:  


Here you can sign the card or write a personal message if you wish.

I neglected to mention that if you have any questions, you can comment below or don’t hesitate to call me.  I’ll answer as quickly as possible.

Wednesday, September 2, 2020

Card #2 - OCTOBER 2nd - Just look at those legs!

 Here’s a cute Halloween for the season.  I’m including a lot of images showing all the detail on this card.  First image in the front of the card and the second image is the inside of the card.


The following pictures show close up images of the detail of the card.  I hope these will be self explanatory.  There is a gem on the hatband.  The word ALWAYS is popped up.

There are 2 layers to the witches skirt.  One is black topped with the purple skirt.


There are 3 layers to the banner:  black, then purple, then white.

The legs consist of 2 layers.  The top piece is black with stars in it, the layer underneath is purple.

Wrap the black strip around the hatband 
And then trim off excess


CARD #3 - OCTOBER 2ND - With Sympathy


This Card is pretty obvious as far as assembling it.  Unfortunately we all need Sympathy cards occasionally.


Tuesday, September 1, 2020

Card #4 - OCTOBER 2nd - Let’s go to the movies

And finally, here is the card in a box.  There are 3 inserts to this card, as well as a money holder on the back (cash is not included!).  Each layer consists of a red piece with the flaps that are glued inside the box, a white piece on top of the red, then more defining image.  

The back insert is the camera, the Insert in front of the camera is the movie board, and the front insert is a popcorn box and drink cup.


I’ll show you the pieces of each insert and then show the insert completed.  You should assemble the inserts before you put them in the box.
There are 3 pieces to the camera layer


3 pieces to the movie board insert


And 9 pieces to the popcorn and soda layer

These are the 3 inserts once you’ve put your corresponding pieces together:


And here is the back of the box.
And the tickets which consist of 2 pieces:     


Monday, March 14, 2011

With Sympathy

Hi everyone!

I literally threw this card together yesterday and I am so happy with the way it turned out!  We're doing sympathy cards at Mulberry Grove this Wednesday and this is one of my creations.  It uses the Bliss paper pack from CTMH which is absolutely beautiful paper to work with.  Enjoy!