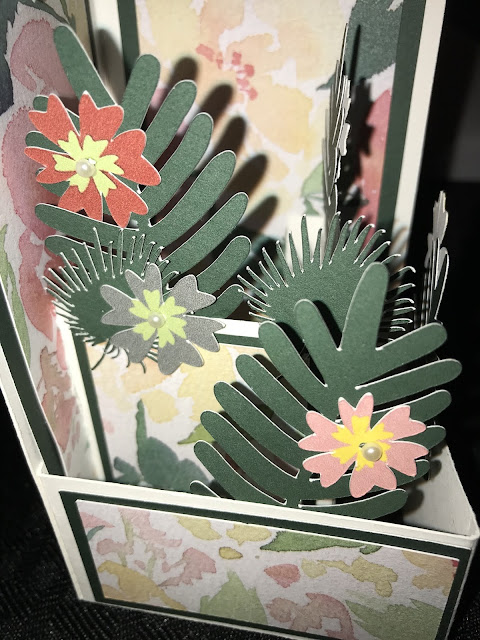
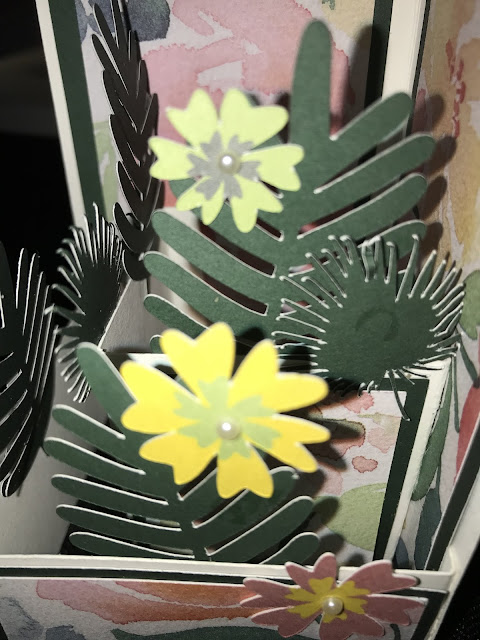
I love the way this card turned out. This is a unique card fold that I've never done before but I will be doing again. It is called a balcony card because there are two layers to the front, one higher than the other, as if it was in a theater with staggered seating.
Before you start making this card, decorate the long white strip as shown in the photos. Then fold back the flaps and attach it to either side of the inside of the card. You want to do this before you attach the inside designer paper. Once your tabs are attached, and the whole long white piece is decorated, you can attach the large designer paper to the inside. That way you are hiding your tabs.
Then decorate the smaller but taller white strip. It should be level on the bottom with the entire card. Attach the tabs to the inside. Unfortunately, there is no way to attach those tabs without seeing them.
Decorate the inserts as show in the above and below pictures.
There are pearls in your kit for the center of each flower. There should be 6 flowers.
I saw this card on Split Coast stampers and they left the front and back outside of the card blank. I didn't really like that look so I gave you pink paper to use.
Enjoy!
 o
o


No comments:
Post a Comment