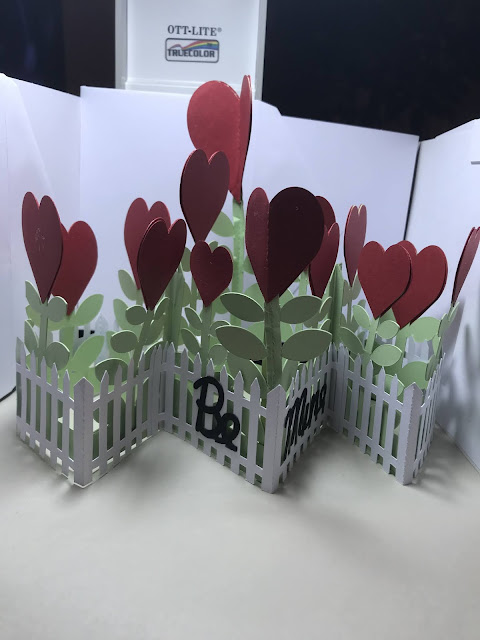
Isn't this card a knock out! It's actually a file that I purchased and then slightly modified. While making some of the modifications, I thought I would make it much easier for you to put together. One of the most important things to remember is that you only put glue on the sides where I wrote the numbers. In fact, I made myself a post-it-note saying put glue on the side with numbers to constantly remind me. These are the pieces that make up this card:
This card is much easier than it looks. Basically, the green pieces are the base of the card:
As you can see, each of the heart sections has a number on it. This number matches up with the numbers on each of the red hearts. Glue each of the red hearts to the front and back and make sure you put the glue ON THE NUMBERS of the red pieces.
Once you attach all the hearts to the bases, fold the bases on each score line and assemble the large pieces in the method as in this card from the Christmas collection:
Make sure the green piece with the tallest heart in the back.
Again, after you’ve decorated the green pieces, attach the side pieces which already have the hearts attached.
Glue the side pieces to the front and back pieces. Now fold the card like an accordion and use your bone folder on each of the folds. Make certain the card spreads open and closed easily.
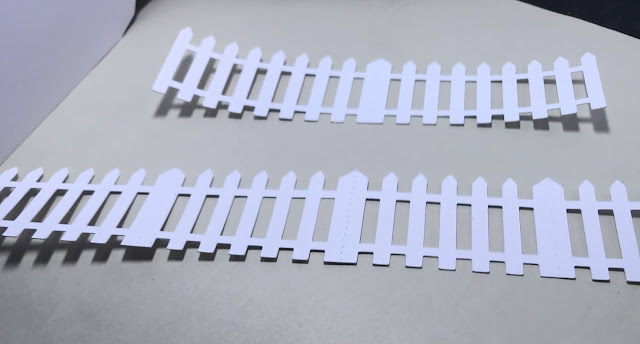
Now take the fence pieces and fold them on the score lines.
The short fences are for the front and back, in the center of the card. The long pieces get wrapped around the card. Only use glue on the ends of each fence piece, not all around the card. Again, fold the card and use your bone folder to make sure the score lines crisp.
Now attach the words to the front of the card referring to the first picture.
I included the small narrow green strip in case you feel that your front stem needs to be reinforced.
Good luck with this one. Don’t hesitate to call me if you have questions.


No comments:
Post a Comment