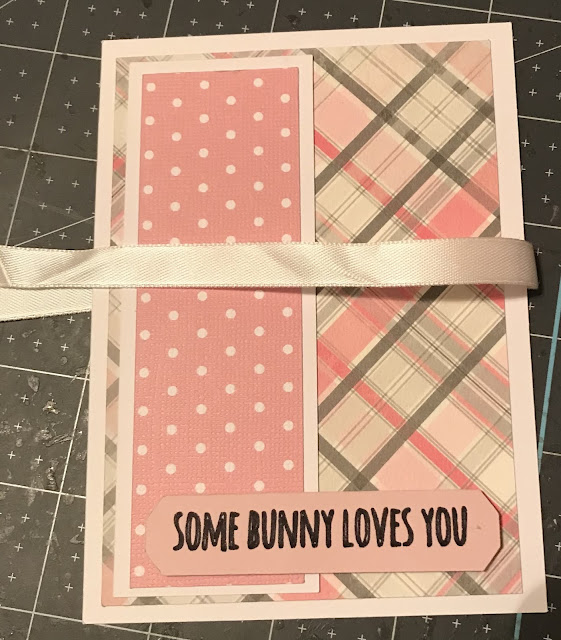
Not all of you have this bunny. That’s just because you didn’t sign up for it.
This is a terrible picture but it’s 10:30 on Thursday night and I’m kicking myself for procrastinating until the last minute to write this blog. I promise I’ll do better in the future!
The bunny is put together mostly with pop-ups. The top layer of each of the segments is not popped up. These are the segments you should put together first:
The body consists of three pieces: black, purple, and pink. These are the largest pieces.
The next segment is the leg and paw. This consists of a solid yellow piece, topped by a pink piece with flowers cut out of it.
The next segment is the arm and hand. This consists of a solid yellow piece topped by a pink piece with flowers cut out of it.
Are you following along okay?
Now put the face together. The bottom layer is black, topped by a blue layer, then topped by a white layer. All three of those pieces are the same shape. When you put them together, make sure the “eyes” are facing down and to the bunny’s left.
Now put the purple face piece together with the pink face piece.
Take the 3 layers that form the eyes (black, blue, and white) and put them behind the 2 layer face pieces.
Now take the two ear pieces and put them together (yellow on the black ears) topped by the pink cut out pieces.
So now you should have all the segments put together and you can fit them in their proper area; leg and paw segment, arm segment, face segment, and two ear segments.
Take the white face piece and attach the grey outline. Don’t pop it up.
If you’ve gotten this far without calling me an swearing at me, you’ve done great! The only things left are the glasses and the sign that the bunny is holding, which I glued on behind the bunny’s paw. Oh, don’t forget to put the Pom Pom on the bunny’s tail.
And you are finished!!
I’m going to include some other pictures just to give you some guidance. They are in no particular order.


